Autopapyrus · Acura MDX 3.7 V6 J37A1 (2012)
https://autopapyrus.com/guides/acura/mdx/oil-pump-replacement/
https://autopapyrus.com/guides/acura/mdx/oil-pump-replacement/
Compiled automatically from service literature and owner experience. Specs are for the typical configuration — check them against your exact car before you start.
Acura MDX 3.7 V6 J37A1 (2012): Oil Pump Replacement
The J37A1 oil pump is located at the front of the block behind the front cover, so access requires removing the timing drive. The engine uses a timing belt, not a chain. Replacement is justified when oil pressure drops, the pump is noisy, or its parts are damaged. Exact torque specs and bolt tightening sequences for this engine have not been verified, so the procedure below gives the order of work without numbers. Check the manufacturer's service manual before reassembly. Before replacing the pump, rule out simpler causes: low oil level, a clogged oil pickup, a faulty oil pressure sensor, or the wrong oil viscosity.
Part
- 🔩 Complete oil pump assembly for the J37A1 engine (genuine Honda/Acura or quality aftermarket). It is recommended to replace the following at the same time: timing belt with tensioner and idler pulleys, water pump, front crankshaft seal, camshaft seals, O-rings and gaskets for the oil pan and oil pump, engine oil and oil filter, coolant
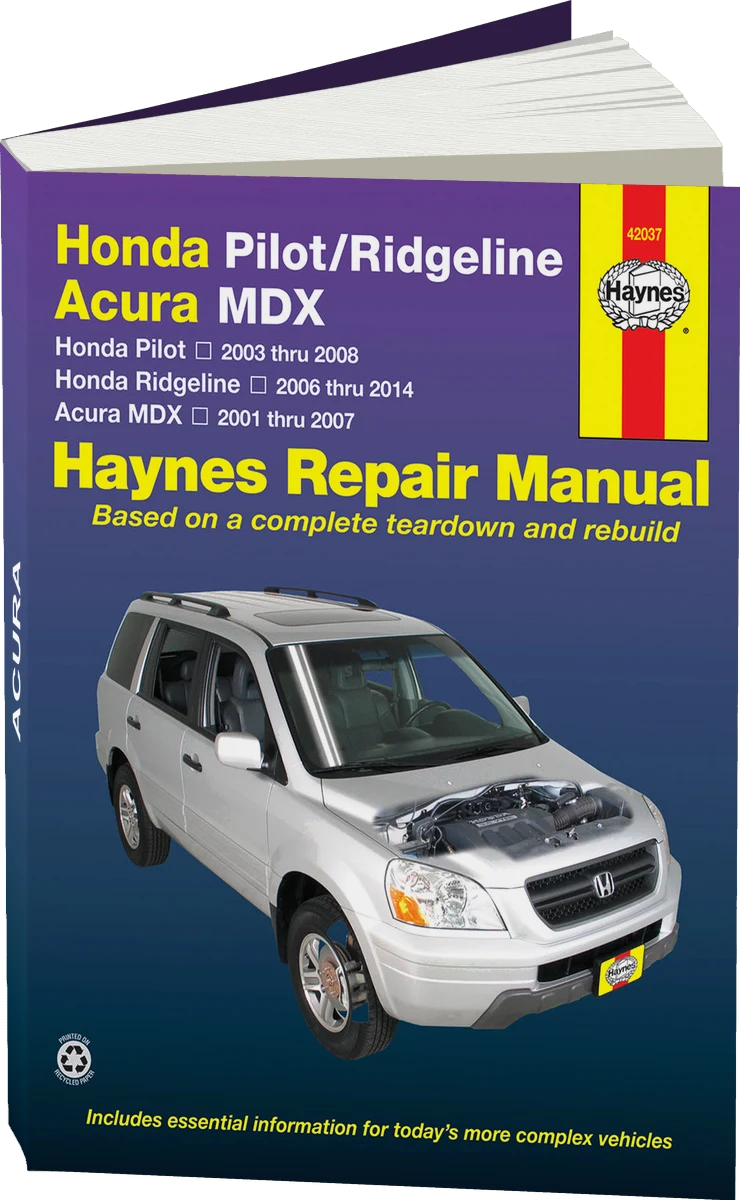 There's a full repair manual for this car
Every system, wiring diagrams and torque specs — not just this job. Haynes and 2 more.
See manuals →
Step by step
14 steps- Before disassembly, make sure the pump is really the culprit. Check the oil level and condition, replace the oil pressure sensor, and measure oil pressure with a mechanical gauge. Low pressure with a good sensor and clean oil points to the pump, worn bearings, or a stuck relief valve.
- Disconnect the negative battery terminal. Raise the front of the vehicle, support it on jack stands, and remove the underbody skid plate. Drain the engine oil and coolant.
- Remove everything that blocks access to the timing drive: the intake duct and air filter housing, the drive belt, the radiator or fan if necessary, the engine mount on the timing belt side (support the engine with a jack and a wooden block under the oil pan), and the upper and lower timing belt covers.
- Set the timing marks: cylinder 1 piston at TDC, with the camshaft pulley and crankshaft marks aligned with their reference marks. Note the belt's direction of rotation if you plan to reuse it (installing a new one is better).
- Remove the crankshaft pulley (loosen the bolt using a pulley holder or a stopper, not by jamming the flywheel with a screwdriver). Remove the tensioner and timing belt. Remove the camshaft and crankshaft sprockets if needed for access to the cover, and the idler pulleys and water pump as needed.
- Remove the oil pan: loosen the bolts in a crisscross pattern and carefully separate the pan from the block (if necessary, run a thin plastic spatula along the sealant; do not use a screwdriver). Remove the oil pickup with its screen and inspect it. If you find metal shavings, metal dust, or sludge, the engine needs to be checked for bearing wear, not just a new oil pump.
- Remove the oil pump bolts and take out the pump. If the pump is chain-driven, remove the chain together with the sprocket and note its position. Mark the locations of bolts of different lengths.
- Compare the old and new pumps: the locations of passages and dowel pins, and the presence of a relief valve. Clean the block mating surfaces of old sealant and gasket material, then degrease them.
- Lubricate the rotor of the new pump with clean engine oil and fill the pump with oil by turning the rotor by hand. This prevents dry running at first start-up. Install a new crankshaft seal using a driver tool, with the lip lubricated with oil, keeping it straight and square.
- Install the pump with new seals and gaskets and tighten the bolts with a torque wrench in the sequence given in the service manual. If the pump is chain-driven, install the chain and its tensioner according to the marks.
- Install the oil pickup with a new gasket or O-ring. Apply an even bead of sealant to the oil pan according to the instructions on the package, wait for the specified set time, and tighten the bolts in a crisscross pattern in two or three passes.
- Reassemble the timing drive in reverse order: new idler pulleys, tensioner, and belt. Check that the marks line up, then turn the crankshaft by hand two full turns in the normal direction of rotation and check the marks again. Install the covers, the crankshaft pulley with a new bolt (if the service manual requires it), the engine mount, and the drive belt.
- Fill with new oil of the specified viscosity and capacity (see the dipstick and the owner's manual for the exact value) and install a new filter. Refill the coolant and bleed the air from the cooling system.
- Before starting, crank the engine with the starter for a few seconds with the fuel pump relay disconnected or the fuel pump fuse removed, until the oil pressure light goes out. Then start the engine and check oil pressure and look for leaks at the oil pan, seals, and cooling system. Warm up the engine, then check the oil and coolant levels after it has cooled down.
Common mistakes and warnings
- A timing belt installation error on the J37A1 (an interference engine) causes the valves to hit the pistons and leads to costly repairs, so check the marks twice. If you find metal shavings or scored bearings during inspection, replacing the pump alone will not be enough. If you lack experience with timing drives and oil pan sealant, it is better to leave this job to a repair shop.