Autopapyrus · Geely Tugella 2.0 Turbo (2024)
https://autopapyrus.com/guides/geely/tugella/torque-converter-removal-and-installation/
https://autopapyrus.com/guides/geely/tugella/torque-converter-removal-and-installation/
Compiled automatically from service literature and owner experience. Specs are for the typical configuration — check them against your exact car before you start.
Geely Tugella 2.0 Turbo (2024): Torque Converter Removal and Installation
The torque converter sits between the engine and the transmission, inside the bellhousing. To replace it, the transmission must be removed from the vehicle completely. Exact torque values and fastener part numbers for this model are not documented in open service materials, so the general procedure and approximate ranges are given below. This is a hard job suited only to an experienced mechanic with a lift.
Part
- 🔩 Torque converter (8-speed Aisin automatic transmission, supplied as an assembly with lock-up clutch). Also: automatic transmission fluid to the manufacturer's specification (check the transmission label or manual for the partial-refill and full-fill capacity), pan gasket or O-ring, shaft seal if needed, driveshaft (axle) seals
Step by step
13 steps- Prepare the vehicle: put it on the lift in neutral and disconnect the negative battery terminal. If possible, read the transmission fault codes with a scan tool to save the history.
- Drain the transmission fluid through the drain plug on the pan. Measure the amount drained by weight so you can refill with the same amount later. Note the fluid temperature and level before disassembly.
- Remove the underbody skid plate and the engine subframe (if necessary), the air filter box with its ducts, and the battery with its tray. Disconnect the transmission wiring connectors and harnesses, and mark their positions with a marker.
- Remove the exhaust system with the downpipe and catalytic converter as an assembly if it is in the way, as well as the driveshaft (on AWD versions) and the axle shafts. Remove the shift cables/selector linkage and the transmission cooler lines (plug them).
- Support the engine from below or secure it with a support bracket, and place a transmission jack under the transmission, secured firmly with straps.
- Remove the starter, then the bolts holding the transmission to the engine. Through the opening under the starter or the inspection port, remove the 3-4 bolts securing the torque converter to the flexplate (drive plate). Rotate the crankshaft by the pulley bolt, marking the position, so that you can remove all the bolts one by one. You may need to remove the inspection cover.
- Carefully slide the transmission back along the dowel pins, taking care not to let the torque converter fall out. It may stay in the bellhousing. Keep in mind that it still contains fluid, so place a drain pan underneath.
- Remove the torque converter from the transmission input shaft. Inspect its mounting surfaces, the shaft splines, the hub bushing, and the pump seal for wear, scoring, and metal particles in the fluid. If there are metal particles, inspect and flush the transmission.
- Install the new torque converter all the way in so that the splines engage the pump. Check the seating depth (the hub must be fully seated; the gap between the hub and the pump face is a few mm, so take the exact value from the service manual). Do not force it in with a hammer.
- Reassemble in reverse order: mate the transmission to the engine on the dowel pins, then tighten the transmission case bolts and the torque converter-to-flexplate bolts with a torque wrench to the manufacturer's specifications (approximately 40-60 N·m (30-44 lb-ft) for the torque converter bolts and 50-70 N·m (37-52 lb-ft) for the case bolts; verify the exact values against the service manual).
- Install the starter, cables, lines, connectors, exhaust system, axle shafts, and subframe. Replace all self-locking nuts and bolts that the service manual marks as single-use.
- Fill with transmission fluid of the same specification as what was drained, to the correct level. Connect the scan tool, warm the transmission up to operating temperature (use the fluid temperature from the service manual), check the level using the proper procedure, cycle the selector through all positions, and reset the transmission adaptations.
- Take a test drive: check for smooth shifting, no slipping or vibration, no fluid leaks, and no warning messages on the dash. Check the fluid level again.
Common mistakes and warnings
- This job involves removing a heavy assembly, with a high risk of injury and of damaging the transmission, so without experience and a lift it is best left to a specialized repair shop. Incorrect seating of the torque converter on the pump shaft quickly destroys the transmission pump and seal. After replacement, checking the fluid level and adapting the transmission control unit are mandatory.
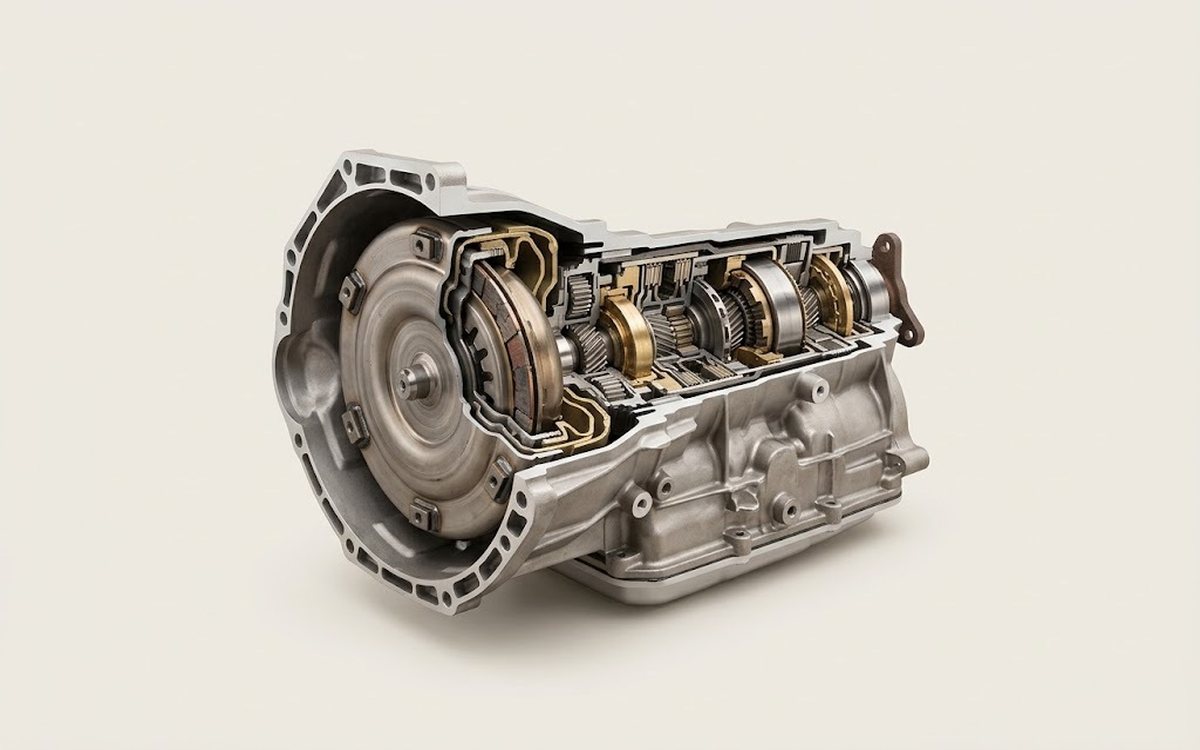 How it works · 3D
How an Automatic Transmission Works
How the part you're working on actually works — in plain English, on a 3D model.
Open in 3D →