Autopapyrus · Isuzu Trooper 2.3 4ZC1 (1984)
https://autopapyrus.com/guides/isuzu/trooper/valve-cover-and-gasket-removal-and-replacement/
https://autopapyrus.com/guides/isuzu/trooper/valve-cover-and-gasket-removal-and-replacement/
Compiled automatically from service literature and owner experience. Specs are for the typical configuration — check them against your exact car before you start.
Isuzu Trooper 2.3 4ZC1 (1984): Valve Cover and Gasket Removal and Replacement
The valve cover sits on top of the cylinder head and seals the valve train. It is usually removed to fix an oil leak at the head, to adjust the valves, or during cylinder head repair. The exact procedure for this engine is not documented in public service materials, so the steps below follow the general principle for an inline 4-cylinder SOHC engine. Torque values in the text are given as ranges.
Part
- 🔩 Valve cover (cylinder head cover) assembly, only if the old one is cracked or warped. In most cases a valve cover gasket is enough. You also need the seals (grommets) for the cover bolts and sealant for the joints where it is required. Used and aftermarket parts are cheaper. Exact part numbers for this variant are not confirmed in public sources, so choose the part by name and match it to your old cover
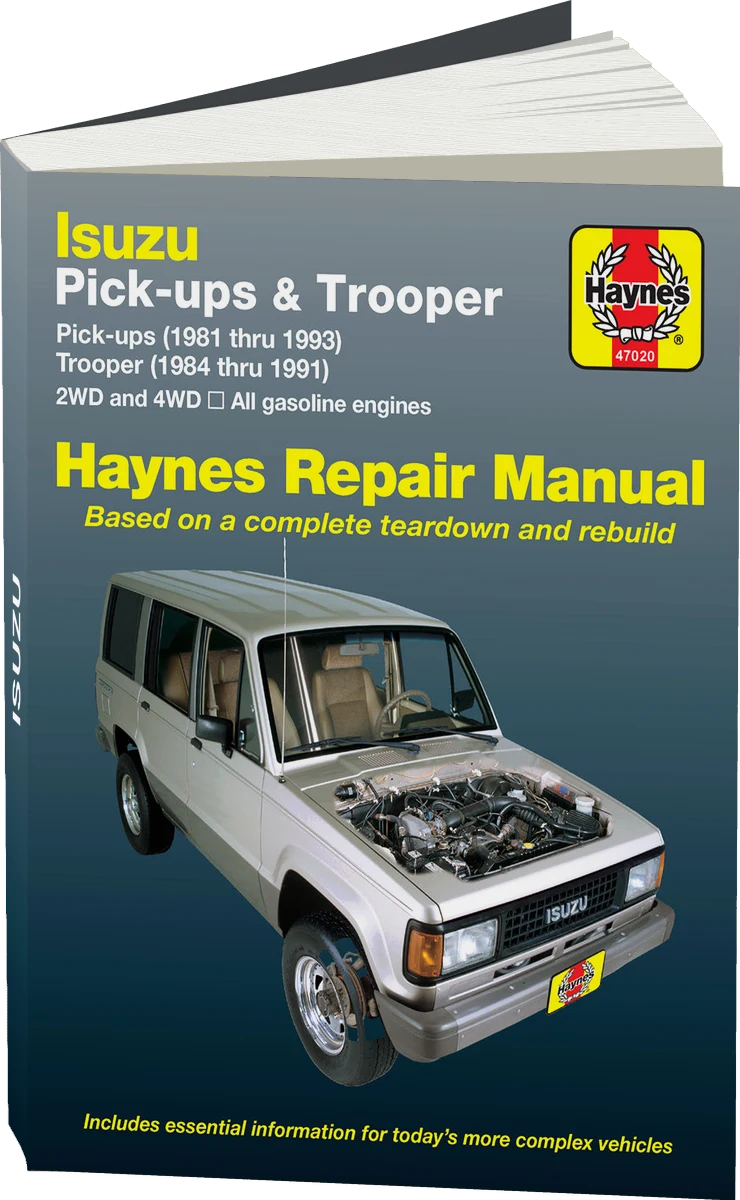 There's a full repair manual for this car
Every system, wiring diagrams and torque specs — not just this job. Haynes and 1 more.
See manuals →
Step by step
10 steps- Let the engine cool down completely. Disconnect the negative battery terminal.
- Remove everything that blocks access to the cover: the air intake duct and air filter housing, the breather (crankcase ventilation) hose, and any wires and hoses that run over the cover. Photograph or label the connectors and hoses.
- If ignition wires or the throttle cable run nearby, move them aside. Release them from the holders on the cover.
- Remove the cover bolts or nuts evenly, preferably in a crisscross pattern. Lay them out in the order of installation, because the length and sealing washers may differ.
- Lift the cover carefully. If it is stuck, gently pry it at the cast lugs with a plastic or wooden wedge. Do not pry along the joint surface with a screwdriver, because you can damage the mating surfaces.
- Remove the old gasket. Clean the surfaces of the cover and the head with a scraper and degreaser. Make sure debris and gasket remnants do not fall into the oil passages or onto the valve train: cover the opening with a clean rag.
- Inspect the cover for cracks, warping and damaged threaded bushings. Place it on a flat surface and check for gaps by looking along the joint against the light. Replace worn rubber bolt seals.
- Install the new gasket on a clean, dry surface. Apply sealant in a thin layer only where the design calls for it: usually at the half-round joints and the corners near the front timing cover. Do not overapply sealant.
- Carefully set the cover in place without shifting the gasket. Start all bolts by hand and tighten them first lightly, then fully, in a crisscross pattern from the center outward. The torque is low, about 5-10 N·m (4-7 lb-ft). Verify the exact value against the manufacturer's specification. Do not overtighten: you can crush the gasket or crack the cover.
- Reinstall the parts you removed and reconnect the battery. Start the engine, warm it up and check the joint for leaks. After a few hours of running, retighten the bolts again to the same low torque. Check the oil level and top up if needed.
Common mistakes and warnings
- Do not let debris get into the head, and do not overtighten the fasteners: the fine threads in an aluminum cylinder head strip easily. If the leak continues after replacing the gasket, check the breather (a clogged crankcase ventilation system builds pressure and pushes oil out) and check the cover surface for warping.