Autopapyrus · Kia Sephia 1.5 B5 (1994)
https://autopapyrus.com/guides/kia/sephia/engine-overhaul/
https://autopapyrus.com/guides/kia/sephia/engine-overhaul/
Compiled automatically from service literature and owner experience. Specs are for the typical configuration — check them against your exact car before you start.
Kia Sephia 1.5 B5 (1994): Engine Overhaul
The 1.5 L B5 is an inline four with a timing belt drive. The overhaul includes complete disassembly, inspection, boring and honing the block to an oversize, replacing the pistons and rings, bearings and valve stem seals, a mandatory cylinder head check, and replacing the timing belt. For exact specifications and torque values for your version (80 hp), check the manufacturer's service manual. The figures below are approximate guidelines.
Part
- 🔩 Oversize piston and ring set (matched to the bore size after boring), main and rod bearing set (standard or undersize depending on the crankshaft grinding result), valve stem seals, engine gasket set (head gasket, valve cover gasket, front and rear crankshaft seals, oil pan gasket), timing belt kit with idler pulleys and tensioner, water pump, oil pump (as needed), oil filter, coolant, engine oil. I am not listing exact OE numbers for this engine version. Select parts by name and piston size. Confirm prices with your supplier
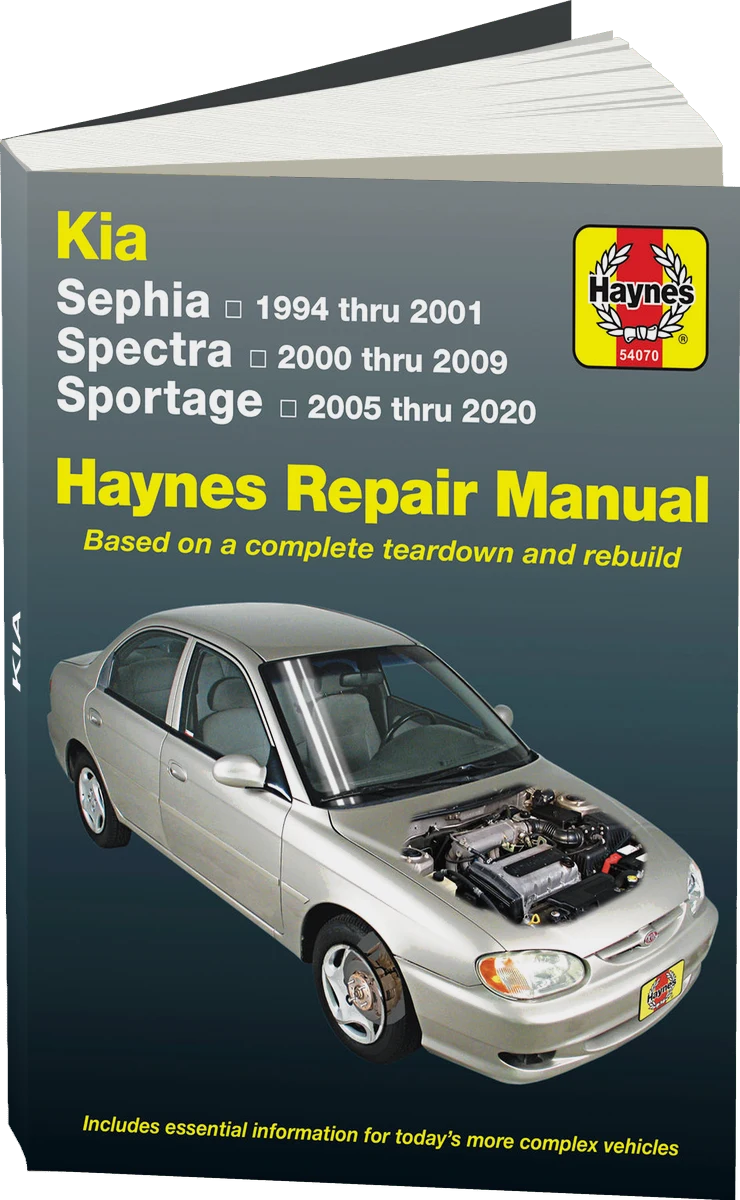 There's a full repair manual for this car
Every system, wiring diagrams and torque specs — not just this job. Haynes and 2 more.
See manuals →
Step by step
16 steps- Preparation. Disconnect the battery, drain the oil and coolant, remove the hood if necessary, and disconnect the air duct, fuel and vacuum hoses, sensor connectors and wiring harness. Photograph or label the wires and hoses before disconnecting them. Relieve the fuel system pressure if the car is fuel injected.
- Engine removal. Disconnect the exhaust system from the manifold, the throttle and clutch cables, the starter, the speedometer drive and the engine mounts. Support the engine with a hoist, separate the transmission (or remove the engine and transmission together, downward or upward, as appropriate for this car), and lift the engine out.
- Mounting on the stand and removing accessories. Remove the alternator, water pump, and power steering pump/A/C compressor if equipped, the intake and exhaust manifolds, the crankshaft pulley, and the timing covers. First set piston No. 1 to TDC and photograph the timing marks, then remove the belt.
- Cylinder head removal. Loosen the head bolts in 2-3 stages, working from the edges toward the center, which is the reverse of the tightening sequence. Do not remove a hot head, as the sealing surface may warp. Remove the camshaft and rocker arms/lifters, and keep them in order of installation.
- Head inspection and valve stem seal replacement. Compress the valve springs and remove the keepers, remove the old valve stem seals, and inspect the valve guides (stem-to-guide play), the seats and the valve faces. Check the flatness of the mating surface with a straightedge and feeler gauge, and have it resurfaced at a machine shop if warped. Lap or regrind the valves if needed. Install new seals (lubricate the stems with oil and take care not to damage the seal lip when fitting them) and reassemble the springs.
- Block disassembly. Remove the oil pan, oil pickup tube and oil pump. Before removing the rod caps, check the marks (cylinder numbers) on the rods and caps, and if there are none, mark them with a center punch or marker. Push the pistons out through the top, remove the main bearing caps and lift out the crankshaft. Keep the bearing shells in order.
- Block and crankshaft inspection. Wash the block and clean the oil passages. Measure the cylinders with a bore gauge in two planes and at three heights (out-of-round, taper). If wear exceeds the limit or there is scoring, bore and hone the block to the oversize of the pistons. The machine shop does the boring to the size of the pistons you purchased, allowing for piston-to-cylinder clearance. Measure the crankshaft journals with a micrometer: if they are worn or scored, have the crankshaft ground to match undersize bearings.
- Selecting the pistons and rings. Buy the pistons and rings for the size specified by the machine shop. Check the ring end gap in the cylinder and the ring side clearance in the groove with a feeler gauge, and compare the values with the service manual. Check the connecting rods for bending and twisting, and replace them if necessary. Assess the condition of the piston pins and the small-end bushings visually and by checking for play.
- Block assembly. Thoroughly wash and blow out the block after honing, and lubricate the cylinder walls with oil. Install the main bearing shells, lubricate the journals and shells with engine oil or special assembly lube, and lay in the crankshaft. Check the crankshaft end play and the radial clearance in the main and rod bearings with Plastigage. Tighten the main caps evenly in 2-3 passes with a torque wrench (a guideline for engines of this class is 50-70 N·m (37-52 lb-ft); use the exact value from the service manual). After tightening, the crankshaft should turn by hand without binding.
- Installing the pistons. Install the rings on the pistons with the "TOP" marks facing up, with the ring gaps staggered about 120° apart. Lubricate the pistons and cylinders with oil, and use the ring compressor to insert the pistons with the marks (arrow) facing the timing belt side. Tighten the rod caps in 2-3 passes (guideline 40-55 N·m (30-41 lb-ft); use the exact value from the service manual), and check that the crankshaft turns after each piston.
- Oil pump, seals, oil pan. Replace the front and rear crankshaft seals, and install the oil pump with a new seal, the oil pickup tube and the oil pan with sealant/gasket according to the manufacturer's instructions.
- Installing the cylinder head. Wipe the mating surfaces of the block and head, and make sure there is no oil or coolant in the bolt holes. Install a new head gasket without sealant (unless the gasket kit says otherwise). Tighten the head bolts in several passes from the center outward. Check the service manual for the final torque and whether an angle turn is required, and it is better to replace bolts that use an angle turn with new ones. A guideline for 4-cylinder engines of this class is 60-90 N·m (44-66 lb-ft) on the final pass.
- Timing. Install the camshaft, adjust the valve clearances (if they are adjusted manually) or check the hydraulic lifters. Align the crankshaft and camshaft marks, and install the new belt, idler pulleys and tensioner, plus a new water pump if needed. Turn the crankshaft two revolutions by hand and check that the marks line up.
- Accessories. Install the manifolds with new gaskets, the valve cover with a new gasket, the alternator, water pump, pulleys and belts. Install a new oil filter.
- Installing the engine and reconnecting. Reinstall the engine in reverse order, and reconnect all connectors, hoses and cables. Fill with oil (use the capacity from the service manual, approximately 3-3.5 L (3.2-3.7 qt) with the filter) and coolant.
- First start and break-in. Before starting, crank the engine with the starter with the ignition and fuel disabled until oil pressure registers on the gauge (the warning light goes out). Start the engine, warm it up at 2000-2500 rpm, check for oil and coolant leaks, and bleed the air from the cooling system. Stop the engine, let it cool, and check the fluid levels. Break in the engine for the first 1000-1500 km: no hard loads, no prolonged high rpm, and no towing. Change the oil and filter after 500-1000 km, and retighten the cylinder head only if this is specified for your type of gasket and bolts.
Common mistakes and warnings
- Boring and honing the block, grinding the crankshaft and checking the head require machine tools and measuring equipment, so leave them to an engine machine shop. Do not mix bearing shells from different sets, and do not swap the rod and main caps. Where only guideline values are given for torque and clearance tolerances, always check the manufacturer's service manual for your engine version. Working with a suspended engine is dangerous: use only a sound hoist and safety stands.
 How it works · 3D
How a Car Engine Works
How the part you're working on actually works — in plain English, on a 3D model.
Open in 3D →