Autopapyrus · Chevrolet Niva 1.7 8V (2009)
https://autopapyrus.com/guides/lada/2123-chevroletniva/transfer-case-repair/
https://autopapyrus.com/guides/lada/2123-chevroletniva/transfer-case-repair/
Compiled automatically from service literature and owner experience. Specs are for the typical configuration — check them against your exact car before you start.
Chevrolet Niva 1.7 8V (2009): Transfer Case Repair
The Chevrolet Niva transfer case is a two-speed unit with a lockable center differential. Typical problems: whining and humming at speed (worn bearings), the four-wheel drive disengaging by itself (worn forks and bushings), hard shifting between modes (a defect in the control mechanism), and oil leaks (worn seals). Repair requires completely disassembling the unit, replacing worn parts, and reassembling it with precise adjustment.
Parts
4- 🔩 VAZ 2123 transfer case repair kit, including bearings 6-50209 (front, differential), 6-209 (rear, differential), 6-305 (output shafts, 2 pcs.), or double-row bearings ES169059 and ES169055
- 🔩 input shaft and gear housing seals
- 🔩 snap rings 45/62/72/85 mm
- 🔩 self-locking nuts M16×1.5 (3 pcs.) and M18×1.5 (2 pcs.). An alternative to the ball bearings is the roller bearing 692306 from the UAZ
Step by step
23 steps- Drain the oil from the transfer case through the drain plug, disconnect the driveshafts from the flanges, and remove the transfer case from the vehicle (it attaches to the transmission through an adapter plate).
- Clean the transfer case housing of dirt, and treat the stud threads with a wire brush and a rust remover.
- Using a 13 mm socket, remove the nuts from the front and rear output shaft flanges, then remove the flanges with a puller or an impact tool.
- Using a 10 mm socket, remove the bolts holding the top cover of the control mechanism and take off the cover.
- Carefully remove the low-range shift fork rod. Inside is a spring with a locking ball (don't lose it).
- Remove the shift fork and the limiting bushing from the housing.
- Using an old flange to hold the shaft, use a torque wrench to remove the nuts on the drive shaft (M18×1.5) and the intermediate shaft (M18×1.5).
- Remove the nuts (or bolts) that hold the two halves of the transfer case housing together around the perimeter, then separate the housing into two parts with a pry bar.
- Remove the snap rings from the shaft bearings, then pull the shafts out of the housing using a drift punch or a bearing puller.
- Remove the bearings from the shafts with a puller, and inspect the races and rolling elements for scoring, chipping, and wear.
- Remove the differential as an assembly, disassemble it (remove the bolts holding the driven gear, then remove the spider gears and side gears), and inspect the gear teeth.
- Remove the output shaft seals and the input shaft seal from their seats, and check the mating surfaces on the housing and shafts.
- Wash all parts with kerosene or solvent and blow them dry with compressed air. Check the gears, couplings, and forks for wear and deformation.
- Replace all worn parts (bearings, seals, gaskets). Use only new self-locking nuts.
- Press the new bearings onto the shafts with a puller or a press, applying force only to the inner race (do not hit the outer race with a drift punch).
- Assemble the differential: install the spider gears and side gears, and secure the driven gear with bolts tightened to 66.6-82.3 N·m (49-61 lb-ft).
- Apply a thin layer of gasket sealant to the mating surfaces of the transfer case housing.
- Install the shafts with their bearings into the housing, secure them with the snap rings, and join the housing halves.
- Tighten the housing nuts evenly in a crisscross pattern. Then tighten the drive shaft and intermediate shaft bearing nuts to 96-117.6 N·m (71-87 lb-ft), holding the shaft with a flange.
- Install the control mechanism (fork, bushing, rod with spring and ball), check by hand that the modes shift easily, and secure the top cover.
- Press the new seals into their seats in the housing (coat the outer surface with sealant), install the flanges, and tighten the nuts to 96-117.6 N·m (71-87 lb-ft).
- Install the transfer case on the vehicle and reconnect the driveshafts. Fill with API GL-4 or GL-5 75W-90 gear oil, 0.79 L (0.83 qt), up to the level of the check plug.
- Road test the vehicle. Check that all modes engage (2H, 4H, 4L, differential lock) and that there is no whining, vibration, or oil leakage.
Common mistakes and warnings
- Transfer case repair requires experience working on transmissions and special tools (bearing pullers, a torque wrench). Incorrect assembly will cause accelerated wear of the bearings and gears and damage to the unit. Always replace all gaskets and self-locking nuts during assembly. If you lack experience, leave the repair to a specialized repair shop. When replacing the ball bearings with 692306 roller bearings from the UAZ, check that the seat dimensions are compatible.
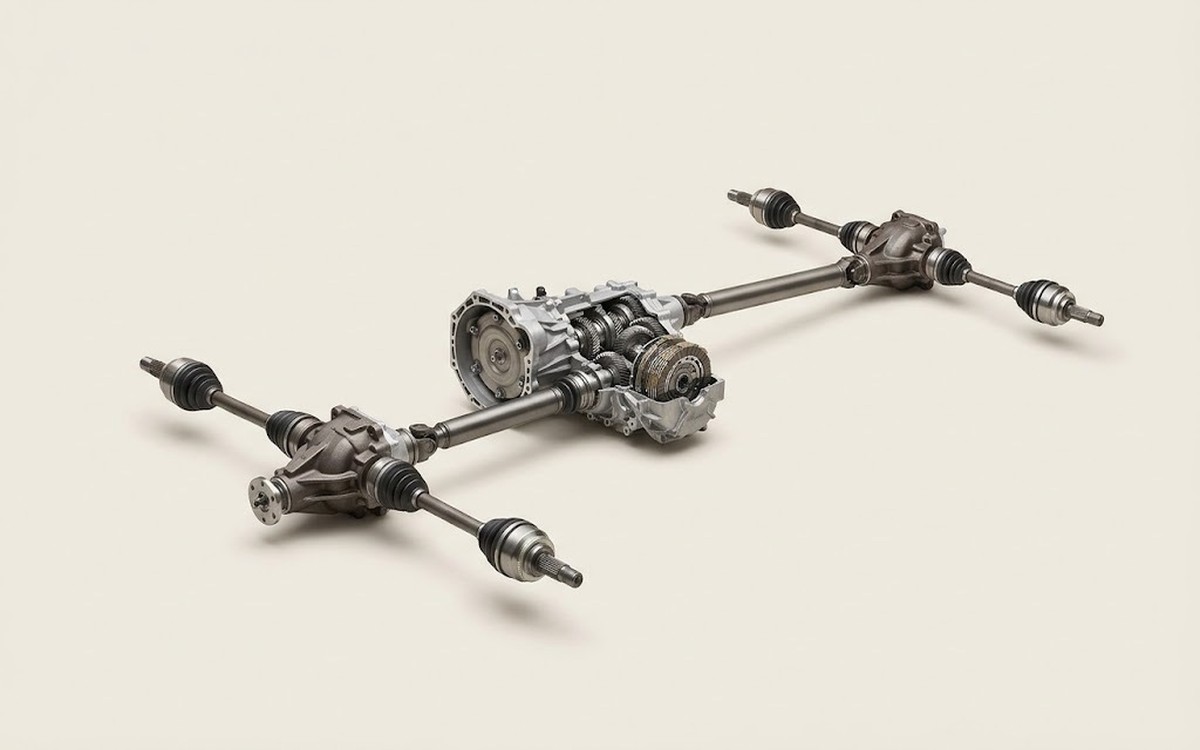 How it works · 3D
How All-Wheel Drive Works
How the part you're working on actually works — in plain English, on a 3D model.
Open in 3D →