Autopapyrus · Lexus GS (S190, AWD)
https://autopapyrus.com/guides/lexus/gs/replacing-the-rear-differential-pinion-seal/
https://autopapyrus.com/guides/lexus/gs/replacing-the-rear-differential-pinion-seal/
Compiled automatically from service literature and owner experience. Specs are for the typical configuration — check them against your exact car before you start.
Lexus GS (S190, AWD): Replacing the Rear Differential Pinion Seal
An oil leak from under the pinion flange of the rear differential on an AWD GS shows up as oil streaks near the driveshaft and a dropping oil level in the axle. The seal itself is inexpensive, but the job requires removing the driveshaft and accurately restoring the pinion bearing preload. Exact torque values for this model are not confirmed in public sources, so the general principle with ranges is given below.
Part
- 🔩 Rear differential pinion seal (rear seal on the drive pinion of the final drive), rear axle gear oil per GL-5 specification in the correct viscosity, a new crush sleeve if the pinion uses a crush sleeve design, and a new self-locking pinion nut. The exact OE part number for this differential is not reliably confirmed, so choose the seal by name and by the dimensions of the removed one
 There's a full repair manual for this car
Every system, wiring diagrams and torque specs — not just this job. Haynes AutoFix (online) and 1 more.
See manuals →
Step by step
14 steps- Raise the car on a lift with the wheels on the ground, or support the body on stands. Remove the underbody shield and, if necessary, the section of the exhaust system that blocks access to the driveshaft.
- Inspect the leak area. Make sure the oil is coming from under the pinion seal and not from the breather, the axle shaft seals or the differential cover. Wipe the unit clean and check the oil level through the fill hole.
- Mark the differential flange and the driveshaft flange with paint or a center punch, and also mark the nut and the end of the pinion. This is needed to reassemble everything in the original position.
- Undo the fasteners that hold the rear driveshaft to the differential flange. Move the shaft aside and secure it with wire. Do not let the shaft hang on its joints.
- Measure the pinion rotating torque (with a torque wrench on the nut or with a special torque gauge) and write down the value. It is needed as a reference for the correct preload after reassembly.
- Hold the flange to keep it from turning and undo the pinion nut. The nut is very tight, so use a long lever. Count or measure exactly how much it took to loosen it, and check it against the marks.
- Remove the flange with a puller. Do not hit the flange or the pinion with a hammer, to avoid damaging the bearings.
- Pry out the old seal. Do not damage the seat or the pinion surface. Inspect the flange journal under the seal: if the wear groove is deep, replace the flange or fit a repair sleeve.
- Clean the seat, then lubricate the lip of the new seal and its seating surface with gear oil. Press the seal in with a driver, straight and without cocking, until it bottoms out in its seat. Use the position of the old seal as a guide.
- Install the flange aligned with the marks. Fit a new washer and nut (if the nut is single-use, a new one is mandatory). Lightly lubricate the threads with oil, or use a thread locker as recommended by the part manufacturer.
- Tighten the nut gradually, checking the pinion rotating torque from time to time. The goal is to return to the previously measured rotating torque within a small tolerance. If the pinion has a crush sleeve, overtightening deforms it and will require replacing the sleeve and readjusting the preload, so tighten carefully in small increments. Never back the nut off after overtightening, because for a crush sleeve that means replacement. The final nut tightening torque for this model is usually high (around 150-300 N·m (111-221 lb-ft) on similar differentials), but take the exact value from the manufacturer's specification.
- Install the driveshaft aligned with the marks and tighten the bolts in a crisscross pattern. Tighten the driveshaft bolts to the specified torque (usually 50-80 N·m (37-59 lb-ft) for bolts of this size).
- Check the oil level in the rear axle through the fill hole and top it up to the lower edge of the hole if some has leaked out. If the oil has not been changed for a long time or is contaminated, replace it completely; the capacity is per the specification.
- Lower the car, warm it up and drive 5-10 km (3-6 miles), then check for leaks and listen to the rear axle for whining and humming under load and when coasting.
Common mistakes and warnings
- The main risk is upsetting the pinion bearing preload: overtightening or undertightening leads to whine, overheating and rapid wear of the ring and pinion. If you are not sure about measuring the rotating torque or about the condition of the crush sleeve, it is better to leave the job to a repair shop. The driveshaft and suspension are under load, so support the car securely on stands.
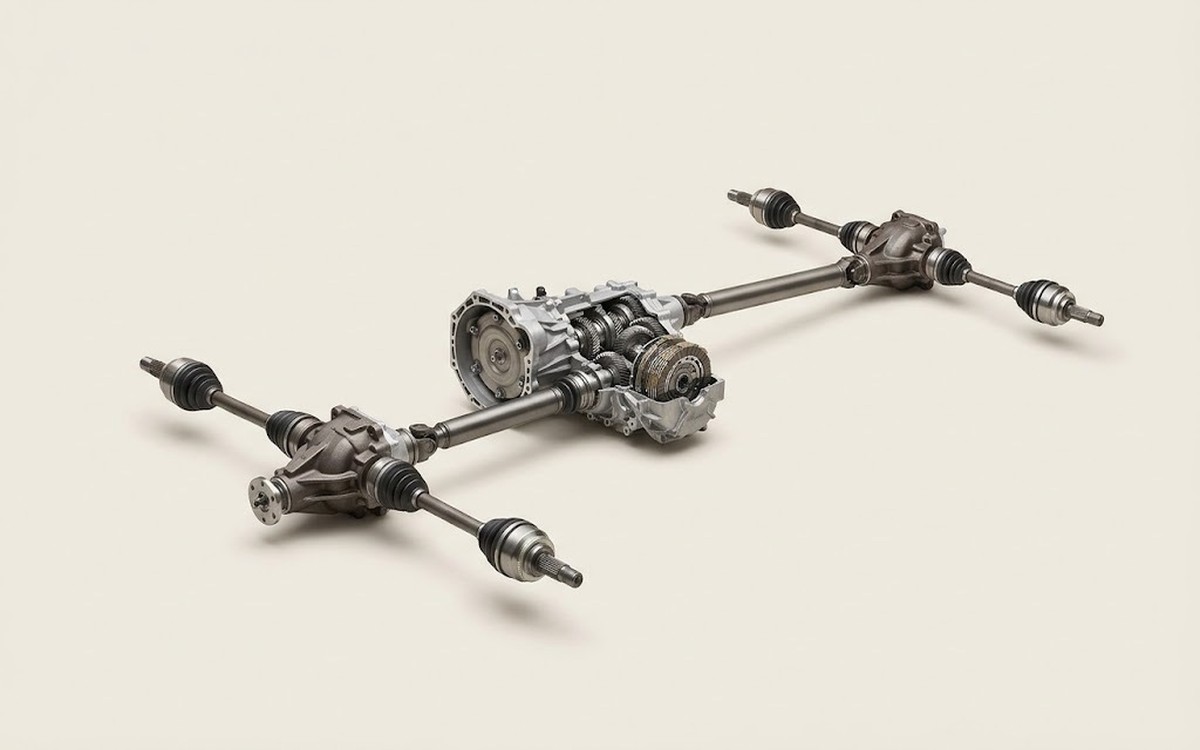 How it works · 3D
How All-Wheel Drive Works
How the part you're working on actually works — in plain English, on a 3D model.
Open in 3D →