Autopapyrus · Mercedes-Benz M-Class (W163, 1st generation)
https://autopapyrus.com/guides/mercedes-benz/m-class/replacing-the-conductor-plate-electrical-plate-in-the-722-6-automatic/
https://autopapyrus.com/guides/mercedes-benz/m-class/replacing-the-conductor-plate-electrical-plate-in-the-722-6-automatic/
Compiled automatically from service literature and owner experience. Specs are for the typical configuration — check them against your exact car before you start.
Mercedes-Benz M-Class (W163, 1st generation): Replacing the Conductor Plate (Electrical Plate) in the 722.6 Automatic Transmission
The conductor plate is the electronic part of the 722.6 transmission valve body. It connects the control module to the solenoids and sensors. Its failure causes typical symptoms: limp-home mode with the transmission stuck in one gear, harsh shifts, and fault codes for solenoid circuits and speed sensors. The plate is replaced with the pan and valve body removed, and you do not need to remove the transmission. This job requires care and cleanliness.
Part
- 🔩 Conductor plate (electronic plate with solenoid connectors) for the 722.6 5-speed automatic transmission. Compatible numbers: A 140 270 05 61, 140 270 07 61, 140 270 08 61, 140 270 11 61. The exact variant is determined by the marking on the old plate, so compare it before buying. You will also need: transmission filter with sealing ring, pan gasket, drain plug washer, MB ATF 134 fluid (specification MB 236.14), about 4-6 L (4.2-6.3 qt). If the solenoids are worn, replacing the complete valve body assembly may be an option. It is a separate item with a different part number
Step by step
16 steps- Before starting, read the fault codes with a scan tool. Make sure the cause is the plate and not the connector, the wiring harness, or the speed sensors. They are located on the same plate, and their failure also points to wear of the plate.
- Let the transmission cool down. Raise the vehicle, secure it firmly on stands, apply the parking brake, and place chocks under the rear wheels. Remove the engine undertray (skid plate).
- Remove the drain plug with a 5 mm hex key and drain the fluid. Reinstall the plug with a new washer, tightening torque about 20 N·m (15 lb-ft).
- Remove the pan bolts (Torx T30 or hex). The bolts are of different lengths, so remember or sketch where each one was. Carefully lower the pan, as there will still be fluid inside.
- Remove the filter by pulling it downward. Clean the pan and the magnet down to bare metal. Pay attention to shavings and small particles. A light film is normal, but large shavings indicate mechanical wear, and in that case the plate alone is not enough.
- Disconnect the transmission's 13-pin connector: turn the bayonet ring counterclockwise. Remove the center bolt with a 7 mm socket.
- Remove the T30 bolts that secure the valve body. They are arranged in a zigzag pattern, so note their positions. Lower the valve body, watching the selector linkage.
- Place the valve body on a clean table. Remove the yellow plastic covers. Take out the six solenoids by removing the three retaining clips (T30). Remember the location of each solenoid.
- Remove the old plate, which is held by plastic retainers. Install the new plate.
- Install the solenoids in their original positions, then the clips and covers. Compare the new and old plates by the connector layout.
- Raise the valve body back into place. Important: the shift lever must engage the sliding tab of the valve body. Otherwise the vehicle will not move forward or in reverse. Tighten the bolts in the same order, to the manufacturer's specified torque.
- Connect the 13-pin connector and tighten the center bolt. Lubricate the sealing ring of the new filter with fluid and insert the filter into the valve body opening.
- Install a new pan gasket and then the pan. First tighten the bolts by hand in a crisscross pattern, then with a torque wrench. The torque is low, about 8 N·m (6 lb-ft). Do not overtighten, because the pan is plastic or thin metal and deforms easily.
- Fill with about 3.5-4 L (3.7-4.2 qt) of ATF 134 through the dipstick tube. To do this, break the red seal on the dipstick. Start the engine and, with it idling, cycle through all the selector positions.
- Warm the transmission to operating temperature. According to the specification, the fluid level is checked with the engine running at a specified fluid temperature, monitored with the scan tool. Top up to the correct level. The total transmission capacity is about 9-12 L (9.5-12.7 qt), and with a partial change only part of it is drained.
- Clear the codes with the scan tool. Take a test drive of 10-15 minutes with shifts in different driving modes, and check that no new codes appear and there are no leaks.
Common mistakes and warnings
- Work in perfectly clean conditions: any dirt on the valve body can ruin the transmission. If codes return after replacing the plate, the cause may be worn solenoids or a problem with the control module, and then a complete valve body replacement or diagnostics on a specialized test bench will be required. If you have no experience with automatic transmission valve bodies, it is better to leave the job to a specialized shop.
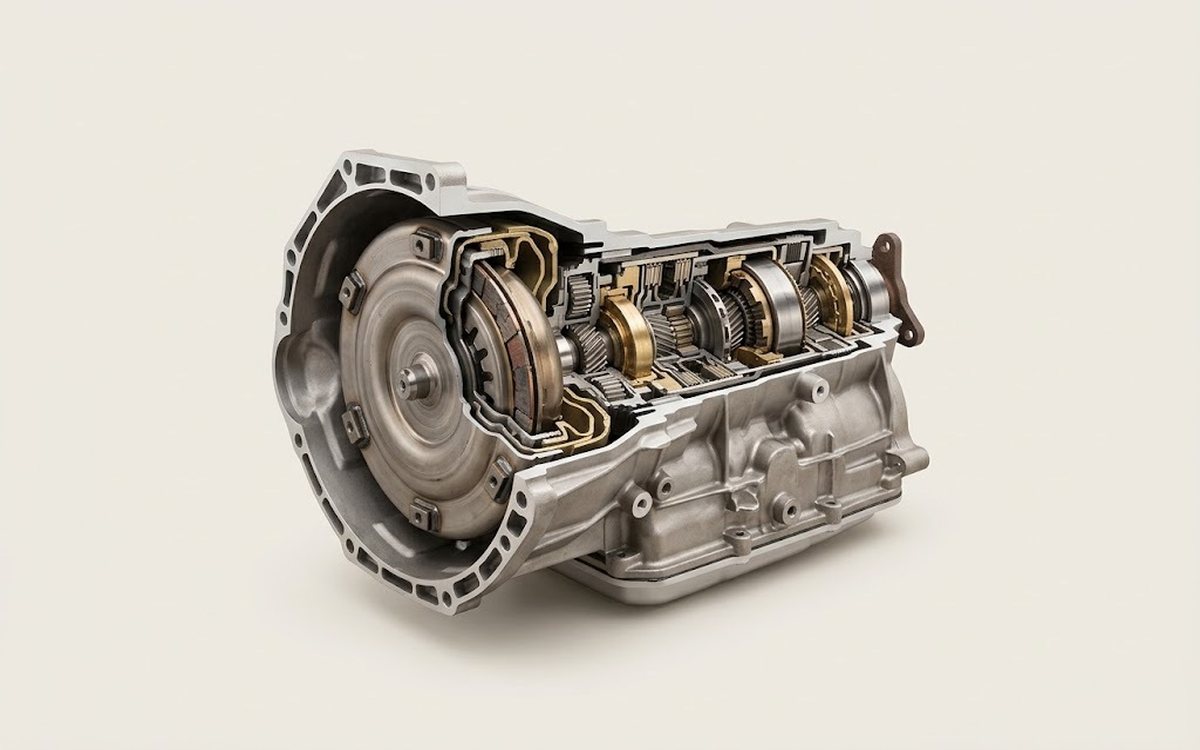 How it works · 3D
How an Automatic Transmission Works
How the part you're working on actually works — in plain English, on a 3D model.
Open in 3D →