Autopapyrus · SEAT Cordoba (2nd generation, 6L)
https://autopapyrus.com/guides/seat/cordoba/replacing-cooling-system-hoses-and-clamps/
https://autopapyrus.com/guides/seat/cordoba/replacing-cooling-system-hoses-and-clamps/
Compiled automatically from service literature and owner experience. Specs are for the typical configuration — check them against your exact car before you start.
SEAT Cordoba (2nd generation, 6L): Replacing Cooling System Hoses and Clamps
Rubber hoses harden, crack and swell with age, and begin to leak where they meet the clamps. Replace them on a cold engine with the coolant drained. The engine is not specified, so below is a general sequence for all 6L variants. Check the hose locations against your specific engine.
Parts
2- 🔩 Hose set for your engine (upper and lower radiator hoses, heater hoses, thermostat hoses and expansion tank hoses), spring or worm-drive clamps of the same type as the factory ones, VAG G12/G12+ class coolant (pink or purple; check compatibility and mixing against the marking on the reservoir). Genuine SEAT/VAG hoses are available
- 🔩 quality aftermarket hoses are cheaper. Choose parts by VIN and engine size: the 6L on this body came with 1.2, 1.4 and 1.6 gasoline engines and 1.4 TDI and 1.9 SDI/TDI diesels, so the hose set differs by engine
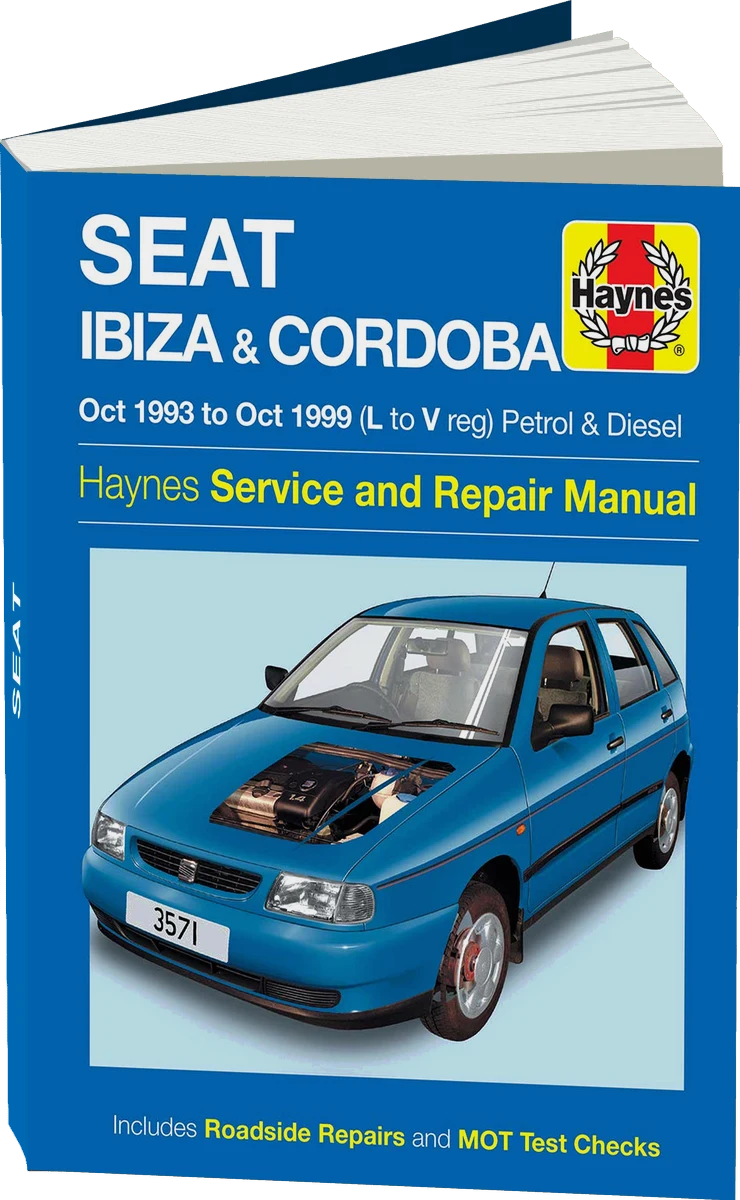 There's a full repair manual for this car
Every system, wiring diagrams and torque specs — not just this job. Haynes and 2 more.
See manuals →
Step by step
11 steps- Let the engine cool down completely (at least 2-3 hours). Open the hood and, if necessary, remove the decorative engine cover and the air duct or air filter housing if they block access.
- Park the car on level ground and, if necessary, remove the engine undertray. Place the drain pan under the radiator. Carefully open the expansion tank cap to release any residual pressure.
- Drain the coolant through the lower radiator hose: loosen the clamp, carefully slide the hose off the neck and let the coolant drain. If the radiator has a drain plug or screw, use it. Wait until the coolant has drained completely.
- Inspect all the hoses: upper and lower radiator hoses, heater supply and return, hoses to the thermostat and thermostat housing, and to the expansion tank. Take photos of the hose routing and clamp positions so you can reassemble everything the same way. Mark the direction and position of each hose with a marker.
- Remove the hoses one at a time. Squeeze the spring clamp with pliers and slide it along the hose out of the way. Loosen worm-drive clamps with a screwdriver. If a hose is stuck, twist it by hand around the neck. Do not use sharp tools against the neck surface. If the hose is on a plastic thermostat housing or flange, do not use excessive force: old plastic flanges are brittle.
- Clean the necks of rubber residue, deposits and buildup, and wipe them dry. Check the necks for cracks and corrosion. If a plastic flange or a hose fitting with a temperature sensor is damaged, replace it as a whole.
- Install the new hoses onto the necks all the way to the full depth of the seat, keeping the original orientation and routing (the hose must not rub against the drive belt, the body or pipes). Do not lubricate the necks with oil. Just wet the neck lightly with coolant.
- Install the clamps in their original positions, close to the raised bead on the neck but not at the very edge. Use spring clamps of the factory type. Tighten worm-drive clamps moderately, until they are snug without pinching the rubber (roughly "hand on a screwdriver" effort, with no impacts or jerking). Do not reuse old worn clamps that have lost their tension or have a rusty band.
- Close the drain point and fill the system with coolant through the expansion tank up to the MAX mark. Start the engine with the tank cap off or loosely closed, and hold the engine at 2000-2500 rpm to warm it up. Turn the heater to maximum to bleed air out of the heater circuit.
- As the engine warms up, watch the level in the tank and top it off. The radiator fan switching on means the thermostat has opened. Wipe each joint and clamp with a dry rag to check for drips, and tighten if necessary.
- Let the engine cool, check the level again and top it off to the correct level. After 1-2 days of driving, check the level and the joints again. Take the old coolant to a recycling facility. Do not pour it on the ground.
Common mistakes and warnings
- Do not open the expansion tank cap on a hot engine: the system is under pressure and severe burns are possible. Coolant is toxic and dangerous to animals (it tastes sweet), so keep the container closed. After the job, do not allow the engine to overheat: an air pocket in the system can warp the cylinder head, so be sure to bleed the system and watch the temperature on the instrument cluster. If the temperature rises or the level drops after the replacement, stop and fix the cause. Do not keep driving.
 How it works · 3D
How the Engine Cooling System Works
How the part you're working on actually works — in plain English, on a 3D model.
Open in 3D →