Autopapyrus · Suzuki Grand Vitara (2nd generation, JT)
https://autopapyrus.com/guides/suzuki/grand-vitara/transfer-case-oil-change/
https://autopapyrus.com/guides/suzuki/grand-vitara/transfer-case-oil-change/
Compiled automatically from service literature and owner experience. Specs are for the typical configuration — check them against your exact car before you start.
Suzuki Grand Vitara (2nd generation, JT): Transfer Case Oil Change
On four-wheel-drive Grand Vitara JT models, the transfer case has its own oil bath, separate from the transmission and the axles. The oil is changed along with transmission maintenance, usually every 40-60 thousand km, or more often if you drive off-road or through water crossings. The procedure is the same for the J24B engine. Check the exact intervals and capacity against the manufacturer's schedule for your trim level.
Part
- 🔩 Hypoid gear oil SAE 75W-90 API GL-5, about 1 L (1.1 qt) (the transfer case capacity is approximately 0.9-1.2 L (0.95-1.27 qt); the exact amount is determined by the level at the fill opening). Copper or aluminum sealing washers for the drain and fill plugs, sold separately
 There's a full repair manual for this car
Every system, wiring diagrams and torque specs — not just this job. Haynes AutoFix (online) and 1 more.
See manuals →
Step by step
9 steps- Warm up the vehicle for 5-10 minutes (drive a short distance) so the oil thins out and drains better. Park the vehicle on a level, flat surface, a pit or ramps, set the parking brake, select first gear (or P on an automatic), and place wheel chocks under the wheels.
- If necessary, remove the skid plate if it covers the transfer case. Find the transfer case in the center under the body, behind the transmission. It has two plugs on its housing: the fill plug (higher, on the side) and the drain plug (on the lower part).
- Clean the area around the plugs of dirt. First loosen the fill plug to make sure it can be opened. If it won't come out, do not remove the drain plug, otherwise you won't be able to refill the case with oil.
- Place the drain pan and remove the drain plug. Let the oil drain completely, which takes 5-10 minutes. Inspect the oil: a dark color and a burnt smell are acceptable for old oil, but metallic particles and shavings on the plug's magnet (if it has one) indicate wear, and in that case the transfer case needs to be diagnosed.
- Wipe the plug and its seat, replace the sealing washer, and tighten the drain plug. The tightening torque is approximately 20-30 N·m (15-22 lb-ft) (check the exact value against the manufacturer's specification). Do not overtighten, to avoid stripping the threads in the aluminum housing.
- Through the fill opening, use a syringe or pump to add new oil until it begins to seep out of the opening. The oil level should be flush with the lower edge of the fill opening.
- Wait 1-2 minutes for the oil to settle and, if necessary, top up to the edge. Install a new washer and tighten the fill plug to the same torque of 20-30 N·m (15-22 lb-ft).
- Wipe any oil residue off the transfer case housing, reinstall the skid plate if you removed it, and lower the vehicle.
- After a day or two, check the transfer case and plugs for leaks. Also check the oil level after a test drive.
Common mistakes and warnings
- Fill only with gear oil of the correct viscosity and GL-5 class. Do not use engine oil or automatic transmission fluid (ATF). Do not mix oils of different classes unnecessarily. If you notice metal shavings or water in the oil during draining (a light-colored emulsion), or if noise and vibration appear in the drivetrain after the change, take the vehicle to a repair shop to have the transfer case diagnosed.
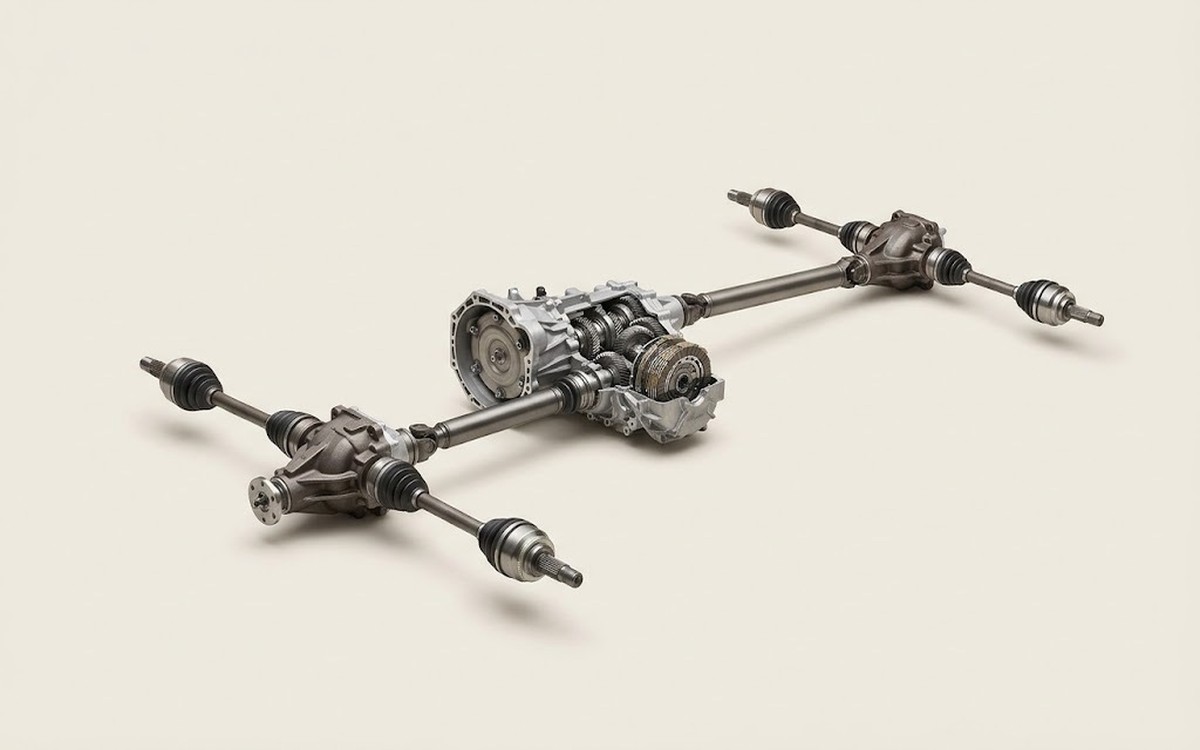 How it works · 3D
How All-Wheel Drive Works
How the part you're working on actually works — in plain English, on a 3D model.
Open in 3D →