Autopapyrus · Chevrolet Camaro 3.6 LGX (2018)
https://autopapyrus.com/guides/chevrolet/camaro/complete-overhaul-of-the-8l45-automatic-transmission-removal-required/
https://autopapyrus.com/guides/chevrolet/camaro/complete-overhaul-of-the-8l45-automatic-transmission-removal-required/
Compiled automatically from service literature and owner experience. Specs are for the typical configuration — check them against your exact car before you start.
Chevrolet Camaro 3.6 LGX (2018): Complete Overhaul of the 8L45 Automatic Transmission (Removal Required)
The 2018 Camaro VI with the 3.6 LGX engine uses an 8-speed 8L45 rear-wheel-drive automatic transmission. A complete overhaul includes removing the transmission, full disassembly, inspection, replacing the friction plates and seals, reassembly and adaptation. Exact clearances and torque specifications for this transmission must be taken from the manufacturer's service manual. They are not confirmed in open sources, so a general procedure and ranges are given below.
Part
- 🔩 8L45 (Hydra-Matic) automatic transmission rebuild kit: friction plate and steel plate set, seal and O-ring set, lip seals, pan filter with gasket, and, if needed, a torque converter, bushings and bearings. Dexron HP transmission fluid (per the manufacturer's specification)
 There's a full repair manual for this car
Every system, wiring diagrams and torque specs — not just this job. Haynes and 12 more.
See manuals →
Step by step
15 steps- Pre-disassembly diagnostics. Read the TCM trouble codes. Check the condition of the fluid: a burnt smell, metal particles and cloudiness indicate wear of the friction plates or clutch packs. Make sure the cause is not the valve body (mechatronic unit), the solenoids or the torque converter. Sometimes a fluid and filter change or a valve body replacement is enough, without a full teardown.
- Preparation. Disconnect the negative battery terminal. Raise the car on a lift to a height sufficient for lowering the transmission. Drain the fluid from the pan and collect it.
- Removing the exhaust and driveshaft. Remove the catalytic converters or downpipes if they block the transmission's path, along with the heat shields. Mark the position of the driveshaft relative to the flange and remove it, supporting the rear section. Plug the transmission output so the remaining fluid does not leak out.
- Disconnect the electrical connections and cooling lines. Unplug the transmission connectors, sensors and harnesses, and mark where each goes. Disconnect the transmission cooler lines and plug them. Remove the shifter brackets and linkage if they catch on the transmission.
- Supporting the engine and transmission. Support the engine from below if you are removing the rear mount, and place a transmission jack under the transmission. Remove the crossmember and the transmission mount.
- Disconnect the torque converter from the flexplate. Through the service opening, or after removing the protective cover, remove the bolts securing the torque converter to the flexplate, turning the crankshaft to bring each bolt into view. Mark the position.
- Separate the transmission from the engine. Remove the bell housing bolts and take off the starter if necessary. Carefully slide the transmission rearward along the guides, without letting the torque converter fall out. It is heavy and full of fluid.
- Lower the transmission and set it on a stand or a clean workbench. Clean the exterior and drain the remaining fluid from the torque converter and the case.
- Disassembly. Remove the pan, filter, valve body (mechatronic unit) and solenoids. Disassemble the case step by step, removing the planetary gear sets, clutch packs and drums. Lay out the parts in order, photograph their positions and use labeled containers. Keep the washers and thrust bearings in installation order.
- Inspection. Evaluate the wear of the friction plates (thickness, color, glazing, cracks), and the condition of the steel plates, pump bushings, drums, bearings and gears. Replace everything that is worn or overheated. Check the case and hydraulic passages for scoring and blockage. Clean the valve body and replace the solenoids if necessary.
- Replace the torque converter. If the fluid contained metal particles, the converter must be replaced or sent out for flushing and repair. Flushing at home will not remove all the debris, and any remaining debris will quickly destroy the new assembly.
- Reassembly. Replace all O-rings, lip seals and gaskets with new ones. Lubricate the parts with clean transmission fluid. Soak the new friction plates in fluid for the time specified by the manufacturer (usually at least 20-30 minutes). Observe the order and orientation of the clutch packs, and check the pack clearances with a feeler gauge or dial indicator according to the specification. Tighten the case, pan and valve body bolts with a torque wrench to the manufacturer's specification, in the correct sequence.
- Installation. Install the torque converter all the way in and make sure it is seated on the splines and in the pump (check the protrusion dimension). Bring the transmission into position, align the splines and dowels, and bolt the bell housing to the engine. Tighten the torque converter-to-flexplate bolts, then install the mounts, the driveshaft per the marks, the exhaust, brackets, electrical connectors and cooler lines.
- Refilling. Add fluid to the proper level using the manufacturer's procedure, monitoring fluid temperature with a scan tool. Start the engine, cycle through all selector positions with pauses, and check for leaks. Bring the level to normal at operating temperature.
- Adaptation. After the repair, reset and perform the TCM adaptation with a scan tool that supports GM, then take a test drive following the standard shift-learning procedure. Check for error codes, shift speed and smoothness, and make sure there is no slipping.
Common mistakes and warnings
- This is a complex operation that requires cleanliness, special tools and experience with automatic transmission hydraulics: any dirt or error in the clearances will lead to another failure. If you lack experience, it is better to leave the disassembly of the transmission to a specialized shop and do only the removal and installation yourself. Work under the car only on a lift with secure locking, and keep the transmission secured on the jack: the assembly with the torque converter is very heavy. Check all torque specifications and clearances against the manufacturer's service manual for the 8L45.
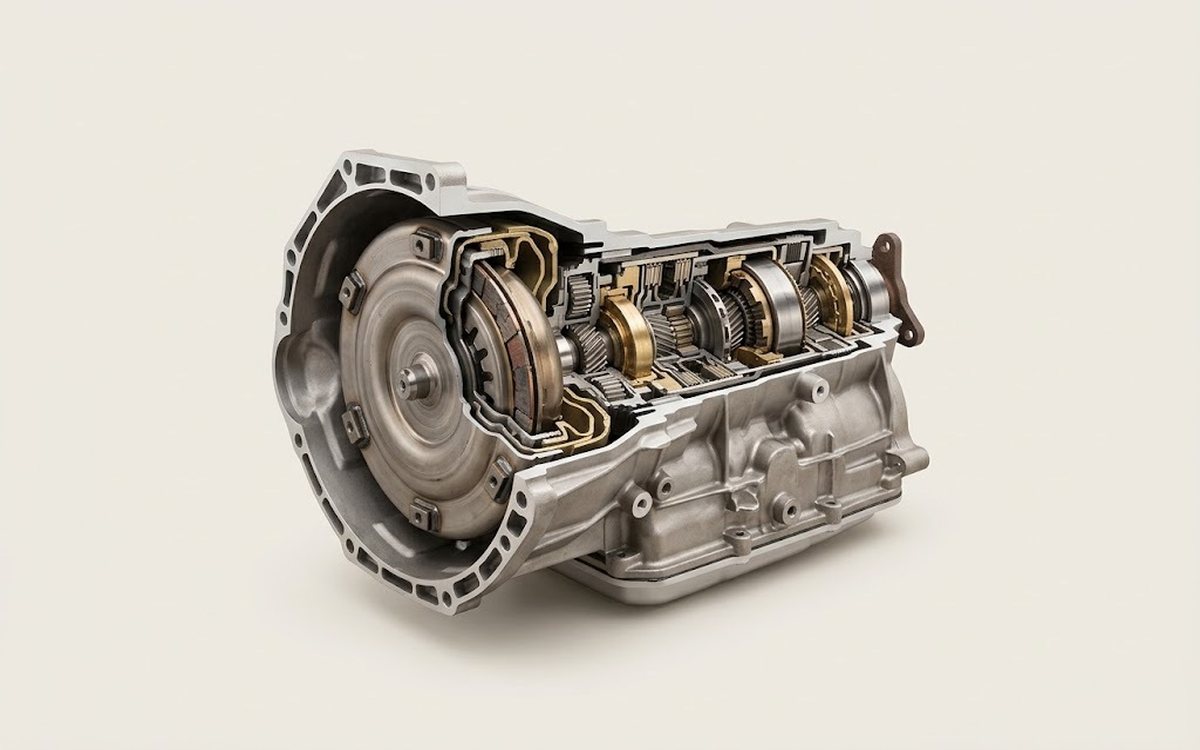 How it works · 3D
How an Automatic Transmission Works
How the part you're working on actually works — in plain English, on a 3D model.
Open in 3D →