Autopapyrus · Volkswagen Golf 1.4 TSI CAXA (2011)
https://autopapyrus.com/guides/volkswagen/golf/timing-chain-replacement/
https://autopapyrus.com/guides/volkswagen/golf/timing-chain-replacement/
Compiled automatically from service literature and owner experience. Specs are for the typical configuration — check them against your exact car before you start.
Volkswagen Golf 1.4 TSI CAXA (2011): Timing Chain Replacement
The EA111 1.4 TSI CAXA engine uses a timing chain drive. The scheduled replacement interval is 150,000 km, but early versions suffer from chain stretch and tensioner wear as early as 80,000-100,000 km. The typical symptom is a metallic rattle on a cold start. Replacing the chain requires special tools to lock the camshafts and crankshaft, because the shafts have no keyways. Installing the chain even one tooth off causes the valves to hit the pistons and destroys the engine.
Part
- 🔩 Timing chain kit for EA111 1.4 TSI. OE number 03C 198 229 B (aftermarket equivalents: ET Engineteam RS0102, reinforced kit for CAXA/CAXC/CNVA/CMSA). The kit includes: timing chain 03C 109 158 H, tensioner 03C 109 507 BD, crankshaft sprocket 03C 109 571 K, two guides 03C 109 509 AA and 03C 109 469 R, camshaft sprocket with phaser 03C 105 209 BC (19/23 teeth), phaser drive 03C 109 088 G
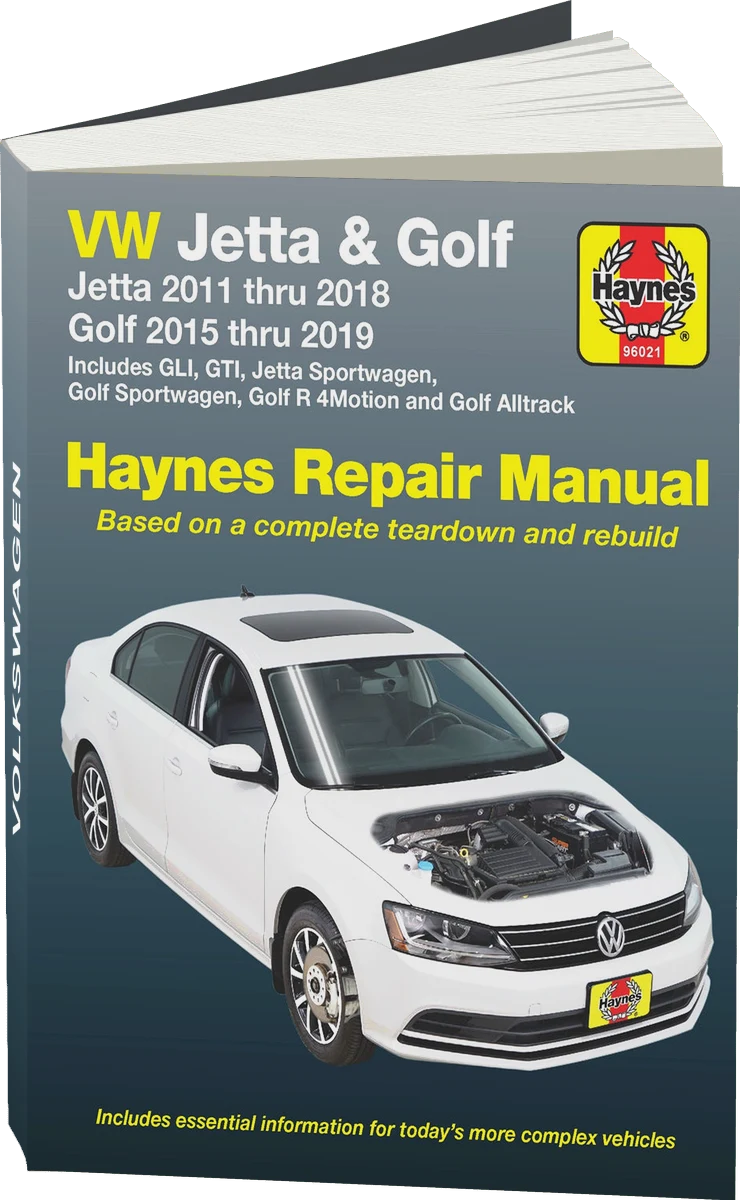 There's a full repair manual for this car
Every system, wiring diagrams and torque specs — not just this job. Haynes and 36 more.
See manuals →
Step by step
24 steps- Put the car on a lift or over an inspection pit. Disconnect the negative battery terminal. Remove the upper engine cover.
- Drain the coolant through the radiator drain plug or the lower hose. Remove the air filter housing assembly and disconnect the coolant hoses from the cylinder head and thermostat.
- Raise the front of the car and remove the right front wheel. Remove the plastic wheel arch liner and the engine undercover to get access to the oil pan and the crankshaft pulley.
- Remove the oil pan bolts around the perimeter. Carefully remove the pan so you don't damage the gasket. Clean the mating surface of any sealant residue.
- Loosen the alternator belt or the accessory drive tensioner. Remove the alternator drive belt. Remove the center bolt of the crankshaft pulley (the crankshaft must be held to keep it from turning: lock the flywheel through the opening in the bellhousing with a pry bar).
- Remove the crankshaft pulley with a puller. Remove the front plastic timing chain cover (upper and lower sections) by removing the bolts around the perimeter.
- Turn the crankshaft by hand in the normal direction of engine rotation until the piston of cylinder 1 is at TDC. The marks on the camshaft and crankshaft sprockets must line up with the marks on the valve cover and the cylinder block.
- Install the crankshaft locking tool T10340 in the service hole in the cylinder block (on the flywheel side) to lock the crankshaft at TDC. Install the camshaft locking tool T10171 or T10171A through the openings at the rear of the camshafts so the shafts cannot turn when the chain is removed.
- Remove the chain tensioner bolt and pull the tensioner out of its seat. Remove both chain guides (upper and lower) by removing their mounting bolts.
- Remove the camshaft sprocket bolt (with phaser). The bolt is tightened to 80-100 N·m (59-74 lb-ft) plus an additional angle, so the camshaft must be held securely. Remove the sprocket from the shaft.
- Remove the center nut of the crankshaft sprocket (typically tightened to 90-120 N·m (66-89 lb-ft) plus an additional angle). Remove the crankshaft sprocket together with the chain. Inspect the sprocket for tooth wear. If you see wear grooves or chips, replace the sprocket.
- Clean the guide and tensioner seats of oil and old sealant. Install the new crankshaft sprocket from the kit on the shaft, aligning the mark on the sprocket with the mark on the cylinder block.
- Place the new chain on the crankshaft sprocket and route it upward through the opening in the block. Place the chain on the camshaft sprocket (with phaser), aligning the marks. Pull the chain tight by hand so there is no slack on the non-driven side.
- Install the camshaft sprocket on the shaft, aligning the splines. Install the new sprocket bolt and tighten it to 80 N·m (59 lb-ft), then turn it a further 90 degrees (use an angle gauge or a protractor on the wrench head).
- Install both new chain guides from the kit in their seats and tighten the mounting bolts to 10-12 N·m (7-9 lb-ft). Make sure the chain sits correctly in the guide channels and is not twisted.
- Preload the new hydraulic tensioner by hand: push the plunger into the body until the lock clicks. Install the tensioner in its seat and tighten the mounting bolt to 20-25 N·m (15-18 lb-ft). Carefully pull out the locking pin or press the release button. The spring will then tension the chain.
- Turn the crankshaft by hand two full turns clockwise. Make sure the marks on the sprockets line up with the reference marks again and that the locking tools T10340 and T10171 slide into their seats without force. If the marks do not line up, disassemble and repeat the installation.
- Remove the camshaft and crankshaft locking tools. Turn the crankshaft a few more turns and check that it rotates freely without binding. Visually confirm that the chain is evenly tensioned with no slack.
- Install a new gasket or apply a layer of sealant (Reinzosil or equivalent) to the mating surface of the front chain cover. Install the cover and tighten the bolts to 8-10 N·m (6-7 lb-ft), working in a pattern from the center outward.
- Install the crankshaft pulley on the end of the shaft. Install a new center bolt and tighten it to 90 N·m (66 lb-ft), then turn it a further 90 degrees. Install the alternator belt and adjust the tension.
- Clean the mating surfaces of the oil pan and cylinder block. Apply a thin layer of sealant or install a new oil pan gasket. Install the pan and tighten the bolts to 10-12 N·m (7-9 lb-ft) in a crisscross pattern.
- Reconnect all coolant hoses and fill with fresh coolant through the expansion tank up to the MAX mark. Connect the negative battery terminal. Crank the engine with the starter for 2-3 seconds without starting it (disable the fuel pump or injectors) to build oil pressure.
- Start the engine and let it warm up at idle. Watch the oil pressure light. It should go out within 2-3 seconds. Listen to the engine. There should be no metallic rattling or knocking from the chain area. Check for oil and coolant leaks.
- Take a 10-15 km test drive, driving gently. After the engine cools down, recheck the oil and coolant levels and inspect all connections for leaks. After 500-1,000 km, check the tightness of the crankshaft pulley bolt and the camshaft sprocket bolt.
Common mistakes and warnings
- Replacing the timing chain on the EA111 1.4 TSI is a critical job that requires special VAG tools and exact alignment of the timing marks. Installing the chain one tooth off causes the valves to hit the pistons and requires a complete engine rebuild. The camshafts have no keyways, so correct installation is impossible without the T10171 and T10340 locking tools. If you lack experience and the right tools, take the car to a specialist repair shop. Use only OE or proven reinforced kits, because cheap aftermarket kits stretch again after 20,000-30,000 km. All sprocket bolts are single-use, and the manufacturer prohibits reusing them.
 How it works · 3D
How a Car Engine Works
How the part you're working on actually works — in plain English, on a 3D model.
Open in 3D →