Autopapyrus · Chery Tiggo (2nd generation, T17)
https://autopapyrus.com/catalog/chery/tiggo/guides/front-brake-caliper-rebuild-with-repair-kit/
https://autopapyrus.com/catalog/chery/tiggo/guides/front-brake-caliper-rebuild-with-repair-kit/
Compiled automatically from service literature and owner experience. Specs are for the typical configuration — check them against your exact car before you start.
Chery Tiggo (2nd generation, T17): Front Brake Caliper Rebuild with Repair Kit
A caliper rebuild is needed if the caliper sticks, the pad wears unevenly, the boots are torn, or fluid is leaking. The caliper is removed, disassembled, and cleaned, then fitted with new seals and boots, and the brakes are bled. If the cylinder bore or the piston shows corrosion or scoring, replace the piston or the complete caliper.
Parts
5| № | Part |
|---|---|
| 01 | Front caliper repair kit (piston seal, piston dust boot, guide pin boots, bleeder valve cap)Find on Amazon → |
| 02 | Caliper pistonif neededFind on Amazon → |
| 03 | Caliper guide pin grease (silicone, brake-specific)Find on Amazon → |
| 04 | Brake fluid DOT 4Find on Amazon → |
| 05 | Front brake padsrecommended to replace at the same timeFind on Amazon → |
Amazon links search by the part name; use Amazon's fit check for your car before ordering. We may earn a commission from qualifying purchases.
Tools
10- Jack and jack stands Amazon →
- lug wrench Amazon →
- sockets and open-end wrenches (check fastener sizes on the vehicle) Amazon →
- torque wrench Amazon →
- flat-blade screwdriver Amazon →
- plastic or brass drift Amazon →
- C-clamp Amazon →
- bleeder hose and catch container Amazon →
- brush and brake cleaner Amazon →
- wire for hanging the caliper Amazon →
Step by step
17 steps- Loosen the lug nuts 1/2 turn while the wheel is still on the ground. Raise the front of the vehicle, support it on jack stands, and remove the wheel.
- Open the hood and the brake fluid reservoir cap. If the fluid level is high, draw off some of the fluid with a syringe so it doesn't overflow when you push the piston back.
- Remove the two caliper guide pin bolts and lift the caliper off the bracket. Don't let it hang by the hose: suspend it with wire from the suspension spring.
- Remove the pads and inspect them. Uneven pad wear is a sign that the caliper is sticking. It's best to replace the pads as a set for the axle.
- If the caliper needs to be removed completely, clamp the hose with special clamps or plug it after disconnecting. Remove the banjo bolt that secures the hose to the caliper and drain the fluid into a container. Replace the copper sealing washers under the bolt with new ones.
- Mount the caliper in a vise using wooden or soft pads (don't clamp the body too hard). Remove the piston dust boot by prying it out with a screwdriver, taking care not to scratch the body.
- Push out the piston: apply low-pressure compressed air to the hose port, placing a piece of wood between the piston and the body (the piston may shoot out). Keep your fingers out of the piston's path.
- Remove the seal ring from the groove in the cylinder with a soft tool (a plastic or wooden stick) so you don't scratch the groove.
- Clean the cylinder, piston, and body with brake fluid or a dedicated brake cleaner. Don't use gasoline, solvent, or abrasives. Inspect the cylinder bore and the piston: rust, deep scratches, and scoring mean you must replace the piston or the complete caliper. Light deposits can be removed only with a very fine abrasive pad.
- Blow out the passages and the bleeder valve and make sure there is no dirt. Thread in the bleeder valve with a new cap.
- Lubricate the new seal ring and the cylinder bore with special brake grease or clean brake fluid. Seat the ring in the groove, insert the piston straight, without tilting, and push it in all the way. Fit the new boot onto the piston and seat it in the groove in the body.
- Remove the guide pins, clean them, inspect the pin boots, and replace them with new ones. Lubricate the pins with brake grease (don't use ordinary graphite or copper grease on rubber). The pins should move freely.
- Clean rust and dirt off the caliper bracket where the pads rest. Install the pads, applying a thin layer of grease only to the metal contact points and not touching the friction surface of the pads.
- Install the caliper and connect the hose using new washers. Tighten the banjo bolt and the guide pin bolts to the torque specified by the manufacturer (for the guide pins, use a figure of a few tens of N·m as a rough guide; check the exact values for the banjo bolt, guide pins, bracket, and lug nuts against the service manual).
- Bleed the brakes: a helper presses the pedal, you open the bleeder valve, then close it before the pedal is released. Repeat until fluid comes out of the hose without bubbles. Watch the reservoir level and top it up, never letting the reservoir run dry.
- Install the wheel and tighten the nuts in a criss-cross pattern. Lower the vehicle and tighten the nuts with a torque wrench to the torque specified in the service manual. Press the pedal several times until it firms up, and check the fluid level.
- Check the caliper for leaks, then drive at low speed and brake gently several times. If the caliper overheats after the drive (the wheel is very hot), it is sticking.
Common mistakes and warnings
- The brake system is a safety-critical system
- If you have no experience working on brakes, leave the repair and bleeding to a repair shop
- Replace calipers and pads in pairs on an axle
- Brake fluid damages paint and is harmful to skin, so wear gloves and wash off splashes immediately
- Don't drive until the pedal is firm and all leaks have stopped
- The torque values are approximate and must be checked against the manufacturer's service manual
 How it works · 3D
How Car Brakes Work
How the part you're working on actually works — in plain English, on a 3D model.
Open in 3D →
Spotted a mistake? Tell us →
Our articles
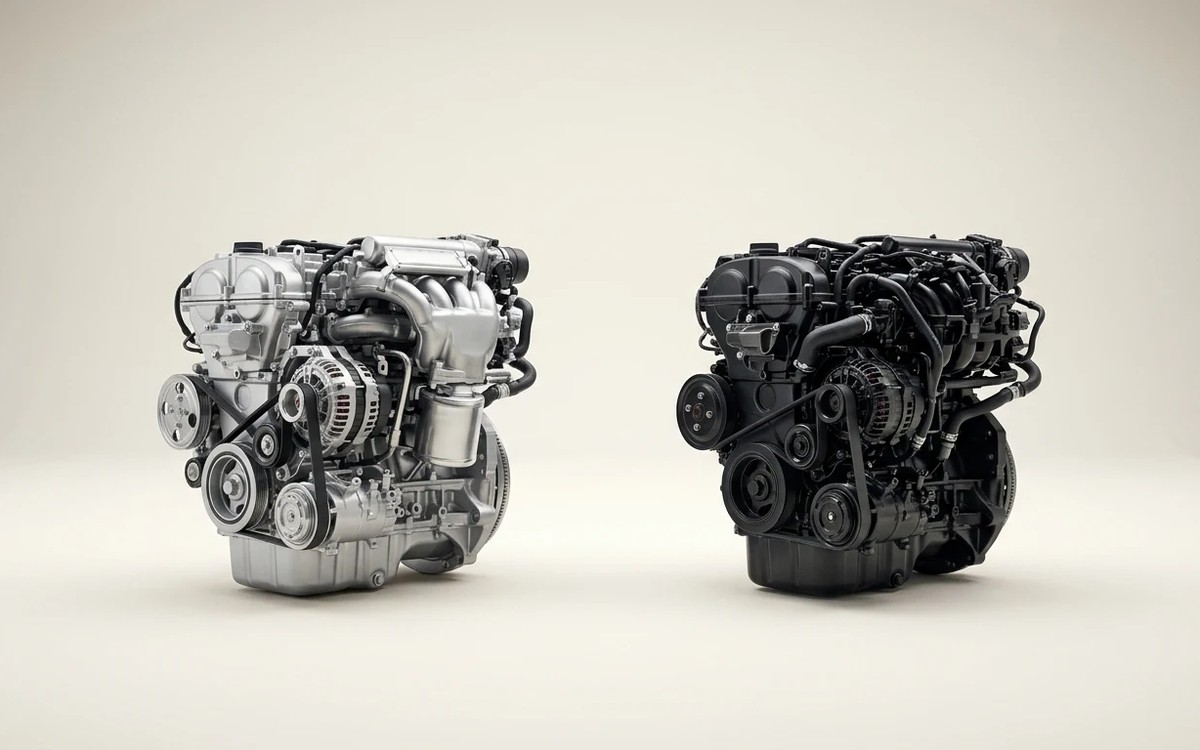 Before you buy
German Turbo Engines vs. Chinese Ones: Which Lasts Longer? An Honest Look at Engine Life
Volkswagen 1.4 and 2.0 TSI, BMW N20 and Mercedes M274 versus Haval, Chery and Geely engines: lifespan benchmarks…
Read →
 Garage
Fuel Quality Indicators: What Octane and Cetane Numbers Mean
What is an octane number? What about a cetane number? Which fuel should you choose for a high-compression engine?…
Read →
 Before you buy
How to Pick Up Your Car from the Dealership the Right Way
If you've decided to buy a car from a dealership, it isn't enough to simply choose a model you like, pay for it, and…
Read →