Autopapyrus · Citroën C4 (1st generation)
https://autopapyrus.com/catalog/citroen/c4/guides/rear-brake-hose-replacement/
https://autopapyrus.com/catalog/citroen/c4/guides/rear-brake-hose-replacement/
Compiled automatically from service literature and owner experience. Specs are for the typical configuration — check them against your exact car before you start.
Citroën C4 (1st generation): Rear Brake Hose Replacement
The rear flexible hose connects the rigid brake line on the body to the rear brake assembly. Over time it cracks, bulges, or collapses internally. Symptoms: leaks, a rear wheel that drags, and uneven braking. The brake system is safety-critical, so any mistake during assembly or bleeding is dangerous.
Parts
4| № | Part |
|---|---|
| 01 | Rear brake hoseleft and right, one per sideFind on Amazon → |
| 02 | Hose sealing washers2 per hoseFind on Amazon → |
| 03 | Retaining clip for body bracketFind on Amazon → |
| 04 | DOT 4 brake fluidabout 0.5-1 L (0.5-1 qt)Find on Amazon → |
Amazon links search by the part name; use Amazon's fit check for your car before ordering. We may earn a commission from qualifying purchases.
Tools
11- jack and jack stands Amazon →
- lug wrench Amazon →
- flare nut wrench for brake lines (usually 10-11 mm) Amazon →
- open-end wrenches for the banjo bolt Amazon →
- syringe or turkey baster for removing fluid Amazon →
- clear tubing and a container for bleeding Amazon →
- hose clamp (or plug) Amazon →
- wire brush Amazon →
- WD-40 or penetrating oil Amazon →
- new copper or aluminum sealing washers Amazon →
- fresh DOT 4 brake fluid Amazon →
 There's a full repair manual for this car
Every system, wiring diagrams and torque specs — not just this job. Haynes and 5 more.
See manuals →
Step by step
11 steps- Park the car on a level surface, apply the parking brake (if the wheels stay on the ground, chock the front wheels), and loosen the wheel bolts. Raise the rear of the car, support it on jack stands, and remove the wheel.
- Inspect the hose and the connection points. Clean the line nut at the body bracket and the banjo bolt at the brake assembly with a wire brush and treat them with penetrating oil. Let it soak for 10-15 minutes: the threads often seize.
- Use a syringe to remove fluid from the reservoir down to the minimum level so less fluid leaks out. Close the reservoir cap afterward. Prepare a container for the fluid that drains out and some rags: brake fluid damages paint.
- Remove the hose retaining clip from the bracket on the body. Use a flare nut wrench to unscrew the rigid line nut from the hose. Hold the hose to keep it from turning, and do not bend the line. Immediately close the end of the line with a plug or cap.
- Unscrew the hose from the bracket (if it is secured with a nut) and remove the banjo bolt at the brake assembly, holding the hose with a second wrench. Remove the hose and the two old sealing washers. If the threads are seized, do not use force: apply moderate heat and lubricate again, so you do not round off the flats or damage the line.
- Compare the new hose with the old one for length and end fitting shape. Install new washers on both sides of the fitting on the banjo bolt. Never reuse the old washers.
- Attach the hose to the brake assembly. The banjo bolt torque is usually in the range of 15-25 N·m (11-18 lb-ft); check the exact value against the manufacturer's specifications. Do not overtighten. Position the hose so that it forms a free arc, does not touch the suspension spring, the rotor, or the body, and is not twisted.
- Insert the other end into the bracket on the body and secure it with a new clip (or a nut, if one is used). Then start the threads of the rigid line nut by hand so you do not cross-thread it, and tighten it with the flare nut wrench firmly but without excessive force.
- Top up with DOT 4 fluid to the MAX mark and bleed the circuit. Start with the rear wheel where you replaced the hose, then bleed the other rear wheel. Continue until fluid runs from the clear tubing without bubbles. Make sure the reservoir level does not drop below MIN, or air will enter the system. If you replaced the hoses on both sides, bleed all the wheels in the order specified in the service manual for this model.
- Check that the connections are tight and not leaking while the pedal is pressed (have a helper hold it for 30-60 seconds). Install the wheels, lower the car, and tighten the wheel bolts in a crisscross pattern. Press the pedal several times: it should feel firm, without sinking.
- Take a test drive at low speed on a safe stretch of road. Check braking, that the car does not pull to one side, whether the drums or discs are overheating, and look for leaks after stopping.
Common mistakes and warnings
- The brake system is safety-critical
- If you have no experience working on brake lines or are unsure about the quality of your bleeding, leave the job to a repair shop
- After the repair, the pedal should feel firm, without sinking, and the car should not pull to one side under braking
- If it feels different, do not drive the car
- Brake fluid is toxic and damages paint, and it should be replaced at least once every two years
 How it works · 3D
How Car Brakes Work
How the part you're working on actually works — in plain English, on a 3D model.
Open in 3D →
Spotted a mistake? Tell us →
Our articles
 Brand stories
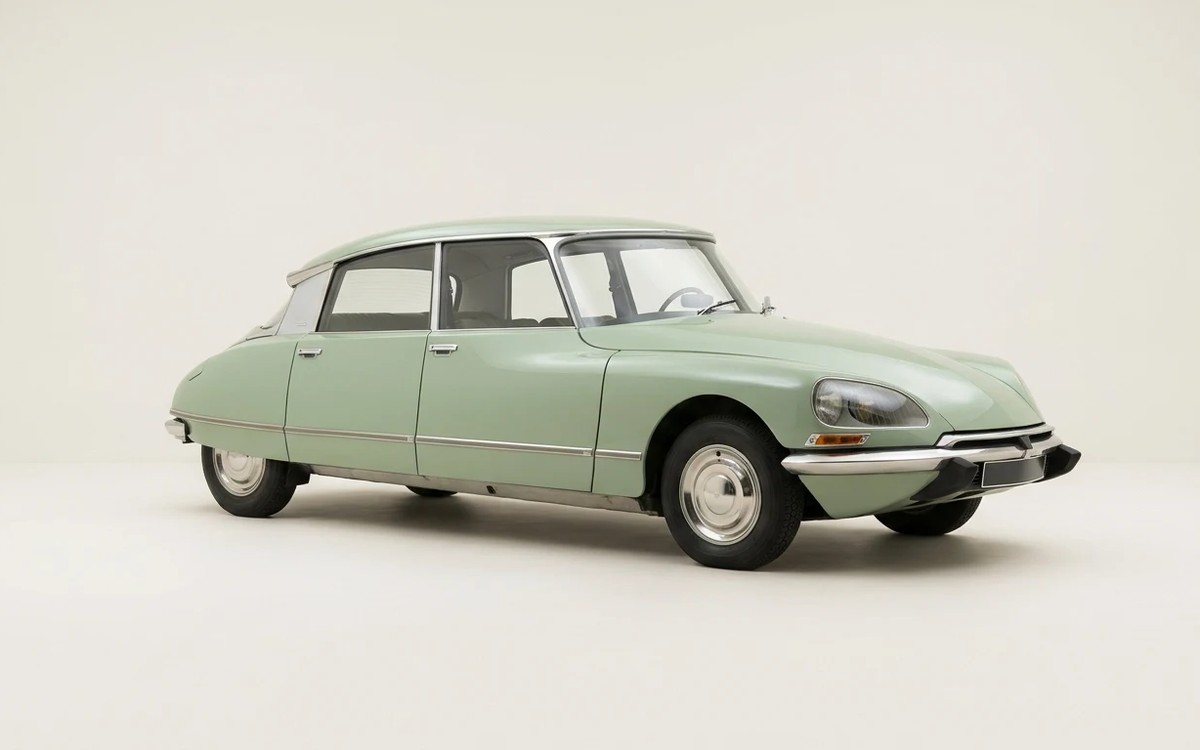
The History of the Citroën Brand
Citroën is an automaker founded in France in 1919 by André Citroën. Since 1976 it has been part of the PSA Peugeot…
Read →
 Garage
Fuel Quality Indicators: What Octane and Cetane Numbers Mean
What is an octane number? What about a cetane number? Which fuel should you choose for a high-compression engine?…
Read →
 Before you buy
How to Pick Up Your Car from the Dealership the Right Way
If you've decided to buy a car from a dealership, it isn't enough to simply choose a model you like, pay for it, and…
Read →