Autopapyrus · GAZ Sobol (1st generation, GAZ-2217)
https://autopapyrus.com/catalog/gaz/sobol/guides/heater-repair-flushing-or-replacing-the-heater-core/
https://autopapyrus.com/catalog/gaz/sobol/guides/heater-repair-flushing-or-replacing-the-heater-core/
Compiled automatically from service literature and owner experience. Specs are for the typical configuration — check them against your exact car before you start.
GAZ Sobol (1st generation, GAZ-2217): Heater Repair, Flushing or Replacing the Heater Core
If the heater doesn't produce heat, first find the cause: air in the system, a faulty heater control valve, a clogged heater core, or a broken blend door cable. The heater core often clogs, especially if sealant has been added to the cooling system. On a Sobol with the old-style dash, the heater core sits in the heater housing under the dash. For a full replacement, the whole heater housing is removed.
Parts
5| № | Part |
|---|---|
| 01 | Heater core (copper or brass)copper or brass heats better than aluminumFind on Amazon → |
| 02 | Heater hoseswith a 90° bend if neededFind on Amazon → |
| 03 | Hose clampsFind on Amazon → |
| 04 | Coolant (antifreeze)for topping offFind on Amazon → |
| 05 | Heater control valveif neededFind on Amazon → |
Amazon links search by the part name; use Amazon's fit check for your car before ordering. We may earn a commission from qualifying purchases.
Tools
8Step by step
14 steps- Diagnose with the engine warmed up. Feel the two hoses running from the firewall to the heater. If both are hot but the air from the vents is cold, check that the valve is open and check the door positions. If the inlet hose is hot but the outlet hose is cold, the heater core is clogged. If both hoses are cold, look for an air pocket, a faulty valve, or a thermostat problem.
- Check the coolant level in the expansion tank. If it is low, top it off to the proper level and bleed the air: with the engine warm, set the heater to maximum and rev the engine slightly. Raising the end of the hose that runs to the heater helps push the air out. If the heater warms up, no further repair is needed.
- Check the heater control valve. The lever inside the cabin should open the valve fully. Check the cable first, then the valve: it should open all the way and not leak. The factory valve on the Sobol is narrow (about 15 mm), so flow through it is limited.
- Flush the heater core. Shut off the engine and let it cool. Only then open the expansion tank cap, or you could be burned by hot coolant. Disconnect both heater hoses from the heater core pipes, with a drain pan underneath. Flush with clean water at low pressure in the reverse direction, that is, from the outlet pipe to the inlet pipe, until clean water comes out. Use special flushing products strictly according to the manufacturer's instructions. If flushing doesn't help or the core leaks, replace it.
- Prepare for replacement. Drain some of the coolant, or pinch the hoses off with a clamp where they approach the heater. Disconnect the negative battery terminal.
- Access the heater. On a Sobol with the old dash, you will need to move the dash partially out of the way. Remove the instrument cluster (disconnect three connectors and the speedometer cable) and the decorative side trim strips on the pillars. Take photos of all connectors and wires (especially on the light switch). Disconnect the steering column: it has 4 bolts, and when you lower the column, the connector on the ignition switch may come off. Remove the trim panel with the heater controls and the light switch. For convenience, remove the passenger seat. Pull the dash toward the passenger side and hang it with a cord from the grab handle above the door.
- Disconnect the control cables on the heater. Remove the bolts securing the brackets on the right and left sides of the heater housing. Remove the air ducts: one screw at the bottom and two bolts at the top for each. Disconnect the blower motor connectors, and don't forget the ground wire.
- Remove the entire heater housing. Leftover coolant may spill out of the heater core, so lay down rags. Remove the housing cover and take out the heater core. You can replace the original core with a new copper or brass one.
- Install the new heater core in place of the old one. Replace the seal around the edges (foam) with a new one so that air doesn't bypass the core. If you are installing a core of a different design, fit it to the dimensions of the housing.
- Check the blower motor. If it rattles or binds, this is a good time to replace it. After reassembly, check the direction of rotation: weak airflow may mean the motor is wired with the wrong polarity. If so, swap the wires in one of the connectors.
- Replace cracked hoses and clamps. Choose new hoses made of soft rubber: hard ones eventually crack and break at the bends.
- Reassemble in reverse order: heater housing with brackets, air ducts, cables, dash, steering column, instrument cluster, trim strips. Make sure all connectors are plugged in and the ground wire is tightened. Torque specs for the interior fasteners and the steering column are not given in the open sources: tighten moderately without stripping the threads, and tighten the steering column bolts to the manufacturer's specification.
- Fill the coolant to the proper level, reconnect the battery, and warm up the engine with the valve open and the heater on. Bleed the air: repeat the revving and topping off if necessary. Check the connections at the heater and under the passenger floor mat for leaks.
- Final check: both hoses should be hot, warm air should come out of the vents, and there should be no moisture on the floor mat.
Common mistakes and warnings
- This job is labor-intensive because of the large number of wires under the dash, so allow plenty of time
- Take photos of the connectors before disassembly
- Do not pour sealant into the cooling system: it clogs the heater core
- The steering column is safety-critical: if you have doubts about the assembly or lack experience, leave the work to a repair shop
- Coolant is toxic: don't leave it in an open container, and keep it off your skin and out of your eyes
- Remove the expansion tank cap only on a cold engine
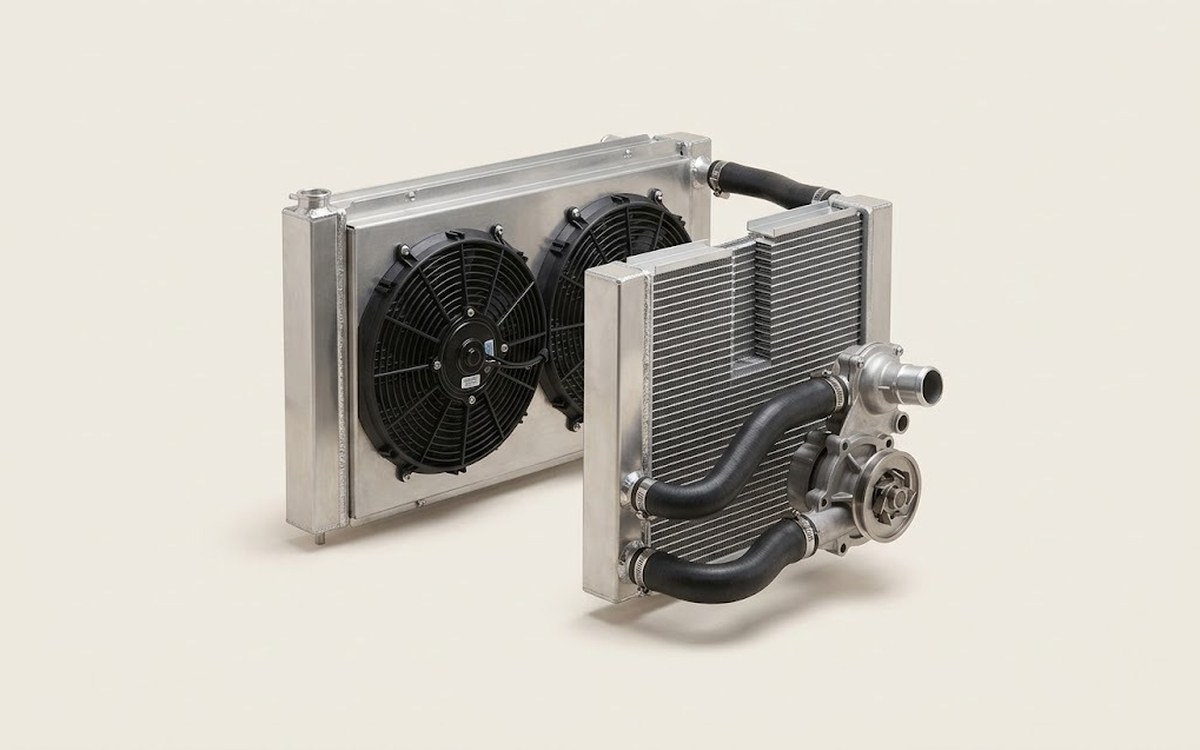 How it works · 3D
How the Engine Cooling System Works
How the part you're working on actually works — in plain English, on a 3D model.
Open in 3D →