https://autopapyrus.com/catalog/geely/binyue/guides/final-drive-differential-replacement-in-the-transmission/
Geely Binyue (Coolray) 1.5 TGDI 7DCT (2026): Final Drive (Differential) Repair and Replacement
The 2026 model-year cars covered here are the first-generation Binyue (sold abroad as the Coolray) with the 1.5 TGDI engine and the 7-speed wet-clutch dual-clutch automated transmission (DCT). On this front-wheel-drive car, the final drive and differential are inside the transmission case, with no separate gear housing, so the job comes down to removing the transmission, opening the case and replacing the assembly. The torque values below are approximate. Check the exact values against the manufacturer's service information. This guide covers replacing the complete differential assembly. If you only need to replace the driveshaft seals, follow steps 4-8 and 30-34 without opening the case.
Parts
6| № | Part | Alternatives |
|---|---|---|
| 01 | Final drive assembly (differential case with ring gear, spider gears and side gears)Find on Amazon → | |
| 02 | Differential tapered roller bearings with adjustment shimssetFind on Amazon → | AlternativesSKFNTNCorteco |
| 03 | Driveshaft sealsright and leftFind on Amazon → | AlternativesSKFNTNCorteco |
| 04 | Transmission gasket and O-ring setFind on Amazon → | |
| 05 | Transmission fluid for 7-speed wet-clutch DCT 7DCT300Find on Amazon → | |
| 06 | Single-use bolts and nutswhere the manufacturer requires themFind on Amazon → |
Amazon links search by the part name; use Amazon's fit check for your car before ordering. We may earn a commission from qualifying purchases.
Tools
13- lift Amazon →
- transmission jack or hydraulic floor jack with a transmission adapter Amazon →
- engine support or support bar Amazon →
- socket and wrench set (10-21 mm, E-Torx) Amazon →
- torque wrench Amazon →
- CV joint puller or pry bar Amazon →
- bearing puller Amazon →
- press Amazon →
- seal drivers Amazon →
- dial indicator Amazon →
- snap rings and snap ring pliers Amazon →
- drain pan Amazon →
- RTV gasket sealant for the transmission case Amazon →
Step by step
40 steps · 7 stagesStage 1 of 7 Diagnosis and preparation 6 steps
- Confirm the fault: a whine or hum under acceleration and deceleration that rises with vehicle speed, metal shavings in the fluid, fluid leaking at the driveshafts, play when you rock the axle shafts. Rule out the wheel bearings and CV joints: lift the wheel and check for play and noise.
- Connect a diagnostic scan tool and save the fault codes and the transmission adaptation data. After reassembly the clutches need to be adapted, so make sure your scan tool has this function.
- Disconnect the negative battery terminal. Put the car on the lift with the parking brake applied and chock the rear wheels.
- Loosen the front wheel nuts, then raise the car and remove the wheels.
- Remove the engine undercover and the splash shield.
- Remove the transmission drain plug and drain the fluid into a pan. Assess its condition: metal shavings, cloudiness, burnt smell. Install the plug with a new washer and tighten it to the specified torque (typical transmission plug torque is 25-40 N·m (18-30 lb-ft)).
Stage 2 of 7 Removing the driveshafts and accessories 5 steps
- Remove the ball joint nuts or the pinch bolts of the lower control arms and free the arms from the steering knuckles.
- Remove the center hub nut (if the design requires it) and pull the inner CV joints out of the transmission, gently prying with a pry bar. Hang the driveshafts on wire, without bending the inner joint excessively. Cover the seal openings with bags or plugs.
- Remove the air filter with its ducts, and the battery cover together with the battery and its tray.
- Disconnect the sensor connectors and the control unit harness from the transmission, the shift cable or linkage, the cooling line (if there is an oil cooler), and the transmission vent hose. Label each connector.
- Remove the starter in this order: first disconnect the power wires, then remove the mounting bolts.
Stage 3 of 7 Removing the transmission 6 steps
- Install a support under the engine or hang it from a support bar so that it does not sag.
- Remove the front exhaust section or the subframe if the transmission cannot be lowered without doing so. Support the front subframe on a stand or jack, and mark its position with a marker before removal.
- Position the transmission jack under the transmission and secure it with straps.
- Remove the bolts securing the transmission to the engine. Before doing so, mark the bolts that differ in length.
- Remove the nuts and bolts of the transmission mount (left mount). Torque on installation: per the service information, typically 60-100 N·m (44-74 lb-ft) for mounts.
- Move the transmission away from the engine until it clears the dowels and lower it carefully. Do not let the transmission hang on the clutch shafts.
Stage 4 of 7 Opening and inspection 5 steps
- Clean the outside of the transmission and secure it on a bench or stand.
- Remove the cover or case bolts, pry at the seams and separate the halves. Note the position of the differential bearing shims and keep them together as a set.
- Lift out the differential unit with its bearings. Inspect the gears, ring gear, spider gears, needle bearings and the teeth of the secondary shaft drive gear.
- Measure the differential's axial and side play and the gear clearances, and compare them with the manufacturer's tolerances. If the ring gear or spider gears are damaged, replace the entire assembly together with its mating drive gear.
- Check the secondary shaft drive gear: the teeth should have no chipping or scoring. If it is worn, replace the pair.
Stage 5 of 7 Replacing the final drive 7 steps
- Remove the differential tapered roller bearings with a puller and press on the new ones using a driver, applying pressure only to the inner race of the bearing.
- Replace the bearing outer races in the case halves (drive out the old ones and press in the new ones with a driver until they seat fully).
- Install new right and left driveshaft seals. Lubricate the lip with transmission fluid and press them in with a driver to the seating depth.
- Install the differential in the lower case half together with the adjustment shims.
- Assemble the case and tighten the bolts in a crisscross pattern. Torque per the service information, typically 20-30 N·m (15-22 lb-ft) for M8 bolts and 40-60 N·m (30-44 lb-ft) for M10.
- Check the differential's rotating torque and axial play with a dial indicator. If it is out of tolerance, select different shims, open the case and repeat.
- Turn the shafts by hand: binding, sticking and unusual noise are not acceptable.
Stage 6 of 7 Reassembly 6 steps
- Apply a thin layer of sealant to the mating surfaces as the manufacturer instructs. Place the transmission on the jack and bring it up to the engine.
- Align the input shaft splines with the clutch and the locating dowels, slide the transmission into place and tighten the bell housing bolts. Torque per the service information, typically 50-80 N·m (37-59 lb-ft) for M10-M12 bolts.
- Install and tighten the transmission mount, the subframe and the exhaust section. Typical values: subframe bolts 100-180 N·m (74-133 lb-ft), exact value per the service information, tightened after the car is lowered onto its wheels.
- Install the inner CV joints until the snap ring clicks into place, and secure the ball joints or control arms. Tighten the control arm bolts and hub nuts to the service information specification.
- Install the starter, connectors, shift cable or linkage, air filter with ducts, and the battery.
- Fill the transmission with fluid of the correct specification, in the amount given in the service information (fill through the filler opening to the check level at the specified temperature).
Stage 7 of 7 Checking 5 steps
- Install the wheels, lower the car and tighten the wheel nuts in a crisscross pattern with a torque wrench. Geely wheel nut torque: typically 110-130 N·m (81-96 lb-ft), exact value per the service information.
- Connect the battery and the scan tool, clear the codes, and perform the clutch and gear position adaptation following the manufacturer's procedure.
- Warm up the engine and, with the engine running, cycle through all the selector positions. Check for jerking and fault codes.
- Check the fluid level using the manufacturer's procedure at operating temperature, and top up if necessary.
- Take a 10-15 km (6-9 mile) test drive: check for whine, hesitation, and leaks at the driveshafts and along the case seam. After 500-1000 km (300-600 miles), inspect the seams for seepage.
Common mistakes and warnings
- This is a hard job that requires special tools, a press and precise bearing adjustment, so if you lack experience, leave it to a repair shop
- The transmission is heavy
- Remove it only on a transmission jack, and keep your hands and head out from under the unit
- Do not use fluid that does not meet the specification: a wet-clutch DCT is sensitive to viscosity and additives, and the wrong fluid will cause clutch slip and clutch failure
- Support the car on the lift only at the points specified by the manufacturer
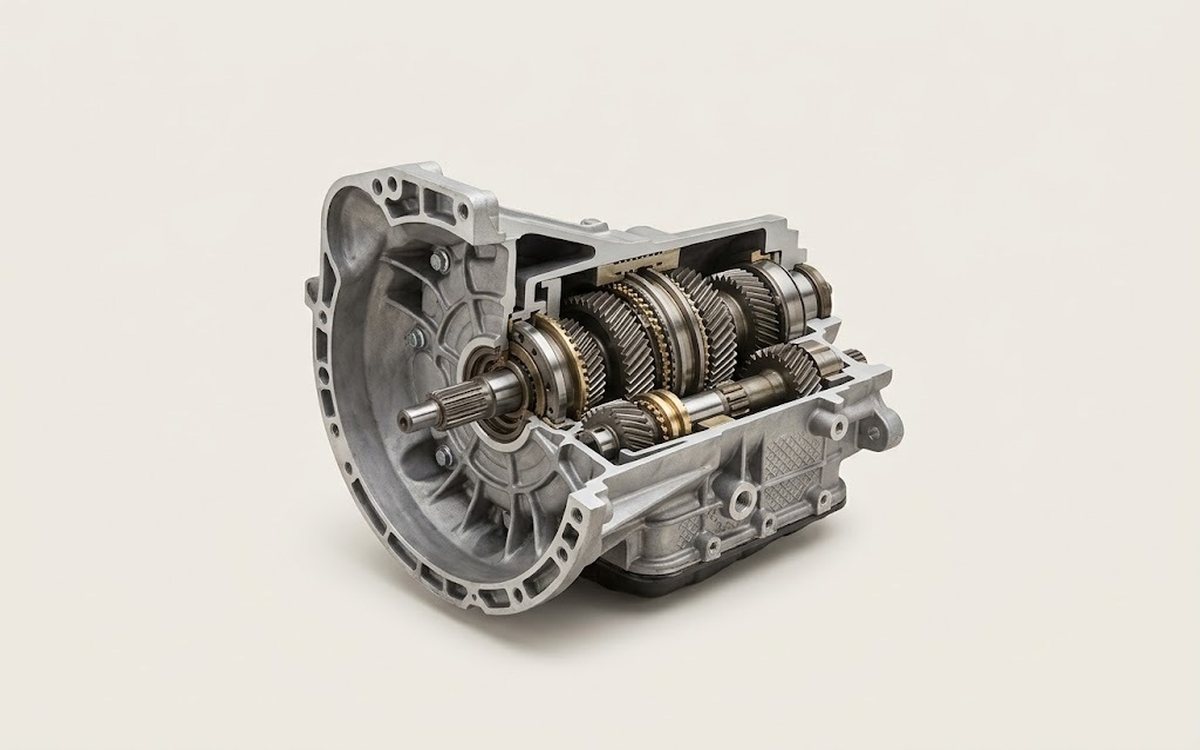 How it works · 3D
How a Manual Transmission Works
How the part you're working on actually works — in plain English, on a 3D model.
Open in 3D →
Spotted a mistake? Tell us →
Our articles
 Before you buy
German Turbo Engines vs. Chinese Ones: Which Lasts Longer? An Honest Look at Engine Life
Volkswagen 1.4 and 2.0 TSI, BMW N20 and Mercedes M274 versus Haval, Chery and Geely engines: lifespan benchmarks…
Read →
 Brand stories
The History of Geely
In its early years, Geely focused on making refrigerators. In 1992 it began producing motorcycle parts, and two years…
Read →
 Garage
Fuel Quality Indicators: What Octane and Cetane Numbers Mean
What is an octane number? What about a cetane number? Which fuel should you choose for a high-compression engine?…
Read →