Autopapyrus · Geely Tugella 2.0 turbo JLH-4G20TDB (2023)
https://autopapyrus.com/catalog/geely/tugella/guides/rear-main-seal-replacement/
https://autopapyrus.com/catalog/geely/tugella/guides/rear-main-seal-replacement/
Compiled automatically from service literature and owner experience. Specs are for the typical configuration — check them against your exact car before you start.
Geely Tugella 2.0 turbo JLH-4G20TDB (2023): Rear Crankshaft Seal Replacement
The rear crankshaft seal is located between the engine and the automatic transmission, so replacing it requires removing the transmission and the torque converter drive plate (driveplate). A leak shows up as oil traces at the joint between the engine and the transmission. Before starting, make sure the leak is actually coming from the crankshaft seal and not from the transmission shaft seal or the oil pan gasket. The torque values in the text are approximate, so verify the exact values against the manufacturer's specifications.
Parts
7| № | Part | Alternatives |
|---|---|---|
| 01 | Rear crankshaft seal for JLH-4G20TDB engineFind on Amazon → | AlternativesCortecoElring |
| 02 | Driveplate bolts (new, single-use)setFind on Amazon → | |
| 03 | Medium-strength thread lockerFind on Amazon → | |
| 04 | Multi-purpose grease for seal lipFind on Amazon → | |
| 05 | Automatic transmission fluid (ATF)if drainedFind on Amazon → | |
| 06 | Coolantif drainedFind on Amazon → | |
| 07 | Gaskets and sealsas needed during disassemblyFind on Amazon → |
Amazon links search by the part name; use Amazon's fit check for your car before ordering. We may earn a commission from qualifying purchases.
Tools
10- lift Amazon →
- transmission jack Amazon →
- socket set and Torx/E-Torx bits Amazon →
- torque wrench Amazon →
- flywheel/driveplate holding tool Amazon →
- seal installation driver Amazon →
- screwdriver with tape-wrapped tip Amazon →
- engine support stand or support bar Amazon →
- 400-grit sandpaper (if needed) Amazon →
- drain pan Amazon →
Step by step
30 steps · 7 stagesStage 1 of 7 Diagnosis and preparation 4 steps
- Confirm the source of the leak: clean the joint between the engine and the transmission, drive the car, and inspect it. Dark oil points to the engine; reddish or clean fluid points to the transmission.
- Put the car on a lift and disconnect the negative battery terminal.
- Drain the engine oil, keep dirt away from the oil pan, and remove the underbody shield.
- Prepare a place to store the removed components, and label the connectors and mounts.
Stage 2 of 7 Access to the transmission 6 steps
- Remove the air duct, the air filter housing, the battery and its tray (as needed for access to the top of the transmission).
- Disconnect the connectors and wiring brackets from the transmission, the shift selector and cable/linkage (if equipped), and remove the starter.
- Remove the front and rear driveshafts or axles as appropriate for the AWD version's design, disconnect the axle shafts from the hubs, and hang the axles to the side.
- Remove the exhaust system in the area of the transmission (downpipe, resonator) to gain access to the transmission housing.
- Drain the automatic transmission fluid, disconnect the transmission cooler lines, and plug them.
- Support the engine with a support bar or stand, and position a transmission jack under the automatic transmission.
Stage 3 of 7 Transmission removal 3 steps
- Remove the bolts securing the transmission to the engine, then remove the transmission mounts and support brackets (torque values per the manufacturer's specifications).
- Lower the automatic transmission rearward/downward, watching the splines and the centering dowels. Do not let the transmission hang on the torque converter shaft.
- If the subframe is in the way, lower it, marking its position beforehand.
Stage 4 of 7 Removing the old seal 4 steps
- Lock the crankshaft with a holding tool, loosen the driveplate bolts in a diagonal pattern, and remove the plate.
- Inspect the crankshaft surface: the journal must have no scoring and no wear groove from the old seal.
- Score the edge of the old seal with a blade and carefully pry it out with a screwdriver whose tip is wrapped in tape. Do not damage the crankshaft surface or the seal seat.
- Clean the seal seat and the edge of the crankshaft. For light scratches, treat the journal with 400-grit sandpaper.
Stage 5 of 7 Installing the new seal 4 steps
- Apply a small amount of multi-purpose grease to the lip of the new seal, and keep dirt off the lip.
- Using the driver and a hammer, press the seal in evenly and without tilting until it is flush with the face of the seal bore. Wipe off any excess grease from the crankshaft.
- Clean the threads and the holes for the driveplate bolts, and apply thread locker to the new bolts.
- Install the driveplate, lock the crankshaft, and tighten the new bolts in several passes in a diagonal pattern with a torque wrench. The approximate torque is 60-100 N·m (44-74 lb-ft); the exact value and any angle tightening should be taken from the manufacturer's specifications.
Stage 6 of 7 Transmission installation and reassembly 5 steps
- Check the dowels and splines, and lubricate the torque converter pilot journal. Raise the transmission with the jack and mate it to the engine without letting it tilt.
- Tighten the transmission-to-engine bolts to approximately 40-70 N·m (30-52 lb-ft) (per the manufacturer's specifications), then the mounts and brackets.
- Reconnect the transmission cooler lines, the shift selector linkage and the connectors, and install the starter.
- Install the exhaust system with new gaskets, then the driveshafts and axles, tightening the wheel nuts and suspension fasteners per the manufacturer's specifications.
- Reinstall the removed parts (battery, air ducts, underbody shield).
Stage 7 of 7 Refilling and checking 4 steps
- Fill the engine with oil up to the mark, fill the automatic transmission with fluid per the manufacturer's specifications, and top off the coolant if necessary.
- Reconnect the battery, start the engine, let it warm up, and check for leaks around the seal, the transmission and the cooler lines.
- With the engine running, move the selector through all positions, then check the transmission fluid level with the transmission warmed up.
- Take the car for a test drive, then inspect the joint between the engine and the transmission again for seepage.
Common mistakes and warnings
- This job requires removing the automatic transmission of an all-wheel-drive vehicle
- Do not attempt it alone or without a lift, a transmission jack and a crankshaft holding tool
- The driveplate bolts are single-use, so do not reuse the old ones
- If you lack experience, leave the work to a repair shop
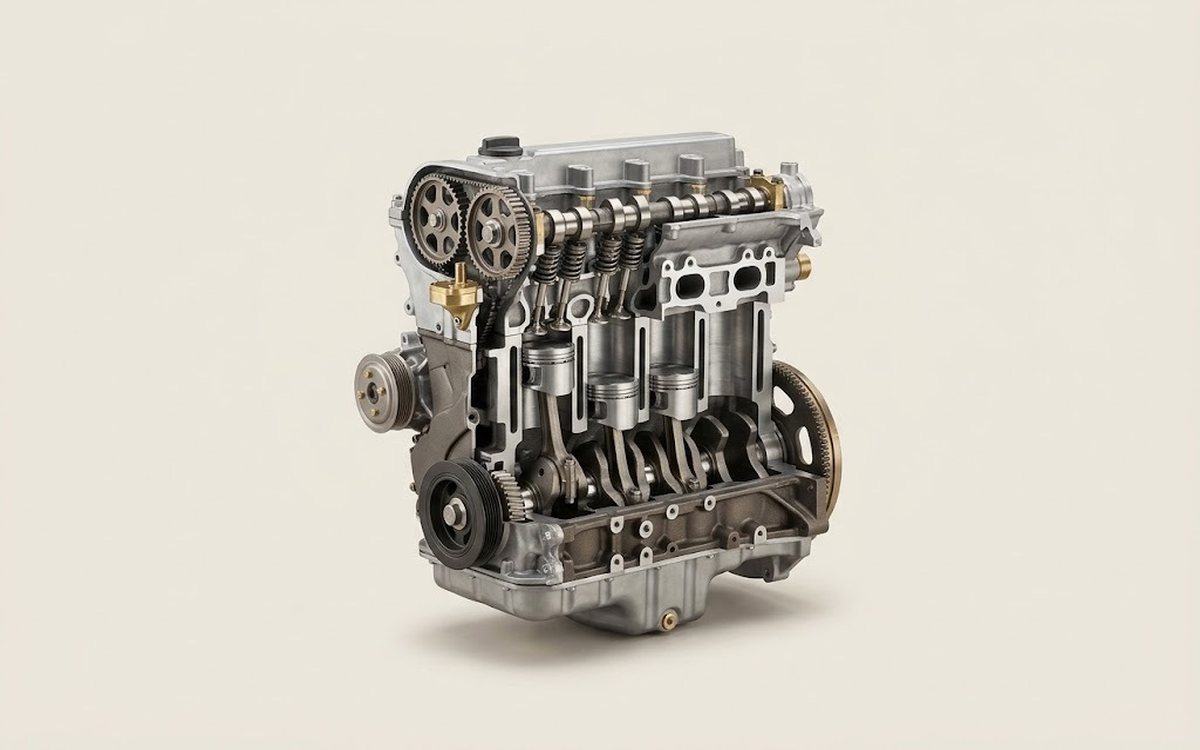 How it works · 3D
How a Car Engine Works
How the part you're working on actually works — in plain English, on a 3D model.
Open in 3D →
Spotted a mistake? Tell us →
Our articles
 Before you buy
German Turbo Engines vs. Chinese Ones: Which Lasts Longer? An Honest Look at Engine Life
Volkswagen 1.4 and 2.0 TSI, BMW N20 and Mercedes M274 versus Haval, Chery and Geely engines: lifespan benchmarks…
Read →
 Brand stories
The History of Geely
In its early years, Geely focused on making refrigerators. In 1992 it began producing motorcycle parts, and two years…
Read →
 Garage
Fuel Quality Indicators: What Octane and Cetane Numbers Mean
What is an octane number? What about a cetane number? Which fuel should you choose for a high-compression engine?…
Read →