Autopapyrus · Great Wall Poer (Cannon) 2.0 (2020)
https://autopapyrus.com/catalog/great-wall/cannon-poer/guides/lower-ball-joint-replacement/
https://autopapyrus.com/catalog/great-wall/cannon-poer/guides/lower-ball-joint-replacement/
Compiled automatically from service literature and owner experience. Specs are for the typical configuration — check them against your exact car before you start.
Great Wall Poer (Cannon) 2.0 (2020): Lower Ball Joint Replacement
The lower control arm ball joint wears out sooner than the other front suspension components. Symptoms: clunking over bumps, wheel play when rocking it up and down, pulling to one side, and uneven tire wear. The stud nut is secured differently depending on the version (cotter pin or self-locking nut), and the ball joint itself may be bolted to the arm or pressed into it. Determine which you have in step 6. This guide covers the front axle, one side. The other side is done the same way.
Diagram: where the lower ball joint is and how its stud comes out of the knuckle
Tap to enlarge
- 1Nut on the ball joint stud (sometimes with a cotter pin). Remove the pin, loosen the nut flush with the thread to protect it. The nut is undone on the stud, not on the knuckle.
- 2Ball joint: body, ribbed boot and tapered stud that goes into the knuckle eye. Check the boot for tears, never hit the stud itself.
- 3Lower arm with bushings and the seat the ball joint sits on. If the joint is pressed in, remove the whole arm; if bolted, remove the joint from the arm.
- 4Steering knuckle eye the stud goes into. Install a puller to press the stud out; tapping the eye with a hammer is allowed.
- 5Caliper, brake hose and ABS sensor harness fixed on the knuckle. Inspect them so they are not damaged while working.
- 6Spring and shock absorber of the strut. A landmark: if the sway bar link is in the way, disconnect it from the arm.
Parts
3| № | Part | Alternatives |
|---|---|---|
| 01 | Front lower control arm ball joint, Great Wall Poer (with dust boot and retaining ring)left and right, 2 pcsFind on Amazon → | AlternativesCTRFebiLemforder |
| 02 | Front lower control arm assemblyif the ball joint is not sold separatelyFind on Amazon → | |
| 03 | Self-locking nuts or cotter pinsnewFind on Amazon → |
Amazon links search by the part name; use Amazon's fit check for your car before ordering. We may earn a commission from qualifying purchases.
Tools
11- Floor jack and jack stands (under the frame) Amazon →
- lug wrench Amazon →
- socket set and open-end wrench set (13-27 mm) Amazon →
- torque wrench Amazon →
- ball joint separator (fork or cup type) Amazon →
- hammer Amazon →
- brass drift Amazon →
- penetrating oil Amazon →
- pry bar Amazon →
- and for a press-fit ball joint Amazon →
- a hydraulic press and drivers Amazon →
Step by step
25 steps · 5 stagesStage 1 of 5 Diagnosis and preparation 5 steps
- Park the vehicle on level ground, set the parking brake, and chock the rear wheels. Slightly loosen the front lug nuts.
- Lift the front of the vehicle with the jack and place jack stands under the frame. Remove the wheel.
- Check for play: use a pry bar to lift the lower control arm under the wheel. Noticeable vertical movement of the stud in the steering knuckle or in the housing means the ball joint is worn. Inspect the dust boot for tears.
- Apply penetrating oil to the threads of the nuts and bolts and wait 10-15 minutes.
- Check the brake hose and the ABS sensor wiring so you don't damage them while working.
Stage 2 of 5 Removal 8 steps
- Inspect the assembly. If the ball joint is bolted to the arm, remove it from the arm (step 11). If it is pressed in, remove the entire arm (steps 12-13).
- If there is a cotter pin, straighten it and pull it out. Remove the ball joint stud nut at the knuckle (socket size is usually 19-22 mm, depending on the version).
- To free the stud from the knuckle, loosen the nut and leave it on the thread flush with the end of the stud. This protects the threads from hammer blows.
- Install the separator and press the stud out of the knuckle taper. You may tap the knuckle boss with a hammer. Do not strike the stud itself.
- Remove the nut and pull the stud out of the knuckle. Lower the arm and, if necessary, swing the knuckle to the side. If the sway bar link is in the way, disconnect it from the arm.
- Bolted version: remove the bolts securing the ball joint to the arm and take it off. Note the position of the ball joint relative to the arm.
- Press-fit version: remove the bolts securing the arm to the frame (the arm is usually held on two pivot shafts with nuts). Note the position of any eccentrics or camber adjustment washers, if present. Mark them with paint to preserve the alignment.
- Remove the arm from its opening. Clamp it in a vise or set it up on a press. Press the old ball joint out using a driver, pushing on the joint housing. The force must not go through the stud.
Stage 3 of 5 Installation 4 steps
- Clean the seat in the arm of dirt and rust with a wire brush and sandpaper. Inspect it for cracks and out-of-round wear.
- Apply a thin layer of grease or retaining compound to the seat and press in the new ball joint using a driver on the housing. If there is a retaining ring, seat it in the groove. Do not press on the dust boot or the stud.
- For the bolted version, install the new ball joint on the arm in the same position and tighten the bolts. Use the manufacturer's torque specification. As a guideline for M10-M12 class 8.8 bolts: 45-90 N·m (33-66 lb-ft), the low end for M10 and the high end for M12. It is better to use new bolts if they are included.
- Reinstall the arm, if you removed it. Thread in the arm bolts and nuts by hand, but do the final tightening only with the vehicle on the ground (step 21).
Stage 4 of 5 Reassembly 5 steps
- Insert the ball joint stud into the knuckle. Make sure the dust boot is not twisted.
- Thread on the stud nut. Tighten it with a torque wrench: guideline 80-130 N·m (59-96 lb-ft), exact value per the manufacturer's specification. If the cotter pin hole doesn't line up, add no more than 60° of tightening (do not loosen). Install a new cotter pin or a self-locking nut.
- Reconnect the sway bar link, if you removed it. Torque per specification, guideline 40-60 N·m (30-44 lb-ft) for M10-M12 threads.
- Install the wheel and tighten the nuts in a crisscross pattern. Lower the vehicle onto its wheels and tighten the arm fasteners with the suspension loaded: guideline 100-180 N·m (74-133 lb-ft), exact value per specification. Tighten the lug nuts in a crisscross pattern, guideline 110-150 N·m (81-111 lb-ft), exact value per specification.
- Repeat the same on the other side if you are replacing the pair.
Stage 5 of 5 Check 3 steps
- Rock the wheel up and down and side to side. There should be no play. Turn the steering wheel in place and check that there are no knocking noises.
- After 50-100 km (30-60 miles) of driving, recheck the tightness of the lug nuts and the arm fasteners.
- Be sure to have a wheel alignment done: after replacing the ball joints or removing the arm, the wheel alignment angles change. Without it, you will get pulling and accelerated tire wear.
Common mistakes and warnings
- The suspension is a safety-critical system
- If you have no experience working on it, have a repair shop do the replacement: a ball joint that separates while driving causes loss of control
- Support the lifted vehicle only on jack stands, never on a jack alone
- All torque values above are approximate guidelines
- Check the exact values against the manufacturer's specification
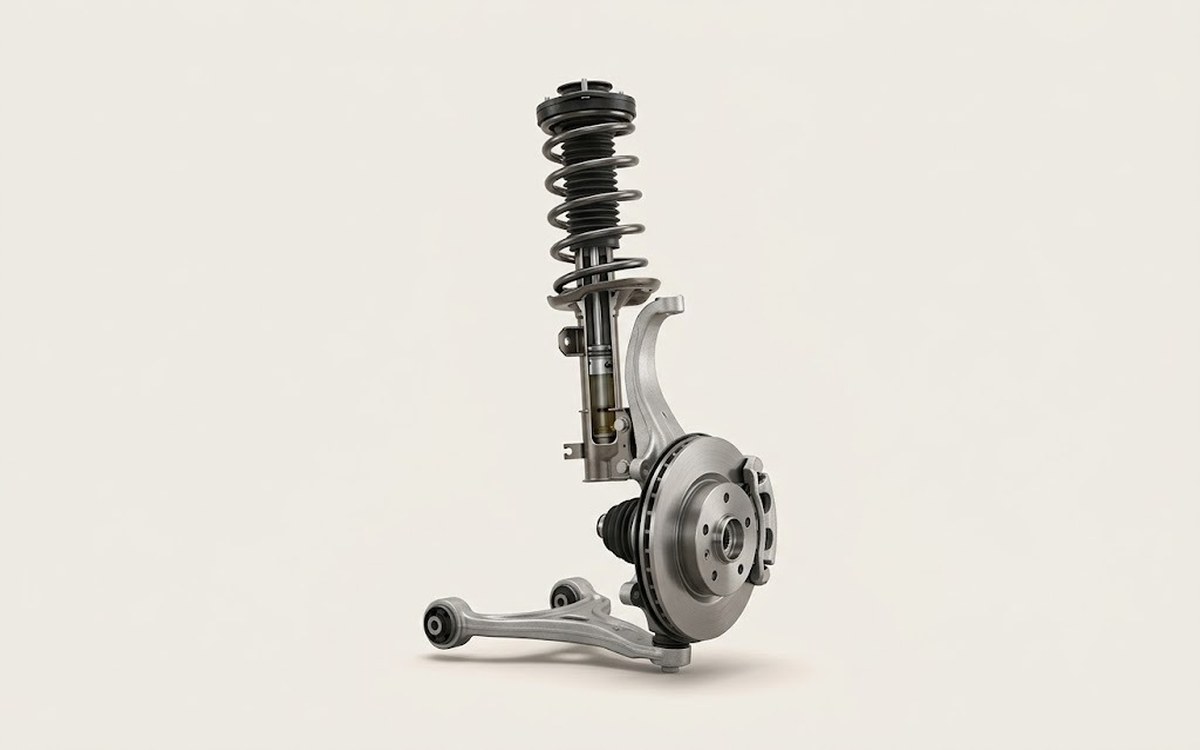 How it works · 3D
How Car Suspension Works
How the part you're working on actually works — in plain English, on a 3D model.
Open in 3D →
Spotted a mistake? Tell us →
Our articles
 Brand stories
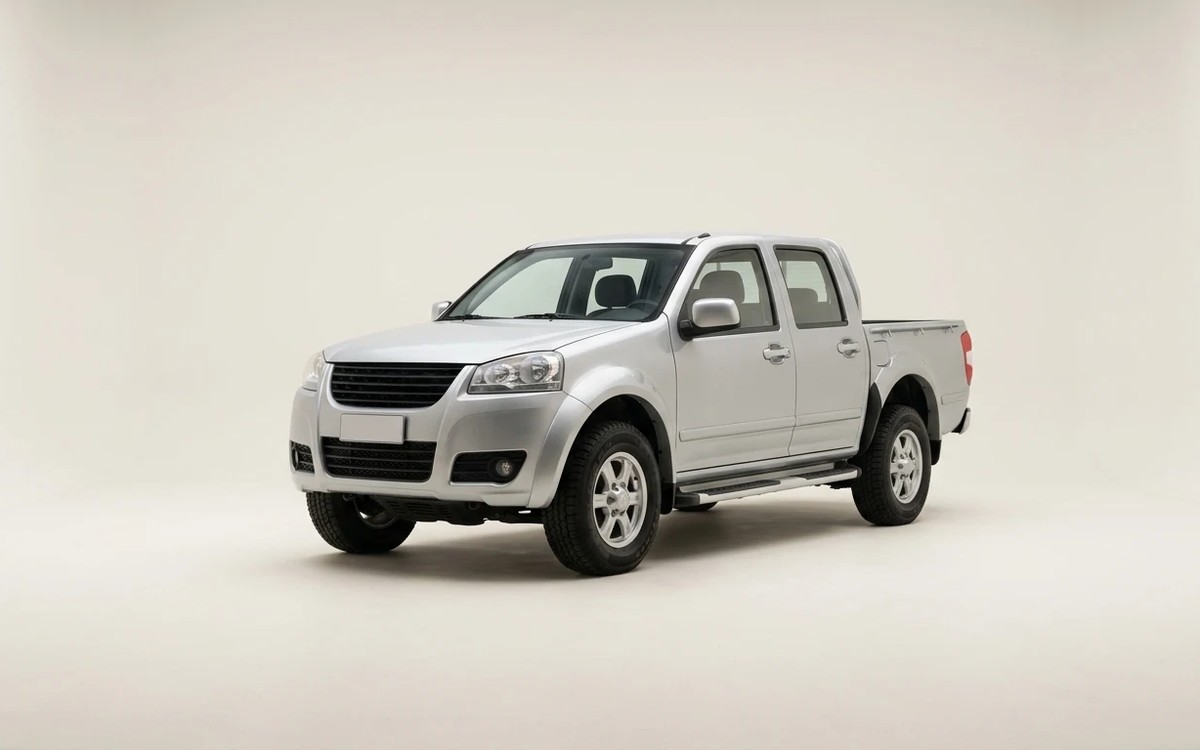
The History of Great Wall Motors
Great Wall Motors Ltd. has been one of China's largest automakers since 1995. It is essentially a holding company that…
Read →
 Garage
Fuel Quality Indicators: What Octane and Cetane Numbers Mean
What is an octane number? What about a cetane number? Which fuel should you choose for a high-compression engine?…
Read →
 Before you buy
How to Pick Up Your Car from the Dealership the Right Way
If you've decided to buy a car from a dealership, it isn't enough to simply choose a model you like, pay for it, and…
Read →