Autopapyrus · Honda Fit 1.3 i-VTEC L13Z (2012)
https://autopapyrus.com/catalog/honda/fit/guides/timing-chain-replacement/
https://autopapyrus.com/catalog/honda/fit/guides/timing-chain-replacement/
Compiled automatically from service literature and owner experience. Specs are for the typical configuration — check them against your exact car before you start.
Honda Fit 1.3 i-VTEC L13Z (2012): Timing Chain Replacement
The L13Z engine uses a timing chain and has no scheduled timing belt replacement. Replace the chain when it has stretched, when it rattles on a cold engine, or when the tensioner or guides are worn. To reach the chain, you need to remove the oil pan, crankshaft pulley, and chain cover. This is a hard job because the timing is set by marks, and the cover seals with liquid sealant.
Key figures
- Sealant working timethis is how long you can wait after applying liquid gasket to the chain cover; after that, wipe it off and reapply (step 15)up to 5 minutes
- Sealant bead thickness on the coverthis is how to apply liquid gasket to the block and into the threaded holes (step 15)1.5 mm along the line and 3.0 mm on the upper contact areas of the block
Check these values against the manufacturer’s specification for your vehicle before you start.
Parts
7| № | Part | Genuine part no. |
|---|---|---|
| 01 | Timing chain kit (chain, tensioner, guide, and tensioner shoe)Find on Amazon → | 14401-RB0-003 |
| 14510-RB0-004 | ||
| 14512-RMX-000 | ||
| 14530-RB0-004 | ||
| 02 | Timing chain cover sealFind on Amazon → | 91212-PWA-003 |
| 91212-RB0-004 | ||
| 03 | Valve cover gasketFind on Amazon → | |
| 04 | Oil pan gasket or sealantFind on Amazon → | 11252-PWA-000 |
| 05 | Engine oilFind on Amazon → | |
| 06 | Oil filterFind on Amazon → | 15400-RTA-003 |
| 15400-RTA-004 | ||
| 07 | Drive beltif wornFind on Amazon → |
Amazon links search by the part name and genuine number; use Amazon's fit check for your car before ordering. We may earn a commission from qualifying purchases.
Part numbers are from the manufacturer's original catalogue. Check them against your VIN before ordering.
Tools
9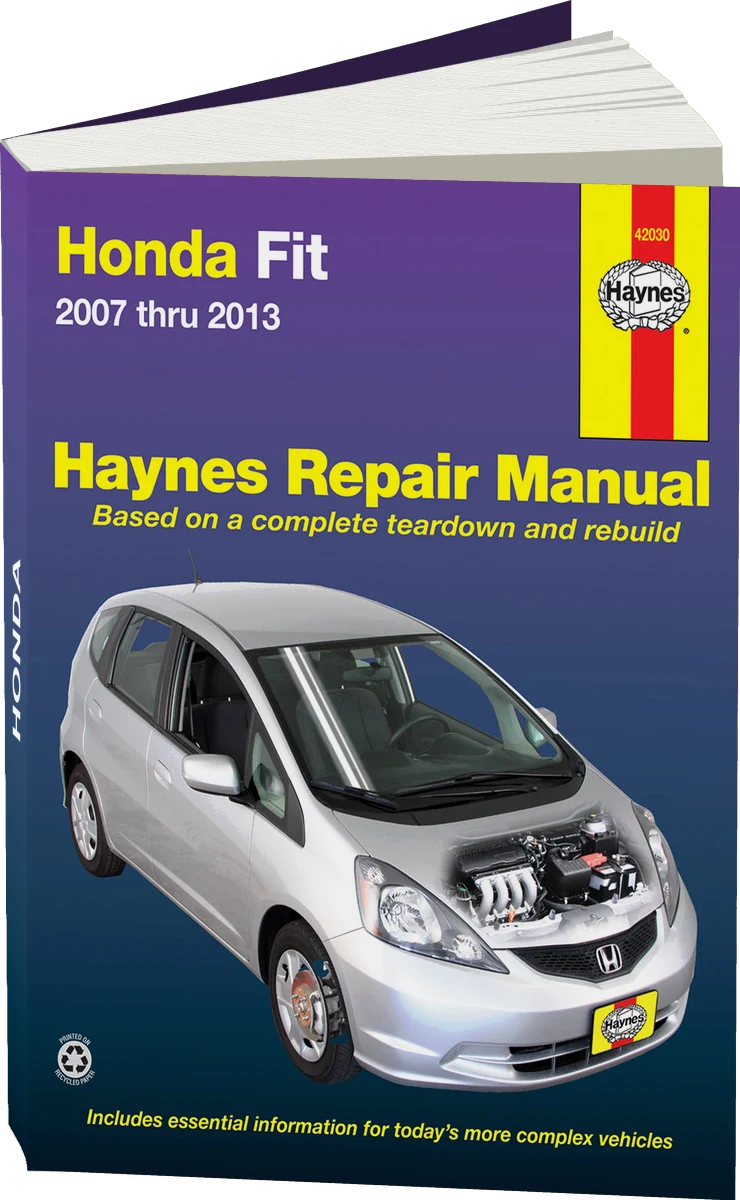 There's a full repair manual for this car
Every system, wiring diagrams and torque specs — not just this job. Haynes and 2 more.
See manuals →
Step by step
19 steps- Disconnect the negative battery terminal. Drain the engine oil and coolant if they are in the way of removing parts. Keep the chain away from magnets.
- Remove the drive belt. Remove the lower alternator bracket bolt and loosen the alternator mounting bolt. Remove the idler pulley (together with the A/C compressor if it is mounted on it).
- Turn the crankshaft so the TDC mark on the pulley lines up with the pointer. While the marks are aligned, do not turn the crankshaft.
- Remove the water pump pulley. Remove the valve cover.
- Remove the crankshaft pulley. Remove the oil pan.
- Disconnect the crankshaft position sensor connector and remove the wiring harness clips.
- Support the engine with a jack, using a wooden block under the engine block. Remove the ground cable and the side engine mount bracket as an assembly.
- Move the alternator aside so it is out of the way. Remove the chain cover, then the reluctor ring (pulse wheel).
- Apply oil to the sliding surface of the tensioner shoe. Hold the shoe with a screwdriver, remove one bolt, and loosen the other. Remove the shoe, tensioner, and chain guide, then the chain itself.
- Inspect the sprockets and the chain cover seal. Replace the seal if it is damaged.
- Set the crankshaft to TDC: the mark on the crankshaft sprocket lines up with the pointer on the oil pump. Cylinder 1 must also be at TDC: the UP mark on the camshaft sprocket is at the top, and the TDC grooves on the sprocket line up with the top edge of the cylinder head.
- Fit the chain onto the crankshaft sprocket so the colored link lines up with the TDC mark on the sprocket. Fit the chain onto the camshaft sprocket so the pointer is centered between the two colored links.
- Apply oil to the threads of the tensioner bolt. Install the tensioner and chain guide. Install the shoe and start its bolt without fully tightening it. Apply oil to the sliding surface of the shoe.
- Turn the shoe clockwise to compress the tensioner, install the remaining bolt, and tighten both. Use the torque specified by the manufacturer.
- Clean the mating surfaces of the chain cover, the bolts, and the threaded holes of old sealant, then degrease and dry them. Apply liquid gasket to the engine block surface at the cover and into the inner threads of the holes: a 1.5 mm bead along the dashed line and a 3.0 mm bead on the upper contact areas of the block. If 5 minutes or more have passed since application, wipe off the sealant and apply it again.
- Install the reluctor ring and the chain cover. Connect the crankshaft sensor connector and secure the wiring harness.
- Install the side engine mount bracket as an assembly, following the specified tightening sequence for the bolts and nuts. Install the ground cable. Then install the oil pan, crankshaft pulley, valve cover, water pump pulley, idler pulley, alternator bracket bolt, and drive belt with proper tension. Use the manufacturer's torque specifications for all fasteners.
- Allow time for the sealant to cure. It is recommended to wait at least 30 minutes before adding oil and not to start the engine for about 3 hours after installing the chain cover. Check the exact time against the sealant instructions.
- Add engine oil and coolant. Check for leaks. Start the engine, listen for rattling, and check that there are no fault codes.
Common mistakes and warnings
- If the marks are off, the valves and pistons can collide when the engine is turned, so do not turn the crankshaft while the chain is removed
- All torque values in this guide are approximate, so check exact figures against the manufacturer's specifications
- If you lack experience, leave the job to a repair shop: a timing error can lead to expensive engine repairs
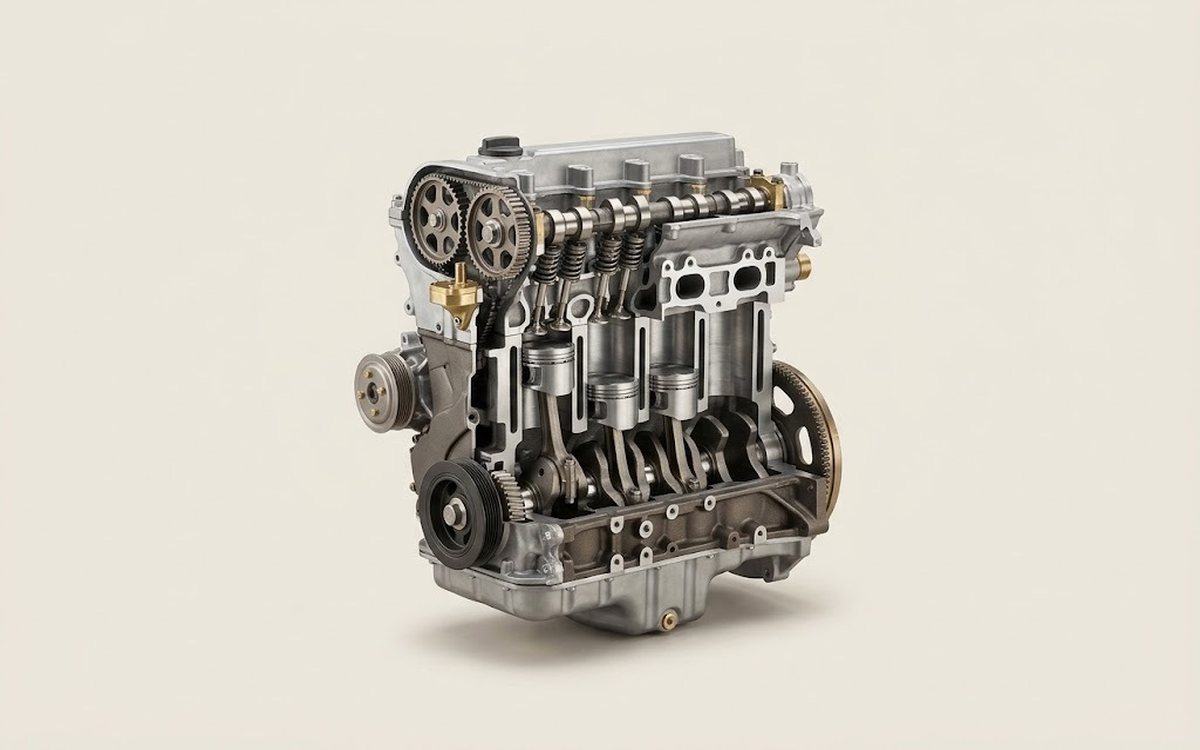 How it works · 3D
How a Car Engine Works
How the part you're working on actually works — in plain English, on a 3D model.
Open in 3D →
Spotted a mistake? Tell us →
Our articles
 Brand stories
The History of Honda
The founder of the famous company, Japanese entrepreneur Soichiro Honda, was born in 1906 into the family of a poor…
Read →
 Garage
Fuel Quality Indicators: What Octane and Cetane Numbers Mean
What is an octane number? What about a cetane number? Which fuel should you choose for a high-compression engine?…
Read →
 Before you buy
How to Pick Up Your Car from the Dealership the Right Way
If you've decided to buy a car from a dealership, it isn't enough to simply choose a model you like, pay for it, and…
Read →