Autopapyrus · Honda Odyssey (3rd generation, RB1)
https://autopapyrus.com/catalog/honda/odyssey/guides/instrument-cluster-replacement/
https://autopapyrus.com/catalog/honda/odyssey/guides/instrument-cluster-replacement/
Compiled automatically from service literature and owner experience. Specs are for the typical configuration — check them against your exact car before you start.
Honda Odyssey (3rd generation, RB1): Instrument Cluster Replacement
On the Odyssey RB1, the instrument cluster sits in a recess under a decorative trim panel and is held by several screws. To get access, remove the trim around the cluster and the air vent duct. Then disconnect the connectors and take out the unit. A detailed procedure specifically for the RB1 was not found in open sources, so the order below describes the general principle for this Odyssey family. Check the positions of the screws and clips visually on your own car.
Parts
3| № | Part |
|---|---|
| 01 | Complete instrument cluster for Honda Odyssey RB1, K24Atrim level (automatic transmission, drive type, market) must match the original clusterFind on Amazon → |
| 02 | Instrument cluster backlight bulbsif only the backlight is faultyFind on Amazon → |
| 03 | Instrument cluster trim piece (lens)if only the lens is damagedFind on Amazon → |
Amazon links search by the part name; use Amazon's fit check for your car before ordering. We may earn a commission from qualifying purchases.
Tools
5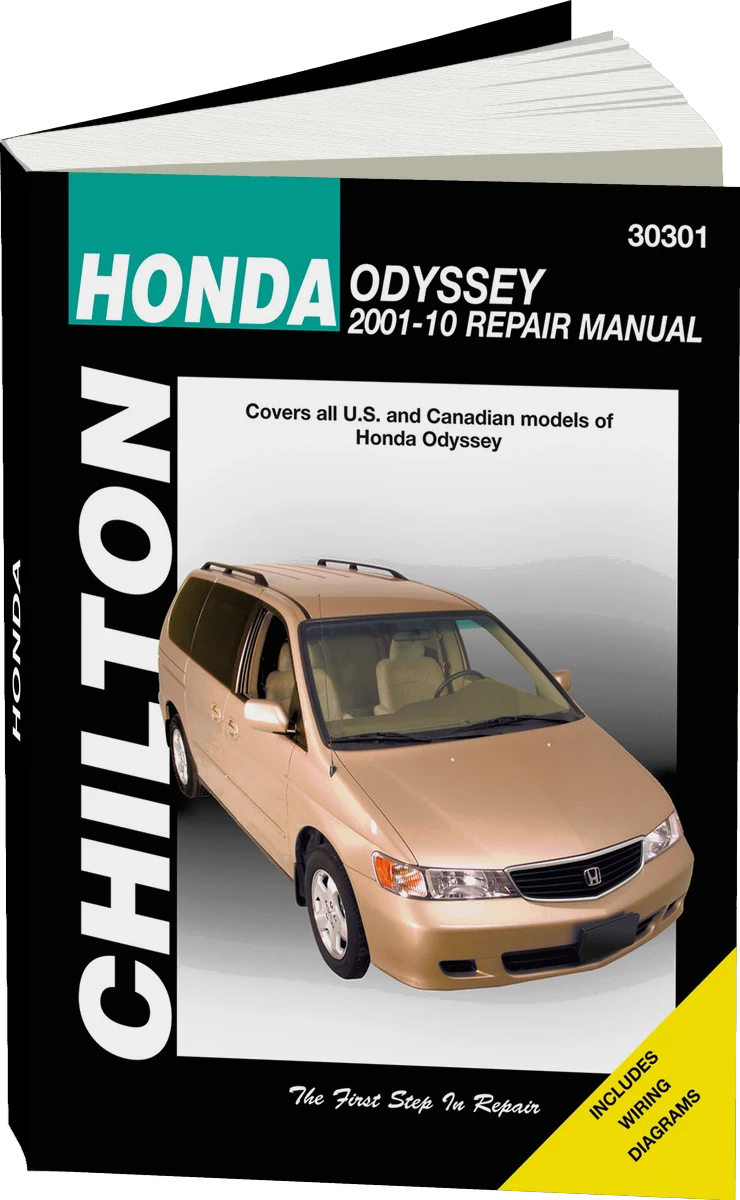 There's a full repair manual for this car
Every system, wiring diagrams and torque specs — not just this job. Chilton and 2 more.
See manuals →
Step by step
14 steps- Park the car on a level surface and shut off the engine. Set the steering wheel to its lowest position and the steering column to its maximum reach toward you to free up access to the trim panel.
- Disconnect the negative battery terminal. Wait at least 2-3 minutes so the SRS (airbag) capacitors discharge. You will have to reset the radio and the clock afterward. If the radio asks for a code, find it beforehand.
- Cover the dash and the steering column with a soft cloth to protect them from scratches.
- Locate the fasteners of the decorative trim around the cluster. Usually these are 2 screws in the upper part of the trim, visible after folding back the edge, and one screw near the air vent duct. Remove them.
- Carefully remove the side air vent deflector (duct) on the right side of the trim panel. Pry it with a plastic trim tool, not a screwdriver.
- Release the trim panel from its clips by pulling it toward you around the perimeter. Do not yank it, and watch for the switch wires that may run to the panel. If there are any, disconnect the connectors.
- The cluster housing is now visible. Remove its mounting screws, usually two at the top above the speedometer. Do not drop the screws inside the dash.
- Carefully tilt the cluster toward you and disconnect the connectors on its back. Press the locking tab on each connector and pull on the connector body, not on the wires. Memorize or photograph the connector positions before disconnecting.
- Take out the cluster. Transfer the lenses, bulbs and trim pieces to the new unit if they are not included. The backlight and indicator bulbs are usually replaced while the unit is out.
- Compare the new and old units: connectors, gauge faces, trim level. Do not install a unit with different gauge faces or a different drive type.
- Install in reverse order: connect the connectors until they click, then secure the cluster with the screws. Tighten the screws only snug, without force, per the manufacturer's specification. The plastic strips easily.
- Install the trim panel and the air vent duct, and secure the screws. Connect the battery terminal.
- Turn the ignition on. All the warning lights should come on for a few seconds and the gauge needles should run a self-test. Check the backlight, the fuel gauge, the temperature gauge and the tachometer. Start the engine and make sure the SRS, ABS and Check Engine lights go out.
- If a new or used cluster shows a different mileage, or the immobilizer light stays on, you will need an odometer correction or unit registration. This is done with specialized equipment.
Common mistakes and warnings
- The airbag circuits run nearby
- Do not work with the battery connected, and do not touch the yellow SRS connectors
- If the SRS light stays on after reassembly, do not drive the car as is
- Take it to a repair shop for diagnostics
- The mileage (odometer) is stored in the cluster itself
- If you install a used unit, the mileage will be different, and it cannot be changed on a new unit without special equipment
- Torque values are not given because the exact values for the RB1 are not confirmed
- Tighten the cluster and trim screws only snug, without force
Spotted a mistake? Tell us →
Our articles
 Brand stories
The History of Honda
The founder of the famous company, Japanese entrepreneur Soichiro Honda, was born in 1906 into the family of a poor…
Read →
 Garage
Fuel Quality Indicators: What Octane and Cetane Numbers Mean
What is an octane number? What about a cetane number? Which fuel should you choose for a high-compression engine?…
Read →
 Before you buy
How to Pick Up Your Car from the Dealership the Right Way
If you've decided to buy a car from a dealership, it isn't enough to simply choose a model you like, pay for it, and…
Read →