Autopapyrus · Hyundai Elantra (Avante) 1.6 G4FL (2021)
https://autopapyrus.com/catalog/hyundai/elantra/guides/battery-replacement/
https://autopapyrus.com/catalog/hyundai/elantra/guides/battery-replacement/
Compiled automatically from service literature and owner experience. Specs are for the typical configuration — check them against your exact car before you start.
Hyundai Elantra (Avante) 1.6 G4FL (2021): Battery Replacement
The battery is located in the engine compartment. You may need to remove a plastic cover or part of the air intake duct for access, and on the CN7 this depends on the trim level. The job is simple: disconnect the negative terminal, then the positive, remove the hold-down, swap the battery and reconnect in reverse order. After the replacement, the radio, window and transmission "learned" settings are usually reset.
Part
| № | Part | Alternatives |
|---|---|---|
| 01 | 12 V battery, about 70 Ah, EFB or AGM type (for stop-start system)1 pcFind on Amazon → | AlternativesVartaBoschExideMutlu |
Amazon links search by the part name; use Amazon's fit check for your car before ordering. We may earn a commission from qualifying purchases.
Tools
8- 10 Amazon →
- 12 Amazon →
- 13 and 14 mm sockets with a ratchet and extension Amazon →
- plastic brush or sandpaper for the terminals Amazon →
- contact grease (dielectric grease) Amazon →
- gloves Amazon →
- safety glasses Amazon →
- optional memory saver (powers the vehicle's electrical system from a 9-volt battery or an external battery) Amazon →
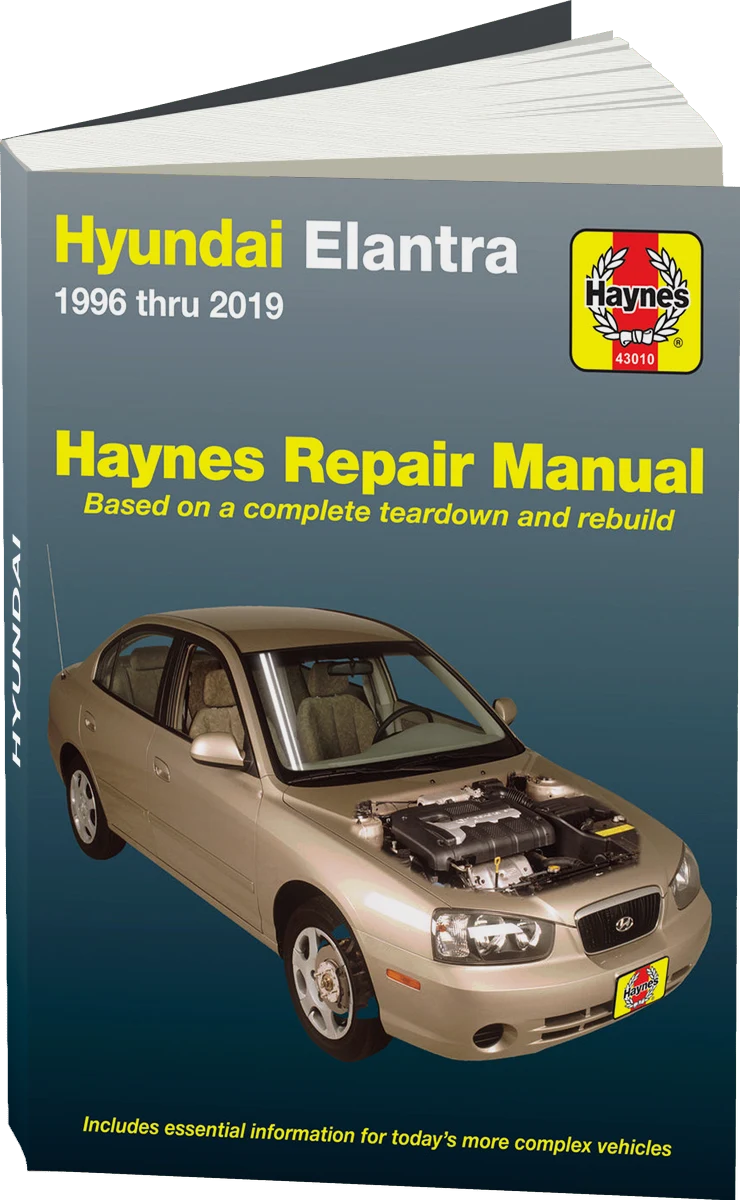 There's a full repair manual for this car
Every system, wiring diagrams and torque specs — not just this job. Haynes and 5 more.
See manuals →
Step by step
14 steps- Park the vehicle on level ground, shut off the engine, turn the ignition off and switch off all electrical loads. Close the doors, making sure first that you have the key in your hands. Open the hood.
- Locate the battery. If necessary, remove the plastic cover over it and any air filter duct parts that are in the way (usually held by clips or small screws).
- If you have a memory saver, connect it to the cigarette lighter socket or to the wires as described in its manufacturer's instructions, to preserve the vehicle's electrical system settings.
- Loosen the negative terminal (the "−") with a 10 mm wrench, remove it from the post and move it aside so it cannot touch the post. Then disconnect the positive ("+") the same way, first flipping up the plastic protective cover. Disconnect the positive only after the negative, so you do not short the wrench to the body.
- Remove the hold-down bar or frame that secures the battery to the tray (12-14 mm socket, depending on the fastener size on your vehicle). If the fasteners are rusty, treat them with penetrating oil and let it soak.
- Lift out the battery, holding it with both hands by the case (weight about 15-20 kg (33-44 lb)). Keep it upright so you do not spill electrolyte.
- Clean the tray and the surrounding area of dirt and corrosion. Brush the vehicle's terminals until they are bright and, if needed, apply a thin layer of contact grease.
- Place the new battery on the tray in the same orientation as the old one: positive and negative in the same positions. Check the polarity before connecting.
- Install the hold-down bar and tighten the fastener so the battery cannot be moved by hand. Use the torque specified by the manufacturer and do not overtighten, to avoid damaging the case.
- First install and tighten the positive terminal, then the negative terminal. The terminals must not turn on the posts by hand. Put the positive protective cover back in place.
- Reinstall the plastic parts and duct you removed. Disconnect the memory saver.
- Start the engine. Check that there are no warning messages on the instrument cluster. If the stop-start system does not work after the terminals were disconnected, it will become active after several trips, once the control unit has assessed the condition of the new battery.
- Re-enter the time, radio settings and, if necessary, the radio code. Run the auto up/down function of the windows once if it has stopped working (hold the switch in its end position for a couple of seconds). The transmission may "relearn" over several trips, which is normal.
- Take the old battery to a recycling point: it must not be thrown away.
Common mistakes and warnings
- Wear gloves and safety glasses, keep sparks and open flames away from the battery, and do not lay metal tools on top of it
- Do not mix up the polarity
- If the vehicle has a battery sensor on the negative terminal, do not remove it or replace it with a wire; connect the negative through it
- The torque values in this guide are approximate, so check the exact values against the manufacturer's specifications
Spotted a mistake? Tell us →
Our articles
 Brand stories
The History of Hyundai
Hyundai Motor Company, whose name means "modernity" in Korean, is South Korea's largest automaker and one of the top…
Read →
 Garage
Fuel Quality Indicators: What Octane and Cetane Numbers Mean
What is an octane number? What about a cetane number? Which fuel should you choose for a high-compression engine?…
Read →
 Before you buy
How to Pick Up Your Car from the Dealership the Right Way
If you've decided to buy a car from a dealership, it isn't enough to simply choose a model you like, pay for it, and…
Read →