https://autopapyrus.com/catalog/kia/sorento/guides/removing-and-installing-the-left-cargo-area-side-trim-panel/
Kia Sorento (4th generation, MQ4): Removing and Installing the Left Cargo Area Side Trim Panel
A step-by-step procedure for the Sorento MQ4 is not documented in publicly available service materials, so this is the general removal principle for a cargo area side trim panel, typical for Kia/Hyundai crossovers. The panel is held by plastic clips and several latches, and removal goes from the upper elements and the sill toward the side panel. The job is easy. The main risks are broken clips and scratched plastic.
Parts
4| № | Part |
|---|---|
| 01 | Plastic trim push clips for cargo area (assorted set)Find on Amazon → |
| 02 | Left cargo area side trim panelif brokenFind on Amazon → |
| 03 | Cargo opening sill trimif brokenFind on Amazon → |
| 04 | Left side access panel/coverif brokenFind on Amazon → |
Amazon links search by the part name; use Amazon's fit check for your car before ordering. We may earn a commission from qualifying purchases.
Tools
5Read the codes yourself
A scanner plugged into the OBD2 port under the dashboard shows which fault codes the car has stored, before you buy any parts. Cars sold in the US from 1996, and petrol cars in Europe from 2001 (diesels from 2004), have this port.
- Basic code reader, about $20–40: reads and clears engine codes Amazon →
- Bluetooth scanner with a phone app, about $30–100: live sensor data, and on many cars ABS and airbag codes too Amazon →
Check that the scanner lists your make and model year before you buy. We may earn a commission from qualifying purchases.
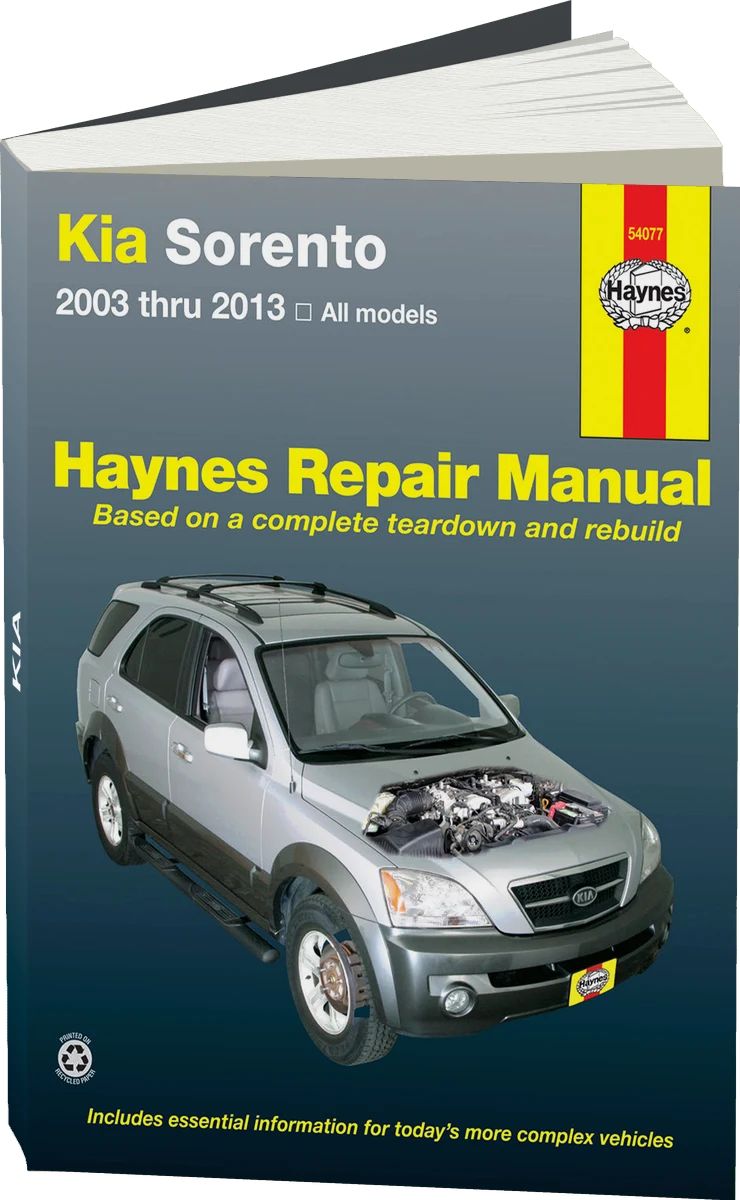 There's a full repair manual for this car
Every system, wiring diagrams and torque specs — not just this job. Haynes and 5 more.
See manuals →
Step by step
10 steps- Turn off the engine, open the liftgate, and empty the cargo area. Remove the cargo mat and, if equipped, the organizer or tray in the floor compartment.
- If the left side has a subwoofer, cargo net holder, hooks, or a power outlet, remove them. The net holder and hooks are usually unscrewed or released with a quarter turn. The outlet connector is disconnected after the trim panel is removed.
- Remove the cargo opening sill trim: pry it up with a trim tool starting at the edge, beginning at a corner. It is held by clips, so pull evenly and without jerking.
- If your model has covers and caps on the second- or third-row seat mounts (seatback folding levers, seat belts), remove them. Do not unbolt the lower third-row seat belt anchor unless necessary. If you do unbolt it, tighten it strictly to the manufacturer's specification.
- Look for hidden screws or bolts under caps, in recesses, and behind access covers, and remove them. Before pulling the panel, inspect it for fasteners so nothing gets broken.
- Start prying the side trim panel away from the body with the trim tool, working near each clip. Release the upper edge first, then the middle, then the bottom. The panel should come off evenly, without twisting.
- Carefully pull the panel away and disconnect the connectors (lighting, 12 V outlet, speaker, if equipped). Press the connector locks with your finger. Do not pull on the wires.
- Do your repair or diagnostic work behind the panel: inspect the seals and plugs, check for signs of moisture, replace bulbs and the speaker, or route wiring. Check whether any broken clips are left on the body side and remove them.
- Install in reverse order: connect the connectors, align the panel with its mounting points, and press it firmly with your palm at each clip location until it clicks (replace any broken clips with new ones). Tighten the screws, then install the sill trim and the remaining parts.
- Check that the lighting, outlet, and seat latches work, then put the cargo mat back in place.
Common mistakes and warnings
- Trim plastic becomes brittle in the cold
- At low temperatures, warm the cabin to a comfortable temperature first, or the clips and panel tabs will break
- If passive safety components are in the work area (curtain airbags, seat belt anchors), do not damage them
- If you run into difficulties, contact a repair shop