Autopapyrus · Lifan X50 1.5 LFB479Q (2015)
https://autopapyrus.com/catalog/lifan/x50/guides/checking-timing-marks-and-valve-timing/
https://autopapyrus.com/catalog/lifan/x50/guides/checking-timing-marks-and-valve-timing/
Compiled automatically from service literature and owner experience. Specs are for the typical configuration — check them against your exact car before you start.
Lifan X50 1.5 LFB479Q (2015): Checking Timing Marks and Valve Timing
The LFB479Q engine is a 1.5 L, 16-valve, dual-camshaft engine driven by a single timing belt. The check comes down to setting the No. 1 cylinder piston at TDC and confirming that the crankshaft mark and both camshaft marks line up with their pointers, and that the belt has not jumped a tooth. Verify the exact location of the marks on the pulleys visually on the car (they are on the pulleys and the housing). The torque figures below are approximate.
Diagram: where the timing marks are and how to align them
Tap to enlarge
- 1Crankshaft pulley: align the white mark on it with the fixed pointer on the cover or engine housing. This is TDC of cylinder 1.
- 2Camshaft pulley: its white mark must line up with the pointer on the cylinder head or the rear belt cover.
- 3Tensioner roller with spring: turn the roller by hand (no play, sticking or noise) and check the tensioner spring.
- 4Timing belt: inspect it (cracks, oil, delamination, chipped teeth). On the long run it must be springy, without sagging.
- 5Idler roller: turn it by hand, with no play, sticking or noise.
- 6Alternator: a landmark above the assembly. Its belt is removed if it blocks access to the timing cover.
- 7Crankshaft pulley bolt in the center: use a socket wrench on it to turn the crankshaft only in the direction of rotation (clockwise from the pulley side), never backwards.
Parts
3| № | Part |
|---|---|
| 01 | Valve cover gasket (seal)when the timing cover is openedFind on Amazon → |
| 02 | Timing belt kit (belt, tensioner pulley, tensioner spring)if the marks don't line up or the belt is wornFind on Amazon → |
| 03 | Sealant for cover cornersFind on Amazon → |
Amazon links search by the part name; use Amazon's fit check for your car before ordering. We may earn a commission from qualifying purchases.
Tools
9- Socket set and ratchet (8-19 mm) Amazon →
- crankshaft bolt socket (17-19 mm, confirm on the vehicle) Amazon →
- socket wrench for turning the crankshaft Amazon →
- screwdriver Amazon →
- rags Amazon →
- white marker or correction pen Amazon →
- flashlight Amazon →
- jack and jack stands Amazon →
- and if needed a floor jack or support for lifting the engine Amazon →
Step by step
28 steps · 6 stagesStage 1 of 6 Preparation 6 steps
- Shut off the engine, let it cool, put the transmission in neutral, and set the parking brake. It is best to do this work on a cold engine.
- Disconnect the negative battery terminal.
- Raise the front right side of the car on a jack and jack stands, and remove the right front wheel. (When reinstalling, tighten the wheel nuts to the factory specification. For small cars, a typical reference is 80-110 N·m (59-81 lb-ft).)
- Remove the engine undercover (skid plate) if fitted, and the under-hood liner panel, to access the crankshaft pulley.
- Remove the air filter with its duct and anything else that blocks access to the valve cover and the upper timing belt cover. Unclip the connectors and wiring harnesses from their brackets without tearing them off.
- If you need to remove the accessory drive pulleys to reach the lower timing cover, remove the alternator belt and the power steering pump / A/C compressor belt (if fitted): loosen the tensioner and take the belts off.
Stage 2 of 6 Accessing the marks 3 steps
- Disconnect the spark plug wires or coils, remove the valve cover fasteners, and take off the valve cover. On this line of Lifan vehicles, in practice you need to remove the valve cover and the lower undercover, and to reach the lower marks you must support the engine and remove the side mount.
- Remove the bolts of the upper timing belt cover (small bolts, 10 mm socket) and take off the cover. Usually the lower cover must be removed as well.
- Wipe the pulleys and pointers with a rag, then draw contrasting lines over the marks with a white marker.
Stage 3 of 6 Setting tdc and checking the marks 6 steps
- Turn the crankshaft only in its normal direction of rotation (clockwise when viewed from the pulley side), using a socket wrench on the crankshaft pulley bolt. Do not turn it backward, as the belt may skip a tooth.
- Align the mark on the crankshaft pulley with the pointer on the engine housing (cover). This is TDC for the No. 1 cylinder piston.
- Check the marks on both camshaft pulleys: they should be opposite their pointers on the cylinder head or the rear belt cover. On a 16-valve, dual-camshaft engine, the intake and exhaust pulley marks must line up at the same time as the crankshaft mark.
- Check that in this position the marks on both camshafts are in the correct orientation (at TDC this is usually the upper position). If both pulleys line up, the valve timing is set correctly.
- Inspect the belt for cracks, oil stains, delamination, and chipped teeth. Press on the belt on the long run: it should be firm, without sagging.
- Check the tensioner pulley and idler pulleys: turn them by hand, and they should spin without play, binding, or noise. Check the tensioner spring.
Stage 4 of 6 If the marks do not line up 5 steps
- If one of the camshaft pulleys is off by a tooth or more, the belt has jumped. Do not start the engine after that: on this engine, incorrect timing may cause the valves to hit the pistons.
- Loosen the tensioner, remove the belt, and reinstall it according to the marks: crankshaft at the TDC mark first, then both camshaft pulleys on their marks.
- Fit the belt in this order: crankshaft, idler pulley, camshaft pulleys, water pump, tensioner pulley. The drive run (between the crankshaft and the upper pulley) must be taut before you release the tensioner.
- Adjust the belt tension and tighten the tensioner fasteners (torque per the manufacturer's specification; as a reference, for M8-M10 bolts it is 20-40 N·m (15-30 lb-ft)).
- Turn the crankshaft 2 full revolutions in its normal direction and check all three marks again. If they do not line up, repeat the installation.
Stage 5 of 6 Reassembly 5 steps
- Install the upper and lower timing belt covers and tighten their bolts lightly (reference 8-12 N·m (6-9 lb-ft)).
- Install the valve cover with a new gasket, and apply a thin layer of sealant at the corners by the cylinder head. Tighten the bolts in a crisscross pattern, reference 8-12 N·m (6-9 lb-ft), with the final value per the manufacturer's specification.
- Install the pulleys and accessory drive belts and tension them by deflection (about 8-12 mm on the run between pulleys under about 10 kgf (about 22 lbf, roughly 98 N) of pressure; adjust according to the condition of the belt).
- Install the spark plug wires/coils, air filter, engine undercover, and the wheel. Tighten the wheel nuts in a star pattern (torque per the specification, reference 80-110 N·m (59-81 lb-ft)).
- Reconnect the battery.
Stage 6 of 6 Verification 3 steps
- Start the engine and let it idle for 5-10 minutes. Listen for a smooth sound with no whistling or knocking, and a stable idle speed.
- Check for oil leaks from under the valve cover and for unusual noises from the belt.
- If the Check Engine light comes on, read the codes with an OBD scanner, especially for the camshaft and crankshaft sensors.
Common mistakes and warnings
- Do all mark checks only with the engine off and the battery disconnected
- Do not turn the crankshaft backward, and do not start the engine until all three marks line up: on this engine, incorrect timing can damage the valves
- The torque values in the text are approximate, so confirm the exact values against the manufacturer's specification
- If you have no experience working on timing systems, leave setting the valve timing to a repair shop
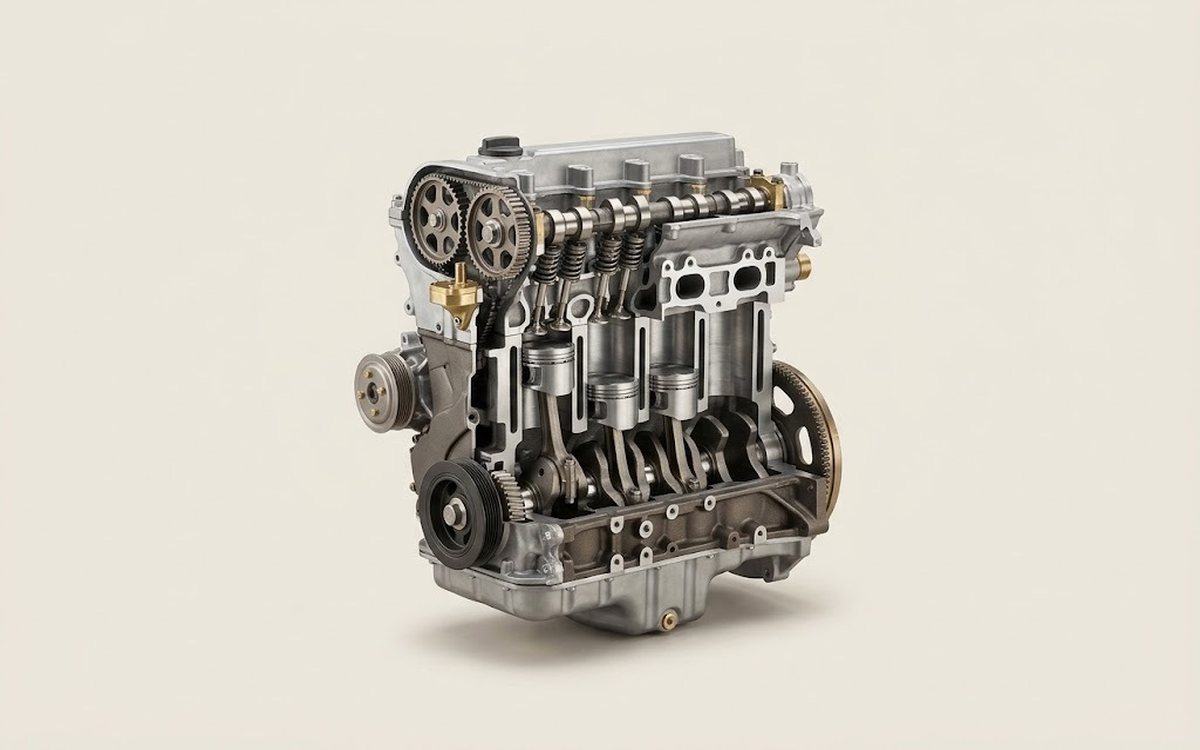 How it works · 3D
How a Car Engine Works
How the part you're working on actually works — in plain English, on a 3D model.
Open in 3D →