Mazda 3 — repair and maintenance
9 repair manuals
Mazda 3 guides
470Engine73
- Repairing the cylinder head
- Servicing the lubrication system
- Rear crankshaft oil seal
- Replacing the powertrain
- Replacing the timing chain
- Starting the engine
- Engine oil and filter
- Servicing the air intake system
65 more
- Front crankshaft oil seal
- Checking the compression pressure
- Checking the oil pressure
- Checking and replacing the air filter
- Checking the intake manifold vacuum
- Checking the valve train clearances
- Checking the level and changing the oil in the manual transmission
- Checking the idle speed
- Adjusting the valve clearances in the valve drive
- Alternator drive belt
- Accessory drive belts
- Repairing the variable valve timing system
- Spark plugs
- Removing and installing the oil pan
- Diagnosing the engine condition
- Replacing the intake air temperature sensor
- Replacing the engine sealing parts
- Replacing the engine oil and oil filter
- Replacing the valve stem seals
- Replacing the intake manifold gasket
- Replacing the head gasket
- Replacing the catalytic manifold gasket
- Replacing the cover gasket
- Replacing the actuator slave cylinder
- Replacing the camshafts
- Replacing the idle speed regulator
- Replacing the crankshaft oil seals
- Replacing the oil pan gasket
- Replacing the filter element
- Cylinder head cover
- Lapping the valves
- Checking and replacing the drive belt
- Checking the cylinder compression
- Checking the engine fuel system
- Checking the lubrication system
- Checking the engine condition
- Checking the oil level
- Repairing the oil pump
- Removing the air filter
- Removing and installing the valve
- Removing and installing the oil pickup
- Removing and installing the oil pump
- Removing, inspecting and installing the flywheel
- Setting the piston of cylinder No. 1
- Replacing the rear crankshaft oil seal
- Replacing the oil filter fitting (Z6)
- Oil pump
- Servicing the pre-start heating system
- Powertrain mountings: replacement
- Checking the cylinder head
- Checking the check valve
- Inspecting the wastegate actuator
- Testing with an oscilloscope
- Checking the valve train thermal clearances
- Checking the engine oil level
- Checking the electropneumatic valve (LF-DE, L3-VE)
- Disassembling and assembling the master cylinder
- Disassembling and assembling the engine
- Disassembling, inspecting and assembling the oil pump
- Disassembling, checking, cleaning and repairing the cylinder block
- Assembling the cylinder block (conclusion)
- Assembling the cylinder block (beginning)
- Assembling the cylinder head
- Intake system
- Removing and installing the crankshaft position sensor
Suspension & steering64
- Adjusting the steering wheel position
- Steering gear
- Steering column
- Rear suspension beam
- Front suspension crossmember
- Rear suspension upper arm
- Rear suspension
- Replacing the rear suspension shock absorber
56 more
- Replacing the rear suspension spring
- Rear suspension lower arm
- Front suspension lower arm
- Inspecting the tie rod end dust boot
- Rear suspension trailing arm
- Bleeding the power steering system
- Bleeding the power steering system
- Front suspension repair
- Front suspension strut
- Diagnosing the power steering system
- Replacing the power steering reservoir
- Replacing the rear suspension upper arm
- Replacing the stabilizer bar components
- Replacing the rear lower arm
- Replacing the rear suspension mount
- Replacing the rear wheel hub
- Replacing the left suspension mount
- Replacing the outer tie rod end
- Replacing the power steering pump
- Replacing the front lower arm
- Replacing the suspension bushings
- Replacing the front wheel hub bearing
- Replacing the tie rod
- Replacing the tie rods
- Replacing the front suspension arm
- Replacing the stabilizer bar
- Replacing the front suspension stabilizer bar
- Replacing the ball joint
- Inspecting and checking the steering
- Checking the fluid pressure
- Checking and adjusting the wheel alignment angles
- Checking the front suspension
- Checking the steering
- Bleeding the power steering system
- Repairing the shock absorber strut
- Repairing the suspension
- Repairing the steering
- Removing and installing the shock absorber strut
- Removing and installing the steering knuckle
- Removing and installing the steering column
- Removing and installing the drive lever
- Removing and replacing the protective boot
- Hydraulic section of the control system
- Diagnosing the power steering
- Front wheel steering knuckle and hub
- Checking and adjusting the toe-in
- Checking the wheel camber and caster
- Checking the steering wheel
- Checking the steering gear and tie rods
- Checking the power steering fluid level
- Disassembling the steering gear and tie rods
- Adjusting the wiper arms
- Front suspension arm: replacement
- Removing and installing the rear coil spring
- Removing and installing the wiper arm
- Removing and installing the hub
Electrical114
- Replacing the battery
- Replacing the alternator
- Replacing the instrument cluster
- Ignition switch (lock)
- Replacing the engine control unit
- Replacing the neutral start switch
- Replacing the knock sensor
- Replacing the rear wheel speed sensors
106 more
- Replacing the front wheel speed sensors
- Replacing the compressor
- Replacing the radio
- Replacing the multifunction display
- Ignition coils
- Checking the ignition coil
- Checking the spark plugs
- Repairing the headlight leveling system
- Diagnosing the engine management system
- Replacing the climate control unit
- Replacing the pressure switch
- Replacing the throttle position sensor
- Replacing the crankshaft position sensor
- Replacing the vehicle speed sensor
- Replacing the interior air temperature sensor
- Replacing the outside air temperature sensor
- Replacing the high-mounted stop lamp
- Replacing the rear light
- Replacing the contact assembly
- Replacing the cruise control switch
- Replacing the trunk light lens
- Replacing the headlight leveling actuator
- Replacing the fog light
- Replacing the solenoid valves
- Replacing the electronic control unit
- Replacing the electrical components of the control system
- Charging the battery
- Vehicle keys
- Fuse and relay boxes
- Setting up the trip computer
- Battery maintenance
- Lighting, light signaling
- Steering wheel audio control panel
- Wiper and washer control switch
- Checking the exterior lighting
- Checking and replacing the camshaft position sensor
- Checking and replacing the sensors
- Checking the immobilizer
- Checking the lighting and light signalling
- Checking the ignition system
- Checking the ignition timing (Z6, ZY-VE)
- Checking the electrical equipment
- Remote control
- Adjusting the headlight aim
- Adjusting the instrument cluster illumination brightness
- System with an automatic control unit
- Removing and installing the pressure sensor
- Removing and installing the information display
- Removing and installing the ignition coil
- Removing and installing the fuse and relay boxes
- Removing and installing the starter
- Compressor electromagnetic clutch
- Diagnosing the passive safety system
- Replacing the passive safety system control unit
- Replacing the hazard warning switch
- Replacing the reversing light switch
- Replacing the camshaft position sensor
- Replacing the combination switch
- Replacing the steering column switches
- Replacing the fuses
- Replacing the cigarette lighter
- Replacing the clock spring
- Ignition switch
- Measuring instruments
- Setting up the cruise control
- Checking the power exterior mirror switch
- Checking the power window switch
- Checking the manifold absolute pressure sensor
- Checking the throttle position sensor
- Checking the intake air temperature sensor downstream of the turbocharger
- Checking the fluid level sensor
- Checking and replacing the engine management system sensors
- Checking the capacitor
- Checking the power outside mirrors
- Checking the starter overrunning clutch
- Checking the front tweeter speaker
- Checking the control switch
- Checking the fuel pump resistor (L3 Turbo)
- Checking the washer motor
- Checking the power window motor
- Checking the master power window switch
- Electrical equipment checks
- Disassembling and assembling the electric motor
- Adjusting the front fog light beam
- Repairing the rear window defogger
- Repairing the interior lighting system
- Repairing the ignition system
- Repairing the charging system
- Repairing the lighting system
- Repairing the body electrical equipment
- Repairing the sunroof electric drive
- Sockets for connecting additional devices
- Exterior mirror adjustment system
- Removing and installing the side turn signal
- Removing and installing the inner combination light
- Removing and installing the headlight HID lamp
- Removing and installing the side airbag sensor
- Removing and installing the speedometer sensor
- Removing and installing the condenser
- Removing and installing the door switch
- Removing and installing the front interior light
- Removing and installing the fuel pump resistor (L3 Turbo)
- Removing and installing the lighting control switch
- Removing and installing the headlight wiper motor
- Central locking
- Electrical components of the control system
Fuel system24
- Repairing the fuel vapor recovery system
- Replacing the fuel tank
- Fuel filler lid
- Accelerator pedal
- Checking the fuel system pressure
- Removing and installing the fuel filter
- Fuel pump
- Replacing the evaporative emission canister
16 more
- Replacing the mass air flow sensor
- Replacing the canister purge valve
- Filling with gasoline
- Repairing the fuel injection system
- Relieving the fuel system pressure
- Removing and installing the throttle body
- Removing and installing the fuel pump
- Removing and installing the fuel rail
- Replacing the expansion valve
- Replacing the injectors
- Refueling the vehicle
- Checking the throttle body
- Checking and replacing the injectors
- Checking the pump holding pressure (L3 Turbo)
- Relieving the fuel line pressure
- Removing and installing the intake system
Body & glass39
- Repairing the window regulators
- Rear bumper
- Rear door
- Replacing the exterior rear-view mirror
- Replacing the ventilation grille
- Trunk lid
- Front fender
- Front bumper
31 more
- Front door
- Side doors
- Rear fixed side window
- Replacing the crossmember
- Replacing the radiator grille
- Windshield
- Repairing the trunk
- Repairing the door locking system
- Installing the roof rack
- Filling the washer fluid
- Cleaning the washer nozzle
- Cleaning and washing the body
- Checking the lock and actuator
- Disassembling and assembling the exterior mirror
- Adjusting the rear door
- Adjusting the rear window washer nozzle
- Adjusting the rear-view mirrors
- Adjusting the hood position
- Removing the windshield
- Removing and installing the rear door assembly
- Removing and installing the door
- Removing and installing the rear window washer nozzle
- Removing and installing the washer nozzle
- Removing and installing the rear air duct
- Removing and installing the hood ... ,266
- Removing and installing the exterior mirror
- Removing and installing the front bumper
- Removing and installing the front door
- Removing and installing the rear door window glass
- Removing and installing the front door glass
- Installing the towbar
Wheels & tires19
- Replacing the wheel rims
- Replacing the rear wheel hub
- Replacing the front wheel hub
- Spare wheel
- Checking tire pressure and condition
- Checking the tire pressure monitoring system
- Checking the rear wheel alignment angles
- Removing the spare wheel
11 more
- Checking and adjusting the front wheel alignment angles
- Repairing a punctured wheel
- Balancing the wheels
- Wheels and tires
- Wheel – replacement
- Checking the tire pressure
- Checking and adjusting the wheel turning angles
- Adjusting the front wheel steering angle
- Adjusting the wheel alignment angles
- Adjusting the rear wheel alignment
- Setting the tire and wheel size parameters
Brakes38
- Brake master cylinder
- Bleeding the brake system
- Adjusting the parking brake
- Diagnosing the ABS / DSC systems
- Replacing the brake vacuum booster
- Replacing the check valve
- Brake pedal
- Front brake assemblies
30 more
- Checking the anti-lock braking system
- Inspecting and replacing the brake pads
- Checking the parking brake
- Checking the brake fluid level
- Bleeding the clutch hydraulic release system
- Rear brake assemblies
- Replacing the brake master cylinder
- Replacing the brake caliper assembly
- Replacing the rear brake disc
- Replacing the front brake disc
- Replacing the brake fluid
- Replacing the brake pads
- Replacing the brake lines
- Replacing the brake hoses
- Replacing the hydraulic line
- Checking the hydraulic actuator for leaks
- Checking the brake pedal position
- Checking the ABS, DSC components and wiring
- Brake system repair
- Removing and installing the brake pedal
- Rear wheel brake assemblies
- Front wheel brake assemblies
- Rear brake assembly
- Replacing the hydraulic unit
- Replacing the front brake pads
- Checking the brake vacuum booster
- Checking the brake fluid level in the reservoir
- Service brake system
- Removing and installing the parking light bulb
- Bleeding the brake system
Transmission36
- Replacing the clutch
- Repairing the transmission
- Removing and installing the gearbox
- Clutch master cylinder
- Replacing the valve body
- Replacing the driveshafts
- Replacing the selector
- Gear shift mechanism
28 more
- Clutch pedal
- Checking the mechanical systems of the transmission
- Checking the clutch fluid level
- Inspecting the drive shaft boots
- Clutch release slave cylinder
- Replacing the bearing and fork
- Replacing the front wheel drive shafts
- Replacing the automatic transmission fluid
- Replacing the differential oil seal
- Replacing the transmission oil seals
- Adjusting the transmission control
- Checking the automatic transmission fluid level
- Automatic transmission repair
- Repairing the hydraulic clutch release system
- Manual transmission repair
- Removing and installing the shift linkage
- Removing and installing the intermediate driveshaft
- Replacing the automatic transmission control unit
- Replacing the gearshift control cable
- Front drive shafts
- Drive mechanism
- Checking and adjusting the clutch pedal
- Automatic transmission checks
- Disassembling and assembling the G66M-R alternator
- Disassembling and assembling the gearbox
- Adjusting the one-way clutch
- Gear shift lever
- Assembling and disassembling the connecting shaft
Cooling system26
- Servicing the cooling system
- Replacing the air conditioning condenser
- Replacing the automatic transmission fluid cooler
- Replacing the coolant
- Replacing the radiator
- Replacing the thermostat
- Cooling lines
- Coolant pump
18 more
- Checking the vacuum hose
- Expansion tank
- Replacing the water pump
- Checking the cooling system
- Checking the level and replacing the coolant
- Checking the hoses and connections
- Removing and installing the expansion tank
- Cleaning the ventilation system
- Water pump
- Replacing the cooling fan
- Replacing the evaporator
- Replacing the oil cooler
- Replacing the engine coolant
- Replacing the A/C drive belt (LF-DE, L3-VE engines)
- Checking the heater core
- Checking the turbocharger
- Removing and installing the refrigerant lines (LP)
- Removing and installing the hose
Exhaust system8
- Replacing the catalytic converter and exhaust system
- Servicing the exhaust gas recirculation system
- Checking CO and HC in the exhaust gases
- Repairing the exhaust system
- Servicing the air intake and exhaust system
- Repairing the emission control system
- Removing and installing the heat shields
- Replacing the oxygen sensor
Interior29
- Instrument cluster
- Seat belts
- Replacing the interior trim
- Replacing the air intake switching actuator
- Replacing the heater fan resistor
- Replacing the cabin filter
- Replacing the heater blower motor
- Servicing the heater and air conditioner
21 more
- Interior storage compartments
- Rear seat
- Replacing the air temperature sensor behind the evaporator
- Replacing the interior lighting
- Replacing the floor trim
- Air conditioning and heater control panel
- Adjusting the front seat position
- Adjusting the seat position
- Repairing the seat heating
- Repairing the air conditioning, heating and ventilation system
- Removing and installing the sun visors
- Rear seats
- Servicing the passive safety system
- Front seats
- Airbags
- Repairing the air conditioner and heater
- Repairing the seat heating
- Removing and installing the audio system
- Removing and installing the center console
- Removing and installing interior components
- Instrument cluster
Need a job that isn't listed? A full repair manual for the Mazda 3 covers every system: wiring diagrams, torque specs, step-by-step photos.
Find a repair manual →Need a part? Search Amazon for Mazda 3 parts: filters, brakes, sensors, belts. Check the fit for your year and engine before you buy.
Find parts on Amazon →Mazda 3 repair manuals
9
Mazda (2003-13) for of Mazda6 (exc. FWD & turbocharged models) Chilton Repair Manual (USA)
US edition · print
$52.45
Mazda (2004-11) for of Mazda3 (exc. FWD & turbocharged models) Chilton Repair Manual (USA)
US edition · print
$57.45

Mazda 3 (BP) 2019 to 2020 Haynes Online Diagnostics & Service Guide
UK edition · online access
£28.79

Mazda 3 (BM, BN) 2014 to 2018 Haynes Online Diagnostics & Service Guide
UK edition · online access
£28.79

Mazda 3 (BL) 2009 to 2014 Haynes Online Diagnostics & Service Guide
UK edition · online access
£28.79

Mazda 3 (BK) 2003 to 2013 Haynes Online Diagnostics & Service Guide
UK edition · online access
£28.79
Manuals are written for specific model years — check that the years match your car. Prices are set by the seller.
Our articles
 Brand stories
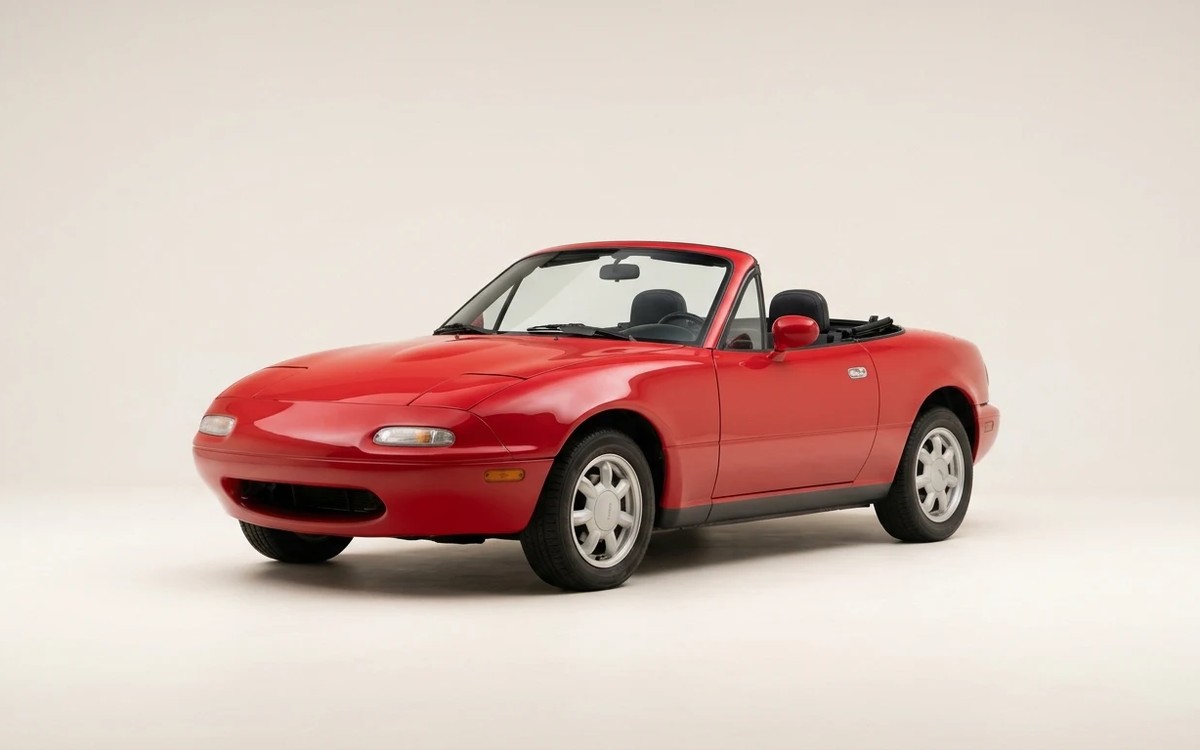
The History of Mazda
It's hard to find anyone today who would dispute that cars from the Japanese company Mazda are among the most beautiful…
Read →
 Garage
Fuel Quality Indicators: What Octane and Cetane Numbers Mean
What is an octane number? What about a cetane number? Which fuel should you choose for a high-compression engine?…
Read →
 Before you buy
How to Pick Up Your Car from the Dealership the Right Way
If you've decided to buy a car from a dealership, it isn't enough to simply choose a model you like, pay for it, and…
Read →