Autopapyrus · Nissan Qashqai 1.6 HR16DE (2013)
https://autopapyrus.com/catalog/nissan/qashqai/guides/clutch-kit-replacement/
https://autopapyrus.com/catalog/nissan/qashqai/guides/clutch-kit-replacement/
Compiled automatically from service literature and owner experience. Specs are for the typical configuration — check them against your exact car before you start.
Nissan Qashqai 1.6 HR16DE (2013): Clutch Kit Replacement
On the Qashqai J10 with a manual transmission, the clutch is replaced by removing the transmission. The slave cylinder is concentric and sits inside the bellhousing, so it is always replaced together with the clutch. You do not need to lower the subframe, but you will have to remove both driveshafts, the battery, the air filter and the starter.
Diagram: where the clutch disc, pressure plate and input shaft sit and how to tighten the pressure plate bolts
Tap to enlarge
- 1Flywheel: the disc on the end of the crankshaft that the clutch presses against. Check it for overheating, cracks and scoring; replace or resurface if needed.
- 2Clutch disc: sits between the flywheel and the pressure plate with the 'Getriebe Seite' side facing the gearbox. Center it with the alignment tool and check that it slides freely on the shaft splines. Keep grease off its linings.
- 3Pressure plate: clamps the disc to the flywheel. Loosen its bolts evenly before removal and do not drop the disc.
- 4Gearbox input shaft: its splined end goes into the center of the disc. Clean the splines, apply a thin layer of high-temperature grease to them only, and do not load the shaft when mating the gearbox.
- 5Pressure plate bolts: there are several around the ring. Tighten them evenly in a criss-cross pattern in two stages, to the manufacturer's torque.
Parts
5| № | Part | Genuine part no. | Alternatives |
|---|---|---|---|
| 01 | Clutch kit for 1.6 HR16DE (pressure plate, clutch disc)Find on Amazon → | 30100-ED80A | AlternativesLuKSachsValeo |
| 30210-ED80A | |||
| 02 | Concentric clutch slave cylinder (slave cylinder with release bearing)Find on Amazon → | ||
| 03 | Manual transmission fluidFind on Amazon → | ||
| 04 | DOT 3 or DOT 4 brake fluidfor bleeding the hydraulic clutch systemFind on Amazon → | ||
| 05 | Flywheelif the surface is wornFind on Amazon → |
Amazon links search by the part name and genuine number; use Amazon's fit check for your car before ordering. We may earn a commission from qualifying purchases.
Part numbers are from the manufacturer's original catalogue. Check them against your VIN before ordering.
Tools
11- lift (a two-post lift is preferable for access) Amazon →
- transmission jack Amazon →
- engine support bar Amazon →
- torque wrench Amazon →
- socket and wrench set Amazon →
- ball joint and tie rod end puller Amazon →
- clutch disc alignment tool Amazon →
- container for draining the transmission oil Amazon →
- clutch hydraulic hose clamp Amazon →
- locking wheel bolt key Amazon →
- brake bleeding equipment Amazon →
 There's a full repair manual for this car
Every system, wiring diagrams and torque specs — not just this job. Haynes and 7 more.
See manuals →
Step by step
20 steps- Park the vehicle on level ground and have the locking wheel bolt key ready. Disconnect the negative battery terminal.
- Remove the battery, the plastic tray under it and the metal battery platform. Free the wiring harnesses from their holders.
- Remove the air filter assembly together with the ducts (one bolt and clamps at the intake manifold).
- Pinch the flexible section of the clutch hydraulic line with a clamp so you don't lose fluid, and disconnect the line from the transmission bellhousing.
- Remove the two starter bolts and move the starter aside, without disconnecting the heavy wires from it unless necessary.
- Remove the gear shift linkage: pull the retainer and squeeze the clips. Disconnect all harnesses, hoses and the reverse light switch connector secured to the transmission. Remove the upper bellhousing bolts.
- Support the engine with an engine support bar and remove the left engine mount complete with its bracket.
- Raise the vehicle and remove the front wheels. Remove the cotter pins and loosen the hub nuts.
- Remove the bolts of the lower control arms and disconnect the tie rod ends from the steering knuckles.
- Drain the oil from the transmission.
- Remove the left driveshaft and the fender liner. Remove the right driveshaft together with the intermediate shaft support bracket.
- Remove the transmission stabilizer bracket and the lower bellhousing bolts. Position the transmission jack, support the transmission and carefully separate it from the engine without putting load on the input shaft. The transmission can be lowered and rested on the subframe under the wheel arch.
- Loosen the pressure plate bolts evenly, then remove the pressure plate and the disc (don't drop the disc). Inspect the flywheel for signs of overheating, cracks and scoring; replace or resurface it if necessary.
- Remove the old concentric slave cylinder. Always install a new one: the old one must not be reused, and do not disassemble it or apply pressure to it. Tighten its bolts to the manufacturer's specification.
- Clean the input shaft splines and the bellhousing. Apply a thin layer of high-temperature grease to the splines only (not copper grease). Check that the new disc slides freely on the splines. Keep grease off the friction surfaces of the disc, pressure plate and flywheel and off the cylinder seals; do not wash the disc with solvent.
- Install the disc with the side marked "Getriebe Seite" facing the transmission, and center it with the alignment tool. Install the pressure plate and tighten the bolts evenly in a crisscross pattern in two stages. Tighten the pressure plate bolts to the manufacturer's specification (the HR16DE service data gives a separate first-stage torque and a final torque).
- Check that the dowel bushings on the engine block are present and intact, raise the transmission with the jack and mate it to the engine. Install the bellhousing bolts before lowering the jack. Tighten the bellhousing bolts, brackets, hub nuts, control arms and mounts to the manufacturer's specification.
- Install everything else in reverse order: driveshafts, control arms, tie rod ends, starter, engine mount, shift linkage, harnesses, air filter, battery.
- Fill the transmission with new oil, connect the hydraulic line and bleed the clutch with DOT 3 or DOT 4 fluid (do not mix different fluid types).
- Check the pedal operation and that all gears engage while stationary, then take a test drive. Do not overload the new clutch for the first 500 km.
Common mistakes and warnings
- This is heavy work: the transmission is heavy, so you need a reliable engine support and a transmission jack
- Never work under a vehicle supported only by a jack; use jack stands
- Brake fluid damages paint, so wash it off with water immediately
- Clutch dust is harmful, so do not blow it off with compressed air
- Threaded fasteners on the suspension, driveshafts and hubs are safety-critical: tighten them with a torque wrench to specification
- If you lack experience, it is better to leave this job to a repair shop
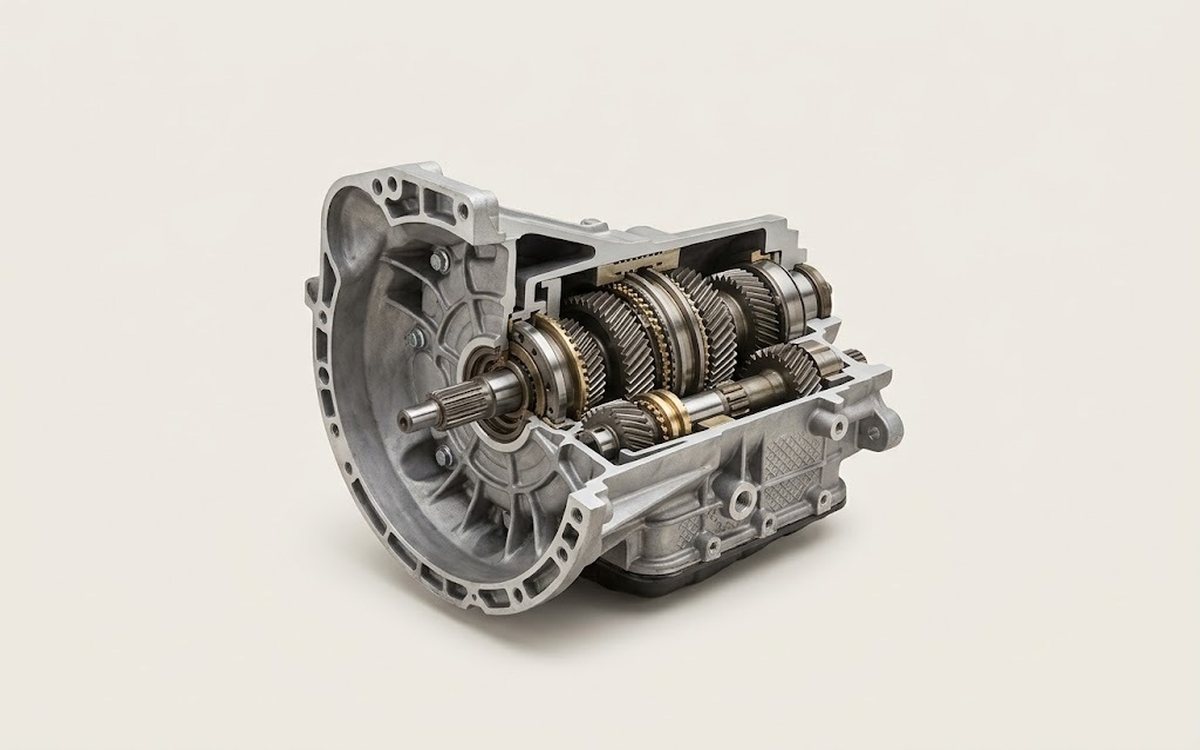 How it works · 3D
How a Manual Transmission Works
How the part you're working on actually works — in plain English, on a 3D model.
Open in 3D →
Spotted a mistake? Tell us →
Our articles
 Brand stories
The History of Nissan
Over the course of 80 years, this Japanese automaker has come a long way and risen to become a leader of the global…
Read →
 Garage
Fuel Quality Indicators: What Octane and Cetane Numbers Mean
What is an octane number? What about a cetane number? Which fuel should you choose for a high-compression engine?…
Read →
 Before you buy
How to Pick Up Your Car from the Dealership the Right Way
If you've decided to buy a car from a dealership, it isn't enough to simply choose a model you like, pay for it, and…
Read →