Autopapyrus · Nissan X-Trail 2.0 MR20DD (2015)
https://autopapyrus.com/catalog/nissan/x-trail/guides/in-tank-fuel-pump-replacement/
https://autopapyrus.com/catalog/nissan/x-trail/guides/in-tank-fuel-pump-replacement/
Compiled automatically from service literature and owner experience. Specs are for the typical configuration — check them against your exact car before you start.
Nissan X-Trail 2.0 MR20DD (2015): In-Tank Fuel Pump Replacement
On the T32, the fuel pump sits inside the fuel tank. On this body family, the access panel is usually under the rear seat, so you don't need to remove the tank. The exact procedure for this model isn't documented in publicly available service materials. The steps below give the general approach, so check the details and tightening torques against the manufacturer's service manual. This job involves gasoline and its vapors, so do it outdoors or in a well-ventilated area.
Diagram: where the flange, connector, fuel line and pump are on the pump module
Tap to enlarge
- 1Pump cover (flange) and the seal ring under it: always fit a new ring. Undo the lock ring and remove the flange.
- 2Pump electrical connector: press the latch and disconnect it, remember its position.
- 3Fuel line with a quick-release latch: press the latch and disconnect, lay rags underneath.
- 4The pump itself with strainer and filter: if only the pump is replaced, move the strainer and filter to the new one and set the pump in the same position.
- 5Fuel level float: lift the module out and install it so as not to bend the float.
- 6Protective tube with the wires running to the pump terminals: a landmark.
Parts
4| № | Part | Alternatives |
|---|---|---|
| 01 | Complete fuel pump module for Nissan X-Trail T32 (2.0 gasoline, MR20DD)Find on Amazon → | |
| 02 | Electric fuel pump (standalone)instead of the complete moduleFind on Amazon → | AlternativesBosch |
| 03 | Fuel pump cover (flange) seal ringnewFind on Amazon → | |
| 04 | Fuel pump strainer (sock filter)if neededFind on Amazon → |
Amazon links search by the part name; use Amazon's fit check for your car before ordering. We may earn a commission from qualifying purchases.
Tools
9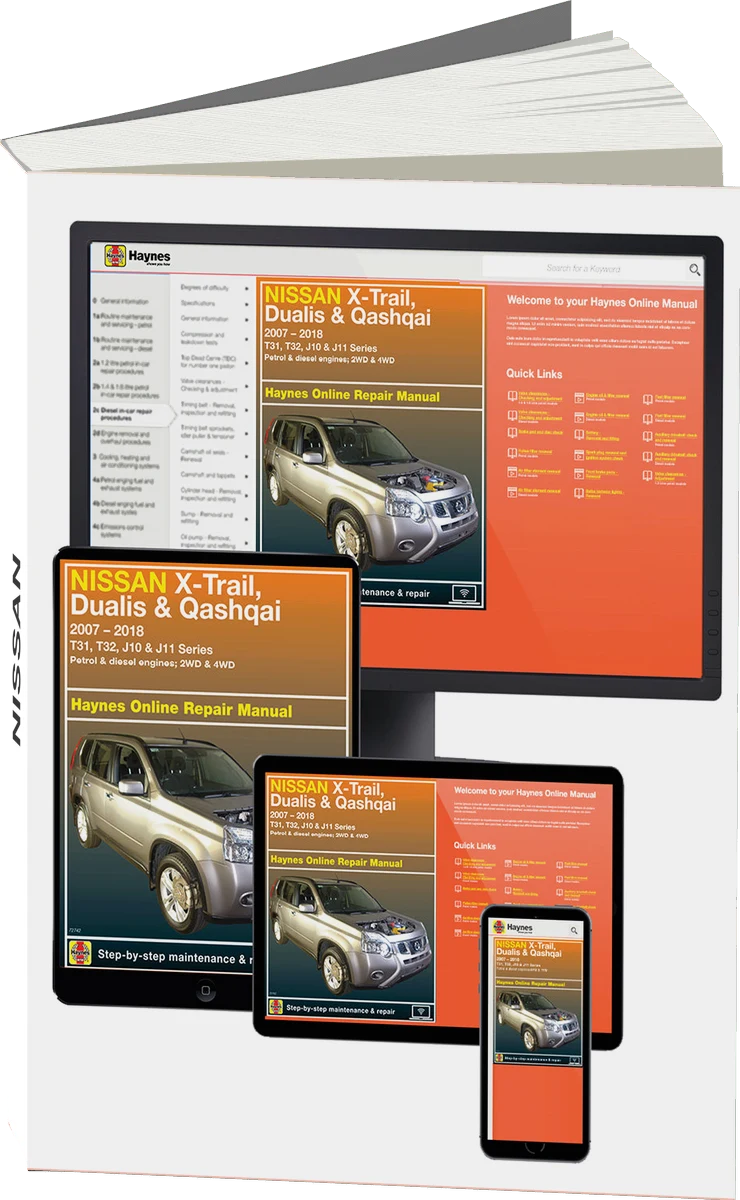 There's a full repair manual for this car
Every system, wiring diagrams and torque specs — not just this job. Haynes and 4 more.
See manuals →
Step by step
14 steps- Ideally, run the tank down to a minimum. With less fuel in the tank, nothing will spill when you open it. Turn off the engine and let it cool.
- Disconnect the negative battery terminal. Remove anything that could produce a spark, and don't smoke.
- Relieve the fuel system pressure. To do this, remove the fuel pump fuse or relay (see the diagram on the fuse box cover), start the engine, and wait for it to stall on its own from lack of fuel. Then crank the engine with the starter for 2-3 seconds.
- Fold down or remove the rear seat (cushion) and peel back the carpet. Under it is the access panel with a cover held by screws or bolts. Clean the cover and the area around it of dust and dirt so no debris falls into the tank.
- Disconnect the pump's electrical connector by pressing the locking tab. Then disconnect the fuel line by pressing its quick-release retainer. Lay down rags, because a little gasoline will run out of the line. Note the position of the connector and the line.
- Remove the access panel cover fasteners and take the cover off. Then carefully unscrew the pump lock ring without striking any metal. Use light taps from a non-metallic drift punch counterclockwise, or use a dedicated lock ring tool.
- Carefully lift the module straight up, tilting it so you don't bend the fuel level sensor float. Let the remaining fuel drain back into the tank, and set the module aside, away from any sources of sparks.
- Compare the old and new modules for matching length, float, and fittings. If you're replacing only the pump itself, disassemble the module, transfer the strainer and filter, and install the pump in exactly the same position.
- Remove the old seal ring and wipe the sealing surface clean. Install the new ring. Don't reuse the old one, or gasoline will leak when the tank is full. Lightly lubricate it with clean gasoline or a fuel-compatible grease.
- Lower the module into the tank, aligning it with the position mark so the fitting and float sit as they did before. Press it down and tighten the lock ring all the way to the marks. For the fastener tightening torque, follow the manufacturer's specification.
- Connect the fuel line (until it clicks, then tug on it to check) and the electrical connector. Install the access cover and tighten the fasteners evenly.
- Reconnect the battery and reinstall the pump fuse or relay. Turn the ignition on and off several times (about 2-3 seconds each time) so the pump builds pressure. Inspect the installation area for leaks and any smell of gasoline.
- Start the engine, let it idle, and check for leaks again. If there are fault codes stored in the control unit, clear them with an OBD scan tool and make sure they don't come back.
- Put the carpet and seat back in place. After filling the tank, check again for any gasoline smell or leaks under the access panel.
Common mistakes and warnings
- Gasoline and its vapors are flammable
- Work away from open flames and sparks, and keep a fire extinguisher nearby
- Always replace the pump cover seal ring with a new one
- According to owners' experience, an old ring leaks when the tank is full
- After replacing the pump, you may see fuel system fault codes and a rough-running engine if there were already deposits in the lines
- In that case, the fuel system needs a cleaning flush
- If you have no experience working on fuel systems, leave the replacement to a repair shop
Spotted a mistake? Tell us →
Our articles
 Brand stories
The History of Nissan
Over the course of 80 years, this Japanese automaker has come a long way and risen to become a leader of the global…
Read →
 Garage
Fuel Quality Indicators: What Octane and Cetane Numbers Mean
What is an octane number? What about a cetane number? Which fuel should you choose for a high-compression engine?…
Read →
 Before you buy
How to Pick Up Your Car from the Dealership the Right Way
If you've decided to buy a car from a dealership, it isn't enough to simply choose a model you like, pay for it, and…
Read →