https://autopapyrus.com/catalog/suzuki/swift/guides/front-strut-mount-bearing-replacement/
Suzuki Swift (4th generation, FZ/NZ): Front Strut Mount Bearing Replacement
The strut mount bearing allows the strut to turn together with the wheel. When it wears out, you hear crunching and clicking when turning the steering wheel with the car stationary, and the steering feels stiff. The Swift IV uses a MacPherson strut. To replace the bearing, the strut is removed from the car and disassembled with the spring compressed. The exact procedure for this model is not documented in publicly available service materials, so the general MacPherson strut procedure is given below. Tightening torques are approximate, so check the exact values against the manufacturer's specifications.
Parts
3| № | Part | Alternatives |
|---|---|---|
| 01 | Front strut mount bearing, Suzuki SwiftFind on Amazon → | AlternativesSKFSNRLemförderSachs |
| 02 | Front strut mount with bearing, completeif the mount is worn or tornFind on Amazon → | AlternativesSKFSNRLemförderSachs |
| 03 | Strut protection kit (dust boot and bump stop)replace at the same timeFind on Amazon → | AlternativesSKFSNRLemförderSachs |
Amazon links search by the part name; use Amazon's fit check for your car before ordering. We may earn a commission from qualifying purchases.
Tools
10- Floor jack and jack stands Amazon →
- lug wrench Amazon →
- sockets and wrenches (sizes as needed) Amazon →
- ratchet Amazon →
- torque wrench Amazon →
- spring compressors (professional type, with hooks) Amazon →
- a tool to hold the strut rod (hex or Torx bit for the rod, depends on the strut) Amazon →
- pry bar Amazon →
- thread lubricant Amazon →
- a wrench to hold the sway bar link joint Amazon →
 There's a full repair manual for this car
Every system, wiring diagrams and torque specs — not just this job. Haynes AutoFix (online) and 3 more.
See manuals →
Step by step
16 steps- Park the car on a level surface, apply the parking brake, and place wheel chocks behind the rear wheels. Loosen the wheel nuts on the front axle.
- Raise the front of the car, set it on jack stands, and remove the wheel.
- Remove the nut that secures the sway bar link to the strut. Hold the joint with a wrench on the hex or Torx on the pin so it does not turn.
- If the ABS sensor wiring harness and the brake hose are attached to the strut, carefully release them from the brackets. Do not disconnect or stretch the hose itself.
- Support the steering knuckle with a jack or a stand. Remove the two bolts that secure the bottom of the strut to the steering knuckle. Note the position of the bolts and the eccentrics, if present. This is needed to preserve the camber setting.
- Open the hood and find the upper strut mount in the strut tower. Remove the plastic cap, if there is one. Remove the three nuts that secure the mount to the body. Leave one nut on by a couple of threads so the strut does not fall.
- Hold the strut, remove the last nut, and take the strut out of the wheel well. To do this, push the control arm down and move the knuckle aside.
- Clamp the strut in a vise by the lower eye. Fit the spring compressors on the spring and compress it evenly until the spring no longer presses on the upper spring seat. Use only compressors in good condition. A spring that slips free can be fatal.
- While holding the rod from turning, remove the center nut of the strut rod mount. Remove the mount, bearing, upper spring seat, dust boot, and bump stop. Remember the order of the parts.
- Inspect the spring, seats, and rubber parts. Replace any that show cracks or wear. Check the strut for oil leaks and for free movement of the rod.
- Reassemble in reverse order: bump stop and dust boot, spring (coil ends in their recesses), seat, new bearing, mount. Install the bearing and mount in the same position as before. Tighten the center rod nut to the specified torque (approximately 40-60 N·m (30-44 lb-ft)), holding the rod from turning.
- Release the compressors slowly, making sure the spring seats correctly in the seats.
- Install the strut in the body. Tighten the upper mount nuts to approximately 20-30 N·m (15-22 lb-ft) (check the exact value against the specifications). Tighten the lower bolts to the knuckle to approximately 70-100 N·m (52-74 lb-ft) with the suspension loaded, so the bushings are not twisted (check the value against the specifications).
- Reconnect the sway bar link (approximately 40-60 N·m (30-44 lb-ft)), and put the ABS harness and the hose back in place.
- Install the wheel, lower the car, and tighten the wheel nuts in a crisscross pattern to the torque given in the owner's manual.
- Check that there are no knocks or crunching noises when turning the steering wheel. Schedule a wheel alignment check and adjustment. This is mandatory after removing the struts.
Common mistakes and warnings
- A compressed spring stores a large amount of energy
- Use only spring compressors with hooks that are in good condition, and do not disassemble the strut without them
- If you have no experience, leave the job to a repair shop
- Replace the mounts on both sides at the same time, and check the dust boots and bump stops right away
- After the work, have the wheel alignment checked
- Check the torque of the rod nut and the lower bolts against the specifications, as this affects safety
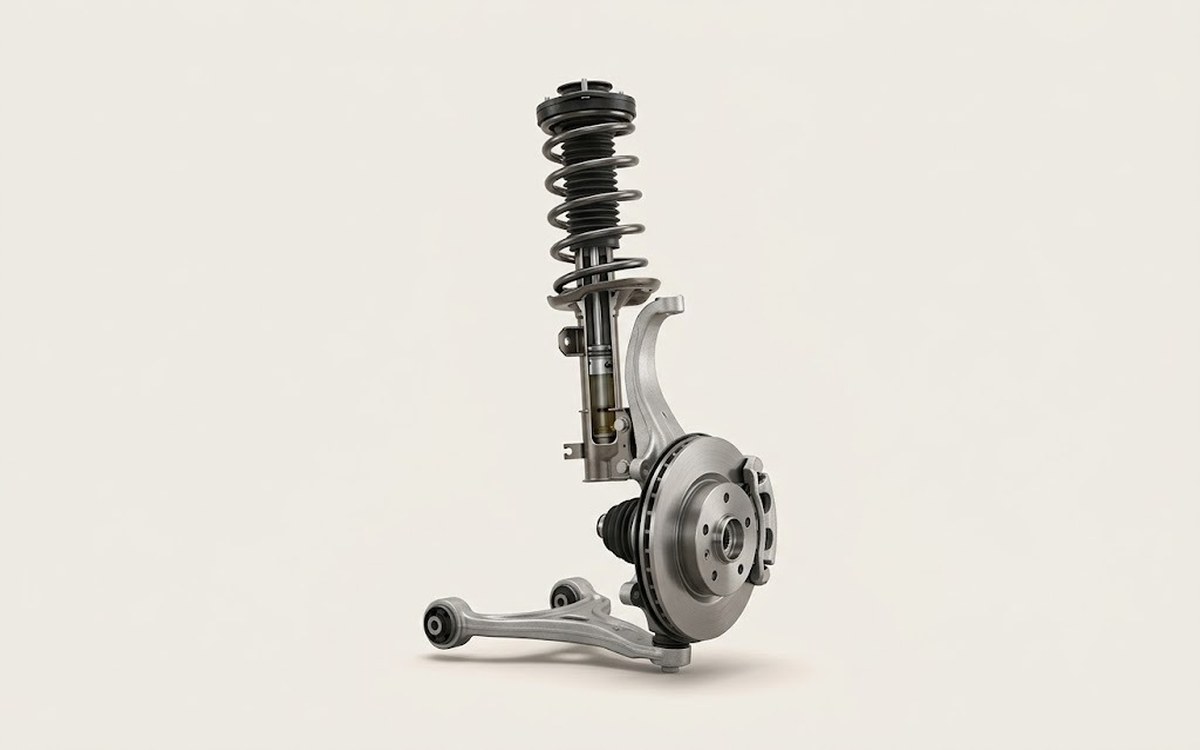 How it works · 3D
How Car Suspension Works
How the part you're working on actually works — in plain English, on a 3D model.
Open in 3D →