Volvo 440-460-480 — repair and maintenance
1 step-by-step guide
Volvo 440-460-480 guides
146Engine24
- Diagnosing engine faults
- Replacing the crankshaft oil seals
- Replacing the camshaft oil seals
- Checking the auxiliary shaft
- Checking the condition and replacing the powertrain mounts
- Checking the condition of the crankshaft
- Checking the condition of the connecting rod and piston assemblies
- Disassembling the cylinder head
16 more
- Disassembling, checking the condition of and assembling the oil pump
- Engine repair
- Assembling the cylinder head
- Lubricants, fluids and their capacities
- Removing and installing the flywheel position/speed sensor
- Removing and installing the engine
- Removing and installing the pressure regulating valve
- Removing and installing the oil pump
- Removing and installing the oil pan
- Removing the crankshaft
- Removing the piston and connecting rod assemblies
- Removing, checking and installing the vacuum reservoir
- Removing, inspecting and installing the timing belt
- Removing, inspecting and installing the cylinder head
- Removing, checking the condition of and installing the flywheel/drive plate
- Removing, inspecting and installing the camshaft
Suspension & steering20
- Replacing the rubber protective boots
- Replacing the steering gear rubber boots
- Servicing the suspension and steering
- Checking the torque rod
- Checking the condition of, removing and installing the front hub bearings
- Bleeding the power steering system
- Disassembling and assembling the steering column
- Removing and installing the rear suspension coil spring
12 more
- Removing and installing the rear anti-roll bar
- Removing and installing the track rod ends
- Removing and installing the front anti-roll bar
- Removing and installing the steering wheel
- Removing and installing the power steering pump
- Removing and installing the steering column
- Removing and installing the steering rack
- Removing and installing the front suspension strut
- Removing and installing the rear suspension push rod
- Removing and installing the front suspension ball joints
- Removing, testing and installing the rear shock absorber
- Removing, checking the condition of and installing the front suspension lower arm
Electrical29
- Diagnosing ignition system faults (EZ210K)
- Diagnosing charging system faults
- Diagnosing electrical equipment faults
- Diagnosing the battery charging system
- Replacing the exterior light bulbs
- Replacing the interior light bulbs
- Replacing the ignition distributor
- Replacing the clock
21 more
- Replacing the starter motor brushes
- Checking the condition of and replacing the alternator brushes and regulator
- Checking the condition of and charging the battery
- Checking the ignition timing
- Headlight beam alignment - general information
- Repairing the ignition system
- Removing and installing the battery
- Removing and installing the fuel level sender unit
- Removing and installing the alternator
- Removing and installing the speedometer speed sensor (480 series models)
- Removing and installing the reversing light switch
- Removing and installing the ignition coil
- Removing and installing the horn
- Removing and installing the tailgate wiper motor and drive
- Removing and installing the instrument panel
- Removing and installing the cigarette lighter with housing
- Removing and installing the ignition processor module (carburetor models)
- Removing and installing the radio/head unit
- Removing and installing the door window regulator
- Removing and installing the speedometer drive cable (440 and 460 series models)
- Removing, installing and adjusting the brake light switch
Fuel system10
- Diagnosing fuel injection system component faults
- Diagnosing fuel and exhaust system faults
- Diagnosing carburettor faults, overhauling and adjusting the carburettor
- Checking the fuel system pressure
- Checking the operation of, removing and installing the fuel pump
- Adjusting the accelerator cable
- Removing and installing the carburetor
- Removing and installing the air cleaner housing assembly
Brakes11
Transmission18
- Diagnosing driveshaft faults
- Troubleshooting the clutch
- Diagnosing transmission faults
- Replacing the differential output oil seal (right)
- Replacing the driveshafts
- Replacing the auxiliary shaft oil seal
- Replacing the clutch
- Replacing the kickdown cable
10 more
- Adjusting the shift linkage/mechanism
- Adjusting the gear selector cable
- Removing and installing the automatic transmission
- Removing and installing the rear axle
- Removing and installing the clutch pedal
- Removing and installing the transfer case with the subframe
- Removing and installing the selector assembly
- Removing and installing the gear selector cable
- Removing and installing the clutch cable
- Removing, inspecting and installing the clutch assembly
Cooling system14
- Diagnosing engine cooling system faults
- Diagnosing faults with, removing and installing the radiator cooling fan
- Servicing the cooling system
- Removing and installing the water pump
- Removing and installing the intake manifold and exhaust manifold
- Removing and installing the hydraulic pipes and hoses
- Removing and installing the heater components
- Removing and installing the air conditioning system components
6 more
- Removing and installing the expansion tank
- Removing and installing the radiator grille/panel
- Removing and installing the turbocharger
- Removing, checking the operation of and installing the thermostat
- Removing, inspecting and installing the radiator
- Removing, installing and adjusting the heater control panel
Body & glass14
- Repairing major body damage
- Removing and installing the bumpers (series models)
- Removing and installing the tailgate lock
- Removing and installing the hood lock
- Removing and installing the trunk lid lock
- Removing and installing the door lock, handles and lock cylinder
- Removing and installing the windshield wiper motor and linkage
- Removing and installing the exterior mirror
6 more
- Removing and installing the instrument cluster
- Removing and installing the door window glass
- Removing and installing the tailgate support strut
- Removing and installing the hood support strut
- Removing, installing and adjusting the bonnet lock release cable
- Removing, installing and adjusting the bonnet position
Need a job that isn't listed? Pick your engine, year and the job, and we'll build a step-by-step guide for your car in a few minutes.
Build a guide →Need a part? Search Amazon for Volvo 440-460-480 parts: filters, brakes, sensors, belts. Check the fit for your year and engine before you buy.
Find parts on Amazon →How well do you know the Volvo 440-460-480? Ten questions on its history, engines and records, with the answer explained after each pick.
Take the quiz →Our articles
 Brand stories
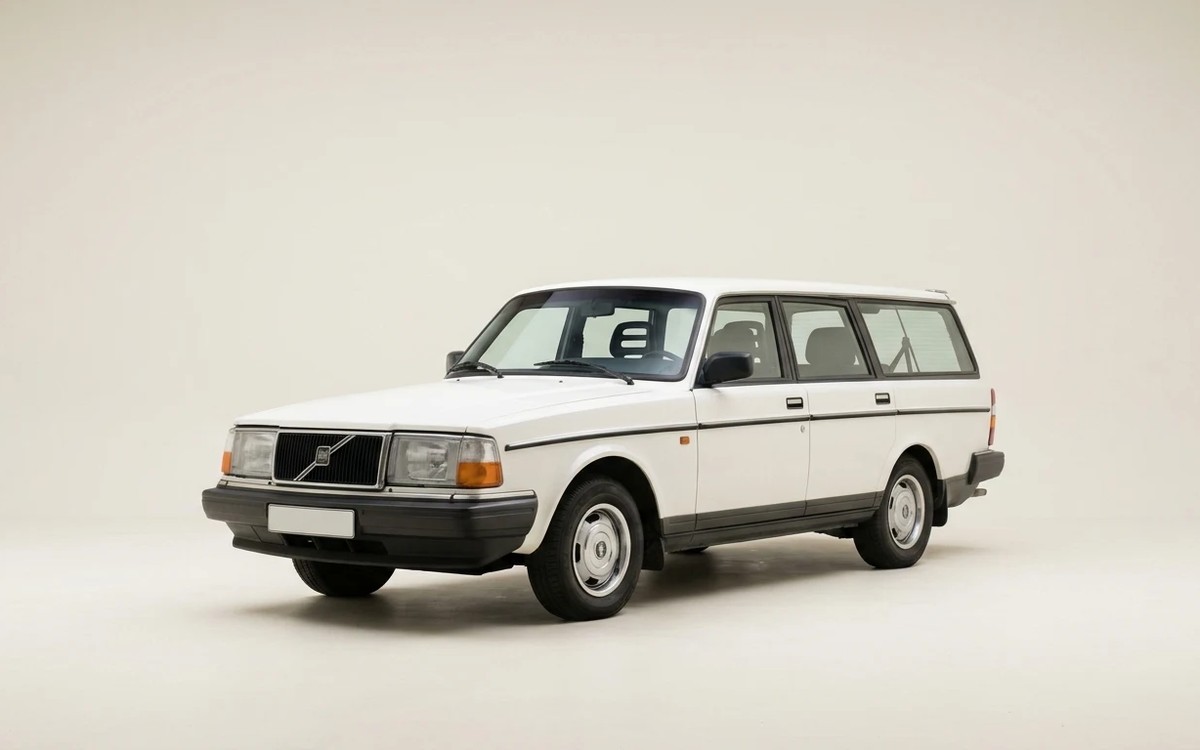
The History of the Volvo Brand
Volvo Car Corporation (originally Volvo Personvagnar AB) is a Swedish passenger car maker. The name "Volvo" is Latin…
Read →
 Garage
Fuel Quality Indicators: What Octane and Cetane Numbers Mean
What is an octane number? What about a cetane number? Which fuel should you choose for a high-compression engine?…
Read →
 Before you buy
How to Pick Up Your Car from the Dealership the Right Way
If you've decided to buy a car from a dealership, it isn't enough to simply choose a model you like, pay for it, and…
Read →