Autopapyrus · Alfa Romeo 156 (1st generation, 932) 1.6 Twin Spark (2005)
https://autopapyrus.com/guides/alfa-romeo/156/radiator-replacement/
https://autopapyrus.com/guides/alfa-romeo/156/radiator-replacement/
Compiled automatically from service literature and owner experience. Specs are for the typical configuration — check them against your exact car before you start.
Alfa Romeo 156 (1st generation, 932) 1.6 Twin Spark (2005): Radiator Replacement
On the 156, the radiator is mounted at the front, ahead of the engine, together with the electric fan in its shroud. The A/C condenser (if fitted) sits in front of it. The job consists of draining the coolant, disconnecting the hoses and sensors, removing the fan, and taking out the radiator. Do this work only on a completely cold engine. The exact order for removing the front-end parts depends on the trim level (with or without A/C).
Parts
4| № | Part | Alternatives |
|---|---|---|
| 01 | Engine cooling radiator 1.6 Twin Spark 16V (120 hp)version depends on A/C fitment | Nissens, NRF, AVA, Mahle |
| 02 | Paraflu UP coolant (organic)ready-mixed 50/50 or concentrate with distilled water | |
| 03 | Radiator clamps and hosesif worn | |
| 04 | Radiator seal and mounting bushing set |
Tools
7- Socket and wrench set (8-13 mm)
- screwdrivers
- hose clamp pliers
- coolant drain pan (at least 7 L (7.4 qt))
- funnel
- jack and jack stands
- plastic clip removal tool if needed
 There's a full repair manual for this car
Every system, wiring diagrams and torque specs — not just this job. Haynes AutoFix (online).
See manuals →
Step by step
14 steps- Park the car on level ground, switch off the engine and wait until it has cooled down completely. Disconnect the negative battery terminal.
- Raise the front of the car onto jack stands and remove the lower engine undertray, if fitted.
- Place the drain pan under the radiator. Carefully open the coolant expansion tank cap (only when the engine is cold), then open the drain valve or disconnect the lower radiator hose and drain the coolant.
- Disconnect the connectors from the electric fan and from the coolant temperature sensor on the radiator (if one is fitted there). Note where each wire goes and take a photo if needed.
- Loosen the clamps and remove the upper and lower radiator hoses, as well as the small expansion tank hoses if they are in the way. Drain any remaining coolant into the pan.
- To get access to the radiator, remove the front-end parts that are in the way: the air duct and, if necessary, the front bumper and the upper panel (crossmember) with the hood latch bar. The order depends on the trim level, so work as the car requires and do not force the plastic clips.
- If the car has A/C: do NOT open the refrigerant circuit. Move the condenser aside together with its lines without disconnecting them, and secure it. (You only need to go to a shop for a recharge if the circuit is opened.)
- Remove the electric fan together with its shroud (bolts or retainers around the perimeter) and lift it out of the engine bay.
- Release the upper radiator mounts (brackets or retaining plates) and carefully lift the radiator up, pulling it out of the lower rubber seats. Do not damage the radiator core or the condenser.
- Compare the new radiator with the old one: the position of the fittings, the sensor and the mounts. Transfer the lower rubber mounts and the temperature sensor (if it was on the old radiator) and replace the seals.
- Set the radiator into the lower mounts and secure it with the upper brackets. Install the fan with its shroud and connect the connectors. The small bolts need only low torque, so tighten them moderately (about 5-10 N·m (4-7 lb-ft)) without overtightening, because the plastic cracks easily.
- Install the hoses, replace the clamps if they are deformed, and tighten them without overtightening. Reinstall the front-end parts you removed and reconnect the battery.
- Fill the expansion tank with coolant to a level between the marks. Start the engine, turn the heater to maximum, and keep the tank level topped up. Wait for the fan to switch on and the thermostat to open. This shows the engine has reached operating temperature.
- Check the hoses and radiator for leaks and bleed any air pockets (if needed, carefully squeeze the upper hose with the engine warm). After the engine cools, top up the coolant to the correct level and check again the next day.
Common mistakes and warnings
- Do not open the tank cap or remove the hoses on a hot engine, because steam and hot coolant can cause burns
- Air pockets in the system can lead to overheating and cylinder head gasket damage, so be sure to bleed the air thoroughly
- Coolant is toxic, so drain it and dispose of it properly
- Do not open the A/C circuit yourself: refrigerant must be evacuated and recharged only with special equipment
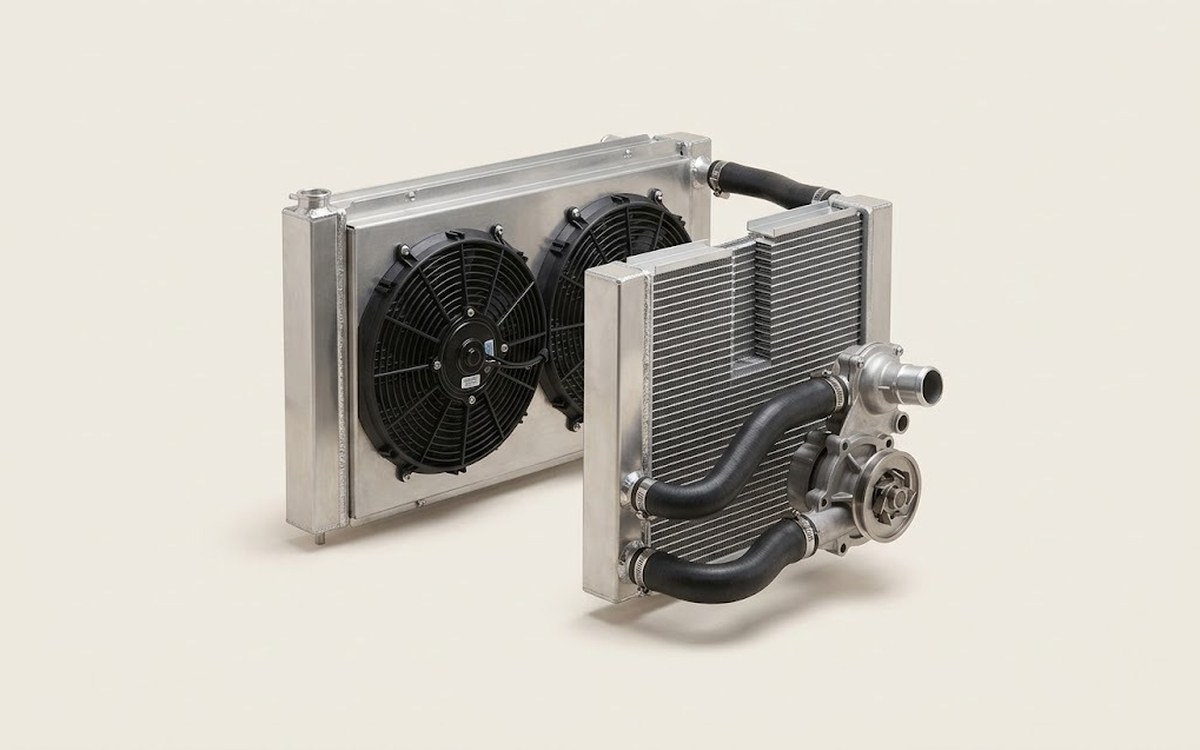 How it works · 3D
How the Engine Cooling System Works
How the part you're working on actually works — in plain English, on a 3D model.
Open in 3D →