Autopapyrus · BMW 5 Series 2.5 (M54B25) (2004)
https://autopapyrus.com/guides/bmw/5-series/exhaust-manifold-and-gasket-replacement/
https://autopapyrus.com/guides/bmw/5-series/exhaust-manifold-and-gasket-replacement/
Compiled automatically from service literature and owner experience. Specs are for the typical configuration — check them against your exact car before you start.
BMW 5 Series 2.5 (M54B25) (2004): Exhaust Manifold and Gasket Replacement
The 2.5-liter inline six-cylinder M54B25 uses two three-cylinder manifolds, made of cast iron or steel, which are mounted on studs in the cylinder head. Typical signs of wear are a cracked manifold, an exhaust leak at the joint (a ticking sound on a cold engine that goes away once it warms up), and broken studs. The job is labor-intensive because of poor access and seized nuts, so allow extra time.
Parts
5| № | Part | Genuine part no. | Alternatives |
|---|---|---|---|
| 01 | M54B25 exhaust manifold, front (cylinders 1-3)as needed | 18407531503 | |
| 18407518679 | |||
| 18407508807 | |||
| 02 | M54B25 exhaust manifold, rear (cylinders 4-6)as needed | 18407531504 | |
| 18407518680 | |||
| 18407508808 | |||
| 03 | M54 exhaust manifold gasket setone per manifold | 11621732969 | |
| 04 | Self-locking manifold mounting nuts (or copper-coated nuts) | ||
| 05 | Catalytic converter connection gaskets | 18107502346 | Elring, Victor Reinz, Ajusa |
Part numbers are from the manufacturer's original catalogue. Check them against your VIN before ordering.
Tools
9- socket set and ratchet
- long extensions and a universal joint
- E-Torx and 10-13 mm sockets
- torque wrench (10-60 N·m (7-44 lb-ft) range)
- penetrating oil
- high-temperature copper grease
- gasket scraper
- inspection mirror and flashlight
- lift or inspection pit
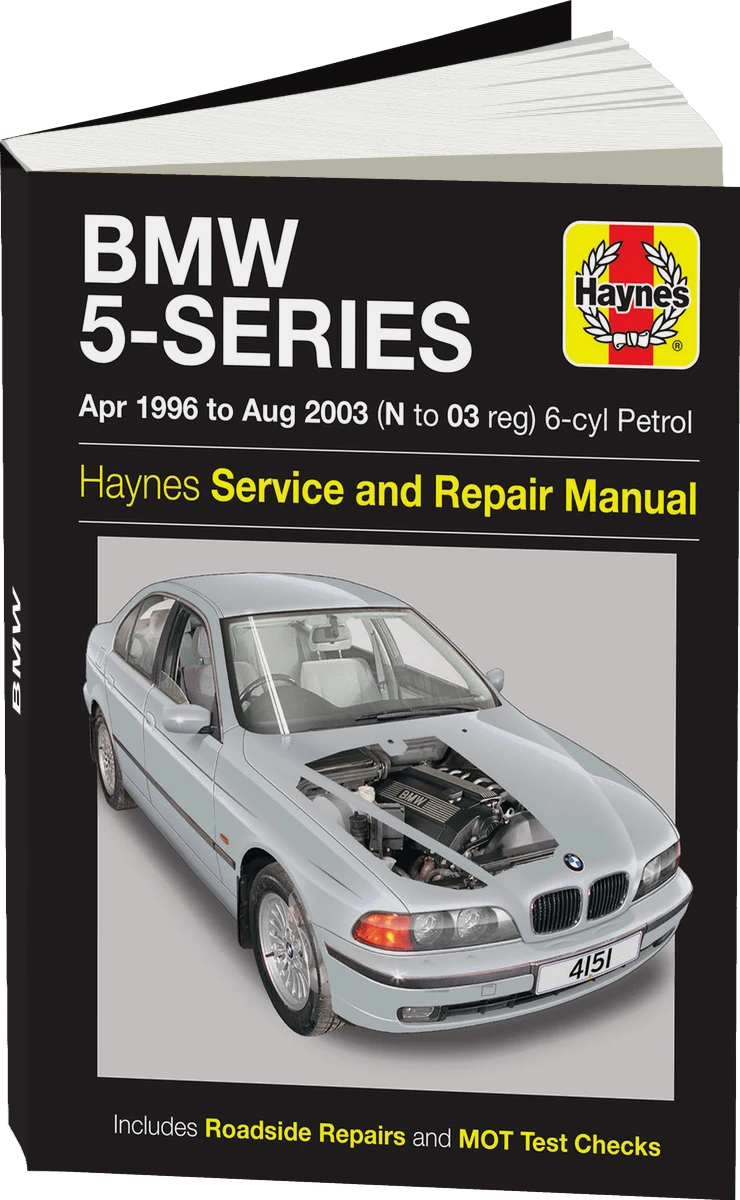 There's a full repair manual for this car
Every system, wiring diagrams and torque specs — not just this job. Haynes and 7 more.
See manuals →
Step by step
14 steps- The engine must be completely cold. Disconnect the negative battery terminal. Prepare the studs: soak the manifold nuts and the flange nuts generously with penetrating oil several hours before the job, preferably the evening before.
- Raise the car on a lift or drive it over an inspection pit, and remove the lower engine undertray if one is fitted.
- Remove the plastic engine cover. If you need access to the rear manifold, also remove the air ducts and the air filter housing with the mass airflow sensor (disconnect the MAF connector). For the rear manifold you may also need to move the wiring and intake components aside.
- Disconnect the oxygen sensor connectors (upstream and downstream of the catalytic converter) and free the wires from their clips. If the manifold is being removed together with the catalytic converter, it is best to unscrew the oxygen sensors with a special socket so they are not damaged during removal.
- Remove the manifold heat shields (be careful with the shield bolts, as they often seize; if the heads are rounded off, use an extractor).
- Remove the nuts that secure the downpipe/catalytic converter to the manifold (or the flange joint below the catalytic converter). Hang or support the exhaust system so the flex pipe is not loaded and does not break.
- Loosen the nuts securing the manifold to the cylinder head evenly, then remove them completely. If a stud turns or comes out together with the nut, remove the stud without using excessive force. If it breaks, use an extractor, and if that is not possible, the cylinder head must be removed for machining (in that case it is best to take the car to a repair shop).
- Remove the manifold together with the gaskets. Thoroughly clean the cylinder head mating surfaces of old gasket residue with a scraper, taking care not to scratch the aluminum. Check the manifold's mating surface with a straightedge (warping is not acceptable).
- Inspect the studs: clean the threads, and replace any bent or damaged studs. Apply a thin layer of heat-resistant copper grease to the stud threads (do not apply it to the gasket surface).
- Install new gaskets without sealant, place the manifold onto the studs, apply grease to the threads, and then thread on the new nuts by hand.
- Tighten the nuts in a crisscross pattern from the center outward in 2-3 passes. The tightening torque for the nuts securing the manifold to the cylinder head is about 20 N·m (15 lb-ft) (range 20-24 N·m (15-18 lb-ft); check the exact value against the manufacturer's specification). Then tighten the catalytic converter/downpipe joint with new gaskets (approximately 25-35 N·m (18-26 lb-ft) depending on fastener size; check against the specification).
- Install the heat shields, connect the oxygen sensors, refit the air ducts and the air filter housing, then connect the MAF connector and the battery.
- Start the engine and let it warm up to operating temperature. Check the joints for exhaust leaks (by ear, or with your palm held near the joint without touching hot parts). Recheck the nut tightness after 100-200 km.
- Clear any fault codes with a scan tool if they appeared after disconnecting the battery or the oxygen sensors; then take a test drive of 10-15 km.
Common mistakes and warnings
- The exhaust manifold gets extremely hot, so work only on a completely cooled engine
- The nuts and studs on the M54 often seize, and the risk of breaking a stud is high
- If a stud breaks off in the cylinder head, do not damage it further; take the car to a repair shop for careful extraction
- Do not use silicone or sealant on the manifold joint, because the gasket works without it
- Do not put load on the exhaust flex pipe or the oxygen sensors during removal