Autopapyrus · Chevrolet Aveo 1.6 F16D4 (2012)
https://autopapyrus.com/guides/chevrolet/aveo/alternator-replacement/
https://autopapyrus.com/guides/chevrolet/aveo/alternator-replacement/
Compiled automatically from service literature and owner experience. Specs are for the typical configuration — check them against your exact car before you start.
Chevrolet Aveo 1.6 F16D4 (2012): Alternator Replacement
The alternator on the 1.6 F16D4 sits at the front of the engine and is driven by a serpentine belt with an automatic tensioner. Replacement comes down to removing the belt, disconnecting the wires and removing two or three mounting bolts. Before replacing it, make sure the alternator is really the faulty part: check the terminals and ground connections, the belt and the battery voltage.
Part
- 🔩 Complete alternator for the Aveo T300 with the 1.6 engine (F16D4), roughly 100-120 A. I am not giving an exact OE number here, to avoid giving you a wrong one. When buying, compare the pulley (serpentine, number of ribs), the connector shape and the location of the B+ terminal against the alternator you removed. While you are in there, check the condition of the serpentine drive belt and its tensioner: if the belt is older than 60-80 thousand km (about 40,000-50,000 miles) or cracked, replace it along with the alternator
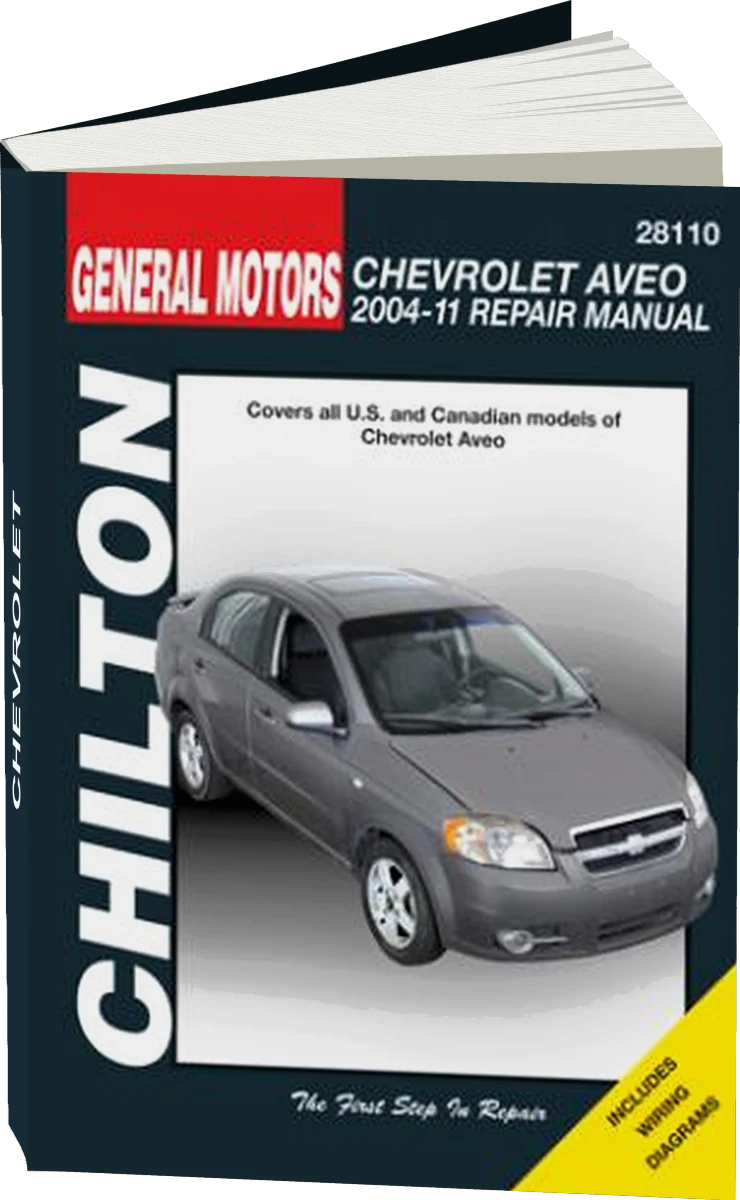 There's a full repair manual for this car
Every system, wiring diagrams and torque specs — not just this job. Chilton and 4 more.
See manuals →
Step by step
14 steps- Check the diagnosis. With the engine running, the voltage at the battery terminals should be about 13.8-14.5 V. If it is below 13 V or above 15 V, and the terminals and belt are fine, the alternator or its regulator is faulty.
- Turn off the engine and disconnect the negative battery terminal. Wait a few minutes.
- Remove the right-side plastic engine compartment shield or the fender liner and the engine undertray if they get in the way of access from below. The alternator is easiest to remove from below on the right side, through the wheel arch, with the wheel off the ground.
- Take a photo of the belt routing. Use a breaker bar or wrench on the tensioner to push it back and slip the belt off the alternator pulley. Then slowly release the tensioner.
- Disconnect the connector plug on the back of the alternator. Press the locking tab and pull the plug toward you.
- Open the protective cap on the B+ terminal, remove the nut and take off the power wire. Do not drop the nut, and do not let the wire touch the body.
- Remove the alternator mounting bolts, upper and lower. Support the alternator with your hand while you remove the last bolt. If an A/C bracket or another accessory gets in the way, move it aside, but do not disconnect the A/C lines.
- Take the alternator out downward or toward the wheel arch. It weighs several kilograms, so turn it and remove it carefully.
- Compare the new alternator with the old one: pulley, mounting ears, connector and B+ terminal. If the pulley does not match, do not install the part; exchange it. Check that the pulley spins without binding.
- Install the new alternator, insert the bolts and tighten them. Check the manufacturer's specification for the bolt torque: for bolts like these it is usually around 20-50 N·m (15-37 lb-ft), depending on the bolt. Tighten the B+ terminal nut moderately, to about 8-15 N·m (6-11 lb-ft), without overtightening, so you do not strip the stud.
- Plug in the connector and close the cap on the B+ terminal.
- Install the belt following the routing you photographed. First hook it over the pulleys, then push back the tensioner and slip the belt onto the alternator pulley. Check that the belt sits in every groove across its full width.
- Reinstall the shield and connect the negative battery terminal.
- Start the engine and check that the charge warning light goes out. Measure the voltage at the battery terminals at 2,000-2,500 rpm. It should be about 13.8-14.5 V. Turn on the high beams, the heated rear window and the blower fan; the voltage should not drop significantly. Listen for belt and bearing noise.
Common mistakes and warnings
- Always disconnect the negative battery terminal before starting work: the B+ power wire is always live, and an accidental short to the body causes a strong spark and can damage the electronics. Do not test the alternator by disconnecting the battery with the engine running: voltage spikes can damage electronic control units. If a new alternator fails quickly, the cause may be a bad battery or corroded ground wires, so check them beforehand. If you have no experience working under the car or with the drive belt, take the car to a repair shop.