Autopapyrus · Citroën C-Crosser (1st generation)
https://autopapyrus.com/guides/citroen/c-crosser/parking-brake-adjustment/
https://autopapyrus.com/guides/citroen/c-crosser/parking-brake-adjustment/
Compiled automatically from service literature and owner experience. Specs are for the typical configuration — check them against your exact car before you start.
Citroën C-Crosser (1st generation): Parking Brake Adjustment
On the C-Crosser, the rear brakes are discs, and the parking brake uses separate shoes inside the "hat" of each rear brake disc. If the lever travels too high or the vehicle does not hold well on a slope, first adjust the parking brake shoes with the star wheel, and then adjust the cable length. The exact procedure for this model is not documented in publicly available service materials, so what follows is the general principle for this type of design. Check the specific figures against the manufacturer's service manual.
Parts
2| № | Part | Genuine part no. |
|---|---|---|
| 01 | Rear axle parking brake shoesone set per axle, if worn | |
| 02 | Parking brake cableleft and right, if worn, only if adjustment does not fix the problem | 1608275480 |
| 1608275580 |
Part numbers are from the manufacturer's original catalogue. Check them against your VIN before ordering.
Tools
7- jack and jack stands
- lug wrench
- torque wrench
- thin flat-blade screwdriver or a dedicated brake adjuster tool for the star wheel
- flashlight
- wire brush
- brake cleaner
 There's a full repair manual for this car
Every system, wiring diagrams and torque specs — not just this job. Haynes AutoFix (online).
See manuals →
Step by step
10 steps- Park the vehicle on level ground, chock the front wheels, and release the parking brake lever. Leave a manual transmission in gear, or an automatic in P.
- Loosen the rear wheel lug nuts, raise the rear axle, support it on jack stands, and remove the wheel.
- Find the access hole in the brake disc through which you can see the parking brake shoe adjuster. Rotate the disc until the hole lines up with the star wheel. Clean the area of dirt.
- Insert the screwdriver through the hole and turn the star wheel in the direction that expands the shoes until the disc can no longer be turned by hand. Usually this means moving the top of the star wheel upward, but the direction depends on the side of the car, so verify it in practice.
- Then back the star wheel off by 5-8 clicks so the disc turns freely, with no shoe drag. A very light touch is acceptable, but heavy scraping and noise are not.
- Repeat on the other side so the shoe expansion is equal on both sides.
- If the disc will not turn, or the shoes are visibly worn, remove the caliper and the disc and inspect the parking brake shoes. If the friction material is thinner than 1-1.5 mm or the shoes are oil-soaked, replace them as a set per axle.
- Install the wheel and tighten the lug nuts in a crisscross pattern. The wheel nut torque is typically 100-110 N·m (74-81 lb-ft); check the exact value against the manufacturer's service manual. Lower the vehicle.
- Check the lever travel: normal working travel is about 5-8 clicks, and both rear wheels should brake at the same time and noticeably. If the travel is still too long, tighten the cable with the adjusting nut at the lever or at the equalizer under the body (accessible from under the vehicle or under the console), making sure the wheels turn freely when the lever is released.
- Test on a slope: the vehicle should hold securely on the lever. After adjusting, take a test drive and make sure the rear discs do not get hot from shoe drag.
Common mistakes and warnings
- The parking brake is a safety system
- If you have no experience working on brakes, have a repair shop do the job
- Do not tighten the cable so much that the shoes drag when the lever is released: this causes overheating and rapid wear
- Do not work under a vehicle supported only by a jack
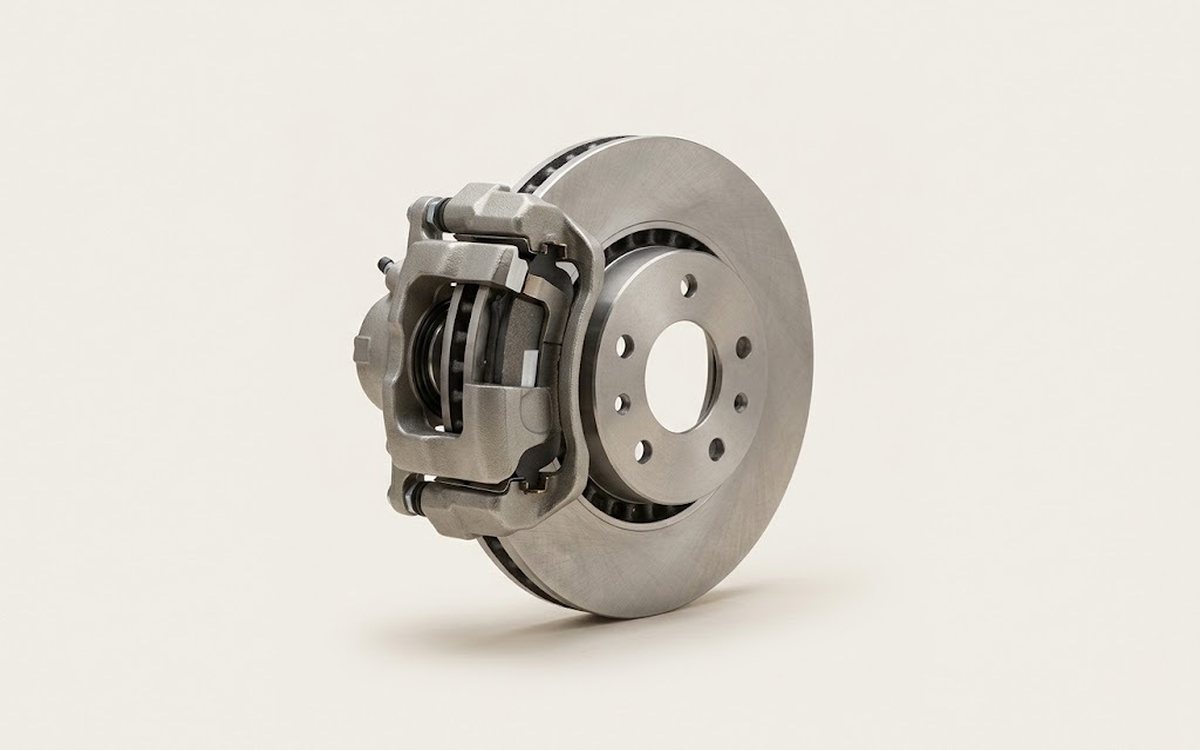 How it works · 3D
How Car Brakes Work
How the part you're working on actually works — in plain English, on a 3D model.
Open in 3D →