Autopapyrus · DAF XF 106 MX-13 (2021)
https://autopapyrus.com/guides/daf/xf/traxon-transmission-to-engine-mounting-bolt-torque/
https://autopapyrus.com/guides/daf/xf/traxon-transmission-to-engine-mounting-bolt-torque/
Compiled automatically from service literature and owner experience. Specs are for the typical configuration — check them against your exact car before you start.
DAF XF 106 MX-13 (2021): TraXon Transmission-to-Engine Mounting Bolt Torque
The exact tightening torque for the bolts that secure the TraXon transmission housing to the MX-13 flywheel housing is not documented in open service materials for this configuration. I will not invent a figure for a component that affects powertrain safety. Below are the general principle and tightening sequence. Take the value strictly from the manufacturer's service information for your VIN and transmission version.
Part
- 🔩 set of clutch housing mounting bolts (replace if the threads are damaged or corroded), input shaft spline grease, release bearing and clutch kit if needed
Step by step
9 steps- Identify the fasteners. The bolts come in different lengths and strength grades (usually high-strength, grade 10.9 or higher), so when removing them, lay them out according to a diagram and note which bolt came from where. Do not mix up long and short bolts: a short bolt does not give the required thread engagement, and a long one may bottom out and damage the housing.
- Before installation, clean the mating surfaces of the transmission housing and the flywheel housing of dirt and oil. Check the centering bushings and holes for nicks and deformation.
- Inspect the threads of the bolts and threaded holes. Do not use bolts with stretched, crushed or heavily corroded threads. Do not lubricate the threads or apply sealant unless the service information explicitly requires it: lubricant changes the actual clamping force at the same wrench reading.
- Apply a thin layer of the specified grease to the input shaft splines. Make sure grease does not get on the clutch disc or flywheel.
- Bring the transmission in strictly along the axis, with no load on the input shaft. Use two centering guide studs. Never pull the transmission toward the engine with the bolts: if the housings do not seat flush, find the cause (splines not engaged, misalignment) instead of forcing them together.
- Once the housings are seated flush, thread in all bolts by hand or with light force. Then tighten in a crisscross pattern in 2-3 passes: first to about one third, then to two thirds, then to the final torque from the service information.
- Apply the final torque only with a torque wrench that has a valid calibration, using a smooth motion, with no jerking and no impact tools. If the service information calls for an angle turn, follow both the first-pass torque and the angle.
- After tightening, check that there is no misalignment or gap between the housings around the perimeter. Reinstall the starter, brackets, sensors, driveshaft and connectors. Check the transmission oil level and the operation of the shift actuator.
- After a test drive of 50-100 km (31-62 miles), inspect the housing joint for signs of oil and loose fasteners, and recheck the tightening if necessary.
Common mistakes and warnings
- This job involves lifting and moving a heavy assembly (the transmission weighs several hundred kilograms) and disconnecting the electrical system. Before starting, disconnect the battery and support the cab and frame on stands, not just on a jack. Do not put your hands under a suspended unit. Under-tightening the bolts leads to elongated mounting holes and vibration, while over-tightening strips the threads in the aluminum or cast iron housing, so if you lack experience with heavy trucks, leave this job to a truck repair shop. Verify the exact torque figure and tightening sequence in the manufacturer's service information for your specific TraXon version and engine.
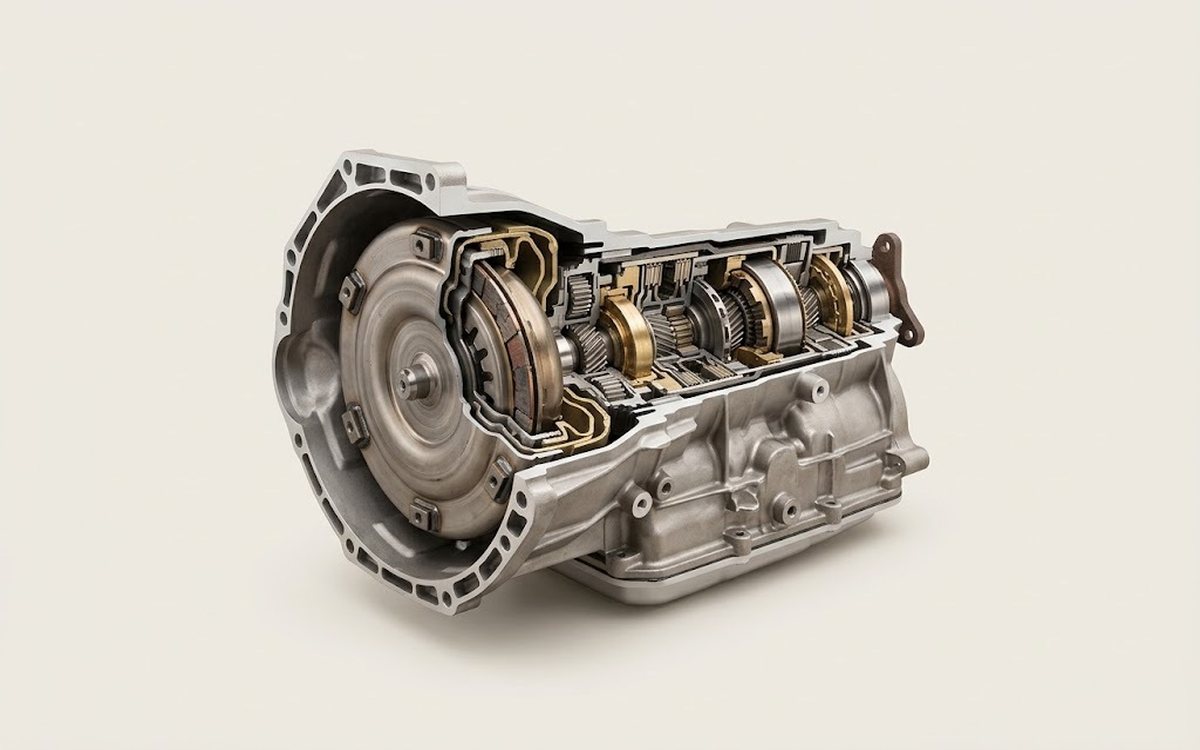 How it works · 3D
How an Automatic Transmission Works
How the part you're working on actually works — in plain English, on a 3D model.
Open in 3D →