Autopapyrus · Daihatsu Mira (7th generation, L275/L285)
https://autopapyrus.com/guides/daihatsu/mira/lower-ball-joint-replacement/
https://autopapyrus.com/guides/daihatsu/mira/lower-ball-joint-replacement/
Compiled automatically from service literature and owner experience. Specs are for the typical configuration — check them against your exact car before you start.
Daihatsu Mira (7th generation, L275/L285): Lower Ball Joint Replacement
The Mira L275/L285 has MacPherson strut front suspension, and the lower ball joint connects the steering knuckle to the lower control arm. The exact procedure for this model is not documented in publicly available service materials, so what follows is the general principle for this type of suspension. Torque values are given as ranges, so check the exact values against the manufacturer's specifications. The ball joint may be bolted to the control arm or pressed into it. You can tell which by inspecting it.
Parts
4| № | Part | Alternatives |
|---|---|---|
| 01 | Front lower control arm ball jointleft and right | 555, CTR, Febest |
| 02 | Ball joint mounting bolts and nuts | |
| 03 | Self-locking ball joint stud nuts | |
| 04 | Front lower control arm assemblyif the ball joint is not sold separately |
Tools
8- Floor jack and jack stands
- lug wrench
- socket and wrench set (12-19 mm)
- torque wrench
- pry bar or tire lever
- ball joint separator (or hammer and drift)
- penetrating oil
- grease gun if needed
Step by step
12 steps- Park the car on level ground, set the parking brake, and chock the rear wheels. Loosen the front wheel nuts half a turn.
- Raise the front of the car, place jack stands under the body, and remove the front wheel. Treat the threaded connections with penetrating oil.
- Confirm that the ball joint is actually worn: use a pry bar between the control arm and the knuckle to check for vertical play, and inspect the boot for tears. Signs of wear are play visible to the eye, a torn boot, and grease that has been forced out.
- Remove the ball joint stud nut at the knuckle. The stud will turn, so hold it with a hex key or a socket from behind if the stud has a spot for a wrench.
- Press the stud out of the knuckle with a separator, or by lightly tapping the sides of the knuckle eye with a hammer (not the stud threads). Do not hit the boot, and do not damage the CV joint boot.
- If the ball joint is bolted to the arm: remove the 2-3 bolts that secure the ball joint to the arm and take it off. If it is pressed into the arm: remove the arm by undoing the front mounting bolt (bushing) and the rear mount, then press the ball joint out with a press or puller (in a home garage, it is easier to replace the complete arm).
- Clean the mating surfaces of dirt and rust. The new ball joint must seat without binding. Compare it with the old part for size, stud taper, and mounting hole positions.
- Install the new ball joint on the arm and tighten the mounting bolts to approximately 40-60 N·m (30-44 lb-ft) (check against the specification).
- Insert the stud into the knuckle and tighten the self-locking nut to approximately 50-70 N·m (37-52 lb-ft). If the nut is a castle nut, install a cotter pin. Always use a new cotter pin.
- If you removed the arm, tighten the bushing bolts only with the suspension loaded (car on its wheels), otherwise the rubber will twist and tear quickly.
- Install the wheel and tighten the wheel nuts in a crisscross pattern. Do the final tightening after lowering the car to the ground, to approximately 85-100 N·m (63-74 lb-ft).
- Take a test drive of 5-10 km (3-6 mi) and recheck the tightness. Be sure to have a wheel alignment done: toe and camber are thrown off after a ball joint replacement.
Common mistakes and warnings
- The ball joint is part of the steering and suspension, and safety depends on it
- If you have no experience working on suspension, leave the job to a repair shop
- Do not drive with excessive play: the stud can pull out of the joint, and you will lose control of the wheel
- Replace both ball joints on the axle if wear is evident on one
- Never work under a car that is supported only by a jack
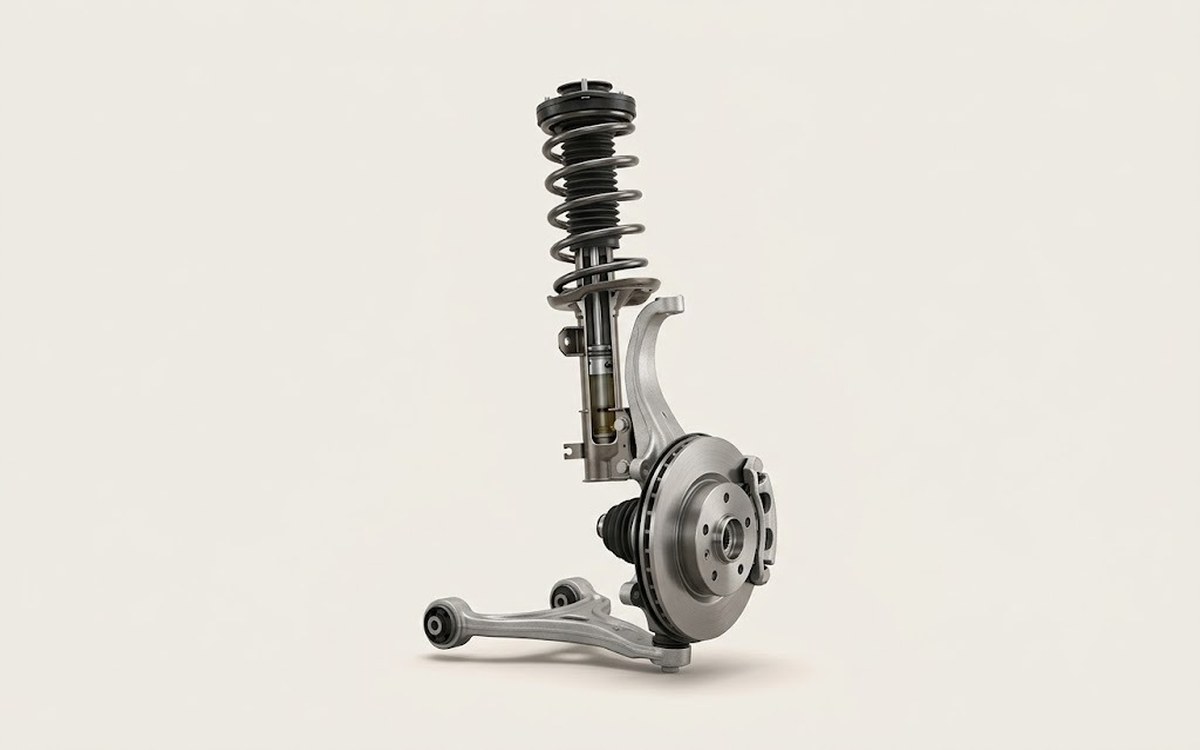 How it works · 3D
How Car Suspension Works
How the part you're working on actually works — in plain English, on a 3D model.
Open in 3D →