Autopapyrus · Ford Focus (4th Generation)
https://autopapyrus.com/guides/ford/focus/automatic-transmission-valve-body-repair/
https://autopapyrus.com/guides/ford/focus/automatic-transmission-valve-body-repair/
Compiled automatically from service literature and owner experience. Specs are for the typical configuration — check them against your exact car before you start.
Ford Focus (4th Generation): Automatic Transmission Valve Body Repair
The Focus IV with the 1.5 EcoBoost has the Ford 8-speed hydromechanical automatic transmission (from the 8F family). The valve body can only be reached after the pan is removed and sits inside the transmission, so this job demands a high level of cleanliness and a scan tool for adaptation. The exact step-by-step procedure for this transmission is not documented in publicly available service materials. What follows is the general approach. Check the details and tightening torques against the manufacturer's specifications.
Parts
5| № | Part | Genuine part no. |
|---|---|---|
| 01 | Mercon ULV ATF for Ford 8-speed automatic transmission | |
| 02 | Automatic transmission valve body gasket and seal kit | 5325781 |
| 5152877 | ||
| 03 | ATF filter (integrated)replaced only when the transmission is opened up | |
| 04 | Automatic transmission valve body solenoidsif worn | 5304522 |
| 5154697 | ||
| 05 | Automatic transmission valve body assemblyif worn | 5244185 |
| 5311212 |
Part numbers are from the manufacturer's original catalogue. Check them against your VIN before ordering.
Tools
9- Lift or inspection pit
- transmission jack
- socket set and Torx set
- low-range torque wrench (2-25 N·m (1.5-18 lb-ft))
- ATF drain pan
- clean container and lint-free wipes
- brake cleaner
- compressed air
- scan tool with access to transmission adaptations
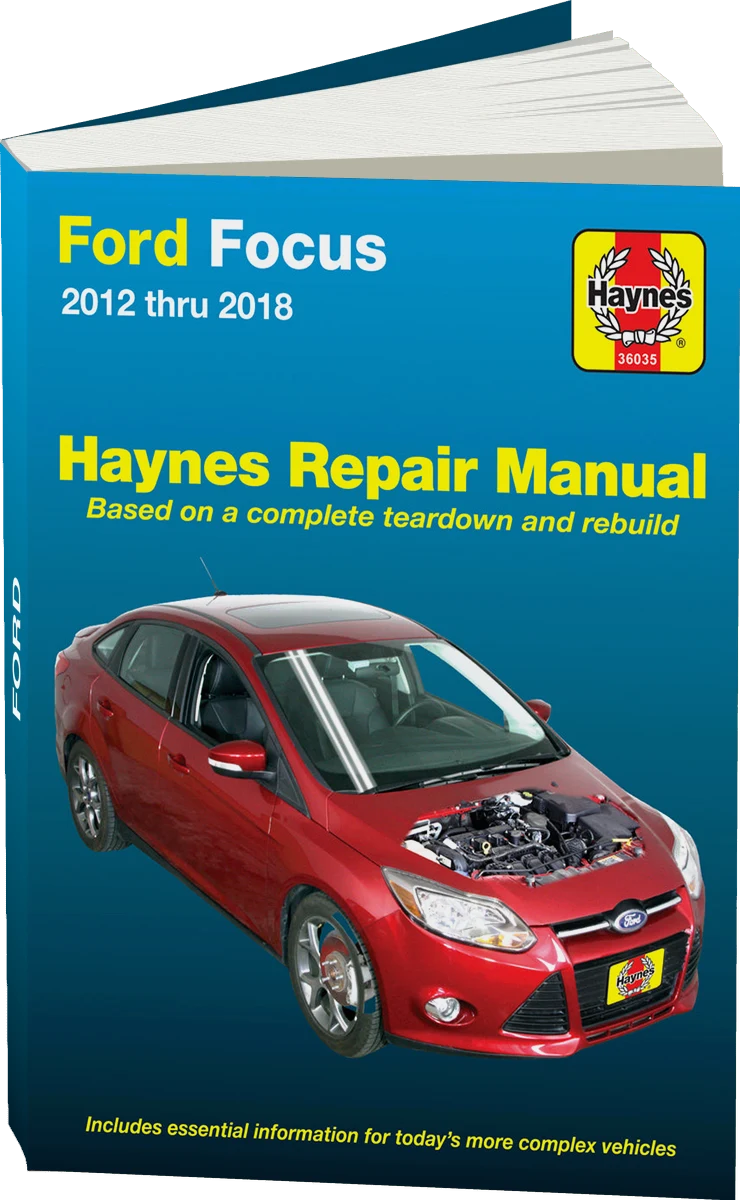 There's a full repair manual for this car
Every system, wiring diagrams and torque specs — not just this job. Haynes and 25 more.
See manuals →
Step by step
12 steps- Confirm that the fault is actually in the valve body: read the TCM codes (P0700 series, pressure solenoid faults, slipping, harsh shifts), check the condition and smell of the ATF, and look at the pressure and adaptation data. The cause is often worn-out ATF rather than the valve body.
- There is no need to warm up the transmission. Work on it cool (40-50 °C) so you don't get burned. Put the vehicle on the lift, disconnect the negative battery terminal and remove the underbody shield.
- Drain the ATF through the transmission drain plug into a clean pan and measure how much came out. Inspect the fluid and the magnets on the pan: fine metal dust is normal, but metal shavings and friction material debris mean the clutch packs are worn and the repair will go beyond the valve body alone.
- Disconnect the transmission wiring connectors. If needed, lower the transmission or move aside the exhaust components and subframe to reach the pan. Support the transmission with a jack.
- Remove the pan bolts in a crisscross pattern and take out the gasket. Clean the pan and magnets.
- Photograph the layout of the connectors, the harness and the bolts of different lengths. Disconnect the solenoid and sensor connectors and release the harness clips.
- Evenly remove the valve body mounting bolts (note the length and position of each) and carefully lift the valve body out. If the valve body is being disassembled, don't drop the balls, springs or valves. Replace the old channel seal rings.
- Inspection: check the mating surface for scoring and warping, clean the passages, check that the spool valves move freely, and measure the solenoid resistance with a multimeter and compare it with the specified values. Disassemble the valve body on a clean bench and lay the parts out strictly in order. If the spool valves or housing are significantly worn, install a complete valve body assembly.
- Install the repaired or new valve body with new seals and connect the connectors. Tighten the valve body bolts with a torque wrench from the center outward in several passes. The torque for the small valve body bolts is usually in the range of 8-12 N·m (6-9 lb-ft) (use the exact value from the manufacturer's specifications).
- Install a new filter (if the design has one) and the pan with a new gasket. Tighten the pan bolts in a crisscross pattern, usually in the range of 8-12 N·m (6-9 lb-ft) (verify against the specifications). Tighten the drain plug to specification (usually 20-30 N·m (15-22 lb-ft)).
- Refill with ATF through the fill port or by the method the manufacturer specifies, in an amount equal to what was drained plus the remainder. The final level is set by ATF temperature using the scan tool (usually in the 35-45 °C window), per the specification for this transmission.
- Connect the scan tool, clear the codes, then perform the transmission reset and adaptation (pressure and shift point learning). Then take a 15-20 minute test drive under varied conditions. Recheck the ATF level and make sure there are no leaks.
Common mistakes and warnings
- Automatic transmission work is critically dependent on cleanliness: any dirt in the passages will ruin the valve body
- If there are shavings or friction material debris in the fluid, a valve body repair will not solve the problem and a full transmission overhaul will be needed
- Adaptation is mandatory
- If you don't have a scan tool and experience with modern 8-speed automatics, leave the repair to a specialist shop
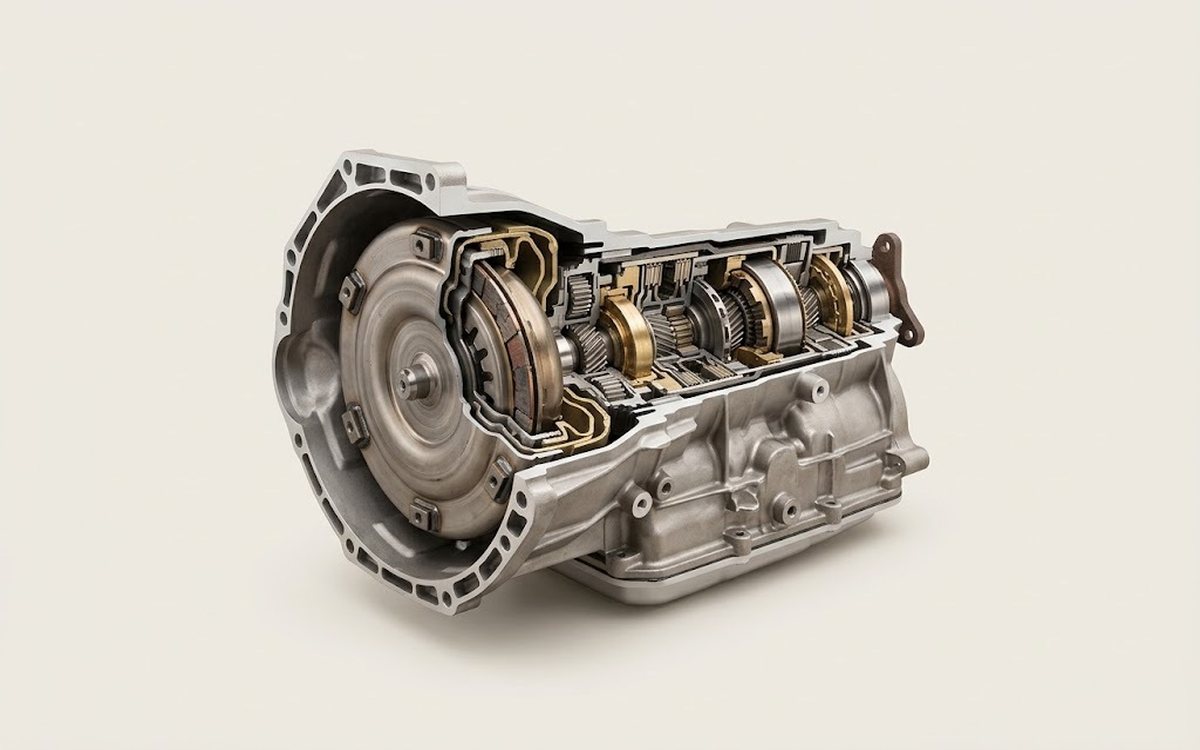 How it works · 3D
How an Automatic Transmission Works
How the part you're working on actually works — in plain English, on a 3D model.
Open in 3D →