Autopapyrus · GAZ Valdai Next Cummins ISF 2.8 (2021)
https://autopapyrus.com/guides/gaz/valdai-next/cooling-system-diagnostics/
https://autopapyrus.com/guides/gaz/valdai-next/cooling-system-diagnostics/
Compiled automatically from service literature and owner experience. Specs are for the typical configuration — check them against your exact car before you start.
GAZ Valdai Next Cummins ISF 2.8 (2021): Cooling System Diagnostics
The liquid-cooled, turbocharged Cummins ISF 2.8 diesel is sensitive to overheating. The main causes are low coolant level or coolant loss, a faulty thermostat, a clogged radiator, a faulty reservoir cap, and air trapped in the system. Diagnostics go from simple to complex: visual inspection, coolant check, pressure test, then thermostat and fan checks.
Parts
6| № | Part |
|---|---|
| 01 | Thermostat for Cummins ISF 2.8 |
| 02 | Coolant reservoir cap (pressure valve type) |
| 03 | Cooling system hosesif faulty |
| 04 | Radiatorif faulty |
| 05 | Water pumpif faulty |
| 06 | G11/G12 coolantdo not mix different types |
Tools
9- flashlight
- 8-13 mm wrenches and sockets
- hose clamp pliers
- hydrometer or refractometer for coolant
- cooling system pressure tester (with adapter set)
- infrared thermometer
- diagnostic scan tool
- funnel
- drain pan
Step by step
16 steps- Start diagnostics on a cold engine with the vehicle parked on level ground. Do not remove the coolant reservoir cap on a hot engine. The system is under pressure and you could be burned.
- Check the coolant level in the reservoir. It should be between the MIN and MAX marks. If the level keeps dropping, there is a leak in the system (external or internal).
- Assess the condition of the coolant: color, rust, oily film, foam. Oil in the coolant or coolant in the oil (a light-colored emulsion under the oil filler cap, or a raised oil level) indicates a problem with the oil cooler or the cylinder head gasket. If you see this, stop driving the vehicle.
- Measure the coolant density with a refractometer or hydrometer. The freezing point should be suitable for the season. Weak or mixed coolant removes heat less effectively and causes corrosion.
- Inspect the hoses, pipes, clamps, radiator, water pump and connections. Look for leaks, white or colored residue, cracks, and swollen or softened hoses. Check the bottom of the radiator and the area under the water pump.
- Inspect the radiator and intercooler cores from the front and the back. Fluff, dirt, insects and leaves reduce heat transfer. Blow them out with compressed air or rinse with water from the inside out, avoiding a strong jet that could bend the fins.
- Check the accessory drive belt and the pulley/tensioner roller for tension, cracks and slipping. A slipping belt reduces the speed of the water pump and alternator.
- Check the reservoir cap: sealing gasket, spring and valve. The opening pressure is marked on the cap itself. Test the cap on a tester. A poor-quality cap causes coolant to be expelled and the engine to overheat.
- Pressure-test the system with a tester up to the value marked on the reservoir cap. The pressure should hold for at least 10-15 minutes. A drop indicates an external or internal leak. Locate the leak visually.
- Warm up the engine and check thermostat operation. The upper radiator hose should stay cold until warm-up, then heat up sharply when the thermostat opens. Monitor the temperature with the scan tool and an infrared thermometer. If the radiator heats up right at startup, the thermostat is stuck open (the engine warms up poorly). If the upper hose is hot and the lower hose is cold at high temperature, the thermostat is stuck or the radiator is clogged.
- Compare the lower and upper radiator hoses. A large temperature difference (the lower hose noticeably colder than the upper by more than 15-20 °C at operating temperature) indicates a clogged radiator core.
- Check the cooling fan. It should turn on when the temperature threshold is reached. Check operation with the scan tool (activation command) and by ear. Check the fuse, relay and connectors. For a clutch-driven fan, make sure there is no play and no leaking viscous fluid.
- Check the coolant temperature sensor. Compare the scan tool reading with an infrared thermometer reading taken on the thermostat housing or a hose. A difference of more than 5-8 °C suggests a faulty sensor or wiring. Read the fault codes from the engine control unit.
- Assess the water pump: pulley play by hand, bearing noise, and leaks from the weep hole. If you suspect impeller wear, the pump is not circulating coolant. Replace it together with the belt.
- If there are signs of an air lock (cold heater with a warm engine, gurgling, temperature fluctuations), bleed the air. Top up the coolant to MAX, start the engine with the reservoir cap open or follow the manufacturer's procedure, hold the engine at elevated rpm, and top up as needed until the level stabilizes.
- If a leak or a faulty part is confirmed, replace it, refill the system with the recommended coolant, bleed the air, and repeat the pressure test and warm-up check. Follow the manufacturer's specification for clamp and fastener torque. Tightening should be moderate (clamps are usually tightened to just a few N·m) so as not to damage the hoses.
Common mistakes and warnings
- Do not drive the vehicle while it is overheating
- Cylinder head warping and head gasket damage can occur quickly, and on a turbodiesel, oil coking and turbocharger failure can follow
- Do not open the coolant reservoir cap on a hot engine
- Coolant is toxic
- Avoid skin contact, and collect and dispose of used coolant properly
- If you see oil in the coolant, white smoke, or constant coolant loss with no visible leaks, take the vehicle to a repair shop
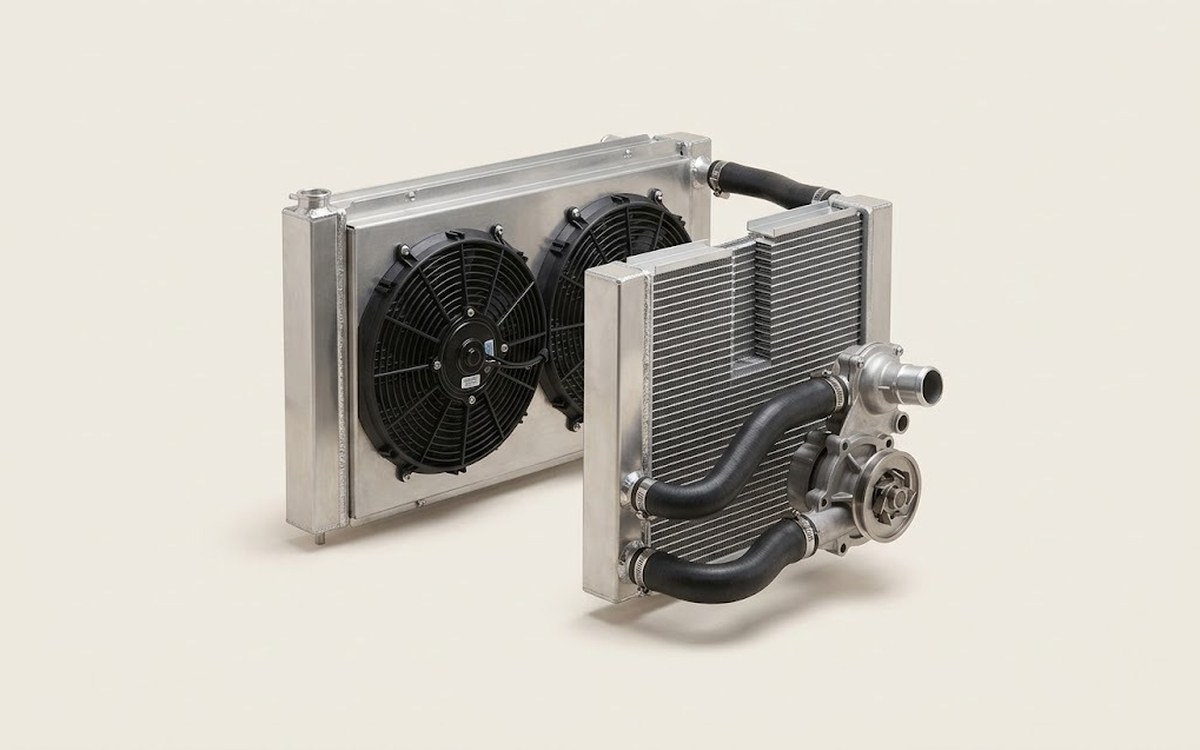 How it works · 3D
How the Engine Cooling System Works
How the part you're working on actually works — in plain English, on a 3D model.
Open in 3D →