Autopapyrus · Great Wall Poer (Cannon) (1st generation)
https://autopapyrus.com/guides/great-wall/cannon-poer/lower-ball-joint-replacement/
https://autopapyrus.com/guides/great-wall/cannon-poer/lower-ball-joint-replacement/
Compiled automatically from service literature and owner experience. Specs are for the typical configuration — check them against your exact car before you start.
Great Wall Poer (Cannon) (1st generation): Lower Ball Joint Replacement
The Poer's lower ball joints wear out from pickup loads and off-road use. Symptoms: knocking over bumps, wheel play when rocking it at the top and bottom, and uneven tire wear. The exact design depends on the trim (2WD or 4WD), so first determine whether the ball joint is sold separately or the arm is replaced as an assembly. Compare against the removed part.
Parts
3| № | Part | Alternatives |
|---|---|---|
| 01 | Front lower control arm with ball joint, completeleft and right | SuperPro, Whiteline, Basco |
| 02 | Ball joint repair kitif the arm allows the joint to be pressed out and in | SuperPro, Whiteline, Basco |
| 03 | Ball joint stud locknutsnew |
Tools
10- floor jack and jack stands
- lug wrench
- torque wrench
- socket and wrench set (approx. 17-24 mm)
- ball joint separator or hammer with a drift
- pry bar
- press (if only the ball joint is being replaced in the arm)
- penetrating oil
- wire brush
- TORX/hex key for the skid plate mounting (if fitted)
Step by step
12 steps- Park the vehicle on level ground, apply the parking brake, and chock the rear wheels. Loosen the lug nuts on the front wheel that will be removed.
- Use a jack to raise the front of the vehicle and set jack stands under the frame. Remove the wheel. If a skid plate or front underbody guard is installed, remove it to access the arm.
- Clean the ball joint stud threads, the arm mounting hardware and the clamp bolts with a wire brush and treat them with penetrating oil. Wait 10-15 minutes.
- Check for play with a pry bar: pry on the arm near the ball joint. Play in the stud or a torn boot with leaked grease means the joint must be replaced.
- If the shock absorber or torsion bar is in the way, loosen or temporarily unload the suspension: support the lower arm with a jack so the suspension does not extend suddenly when you undo the bolts. Do not release the spring or torsion bar without proper preparation.
- Remove the ball joint stud nut from the steering knuckle. Knock out or press out the stud with a separator. Do not strike the threads without a protective nut on them, to avoid damaging the stud.
- If the ball joint is integrated into the arm: remove the bolts securing the arm to the frame/subframe (note the position of any eccentrics or adjusting washers) and remove the arm. On a 4WD with a driveshaft axle, be careful not to pull the CV joint out of the transmission or damage the axle boot.
- If replacing only the ball joint: press out the old one on a press, first removing the retaining ring (if present). Press in the new one exactly along the axis, check the fit, and install the retaining ring.
- Compare the new part with the old one: size, side, stud length, boot shape. Install the new arm (ball joint), insert the stud into the knuckle, and start a new nut by hand.
- Fully tighten the arm hardware and the stud nut only with the suspension at a position close to ride height (under wheel load, or with a jack supporting the arm), so the bushings are not twisted. Torque specifications for this model are not confirmed in public sources: the ball joint stud nut on similar pickups is usually 100-180 N·m (74-133 lb-ft), the arm mounting bolts usually 120-200 N·m (89-148 lb-ft), and the lug nuts 120-150 N·m (89-111 lb-ft). For exact values, use the manufacturer's specifications for your suspension version.
- Install the skid plate and the wheel, lower the vehicle, and tighten the lug nuts in a crisscross pattern to the specified torque. Repeat on the other side if needed.
- After replacement, have the wheel alignment (toe and camber) checked and adjusted, especially if the arm was removed, since toe and camber will be thrown off. After 100-200 km (60-125 miles), re-torque the hardware and check that there are no knocking noises.
Common mistakes and warnings
- Suspension and steering are safety-critical components: incorrect tightening or a poor-quality ball joint can lead to loss of vehicle control
- If you lack experience and the necessary equipment (press, separator, suspension unloading), leave the work to a repair shop
- Do not use parts of questionable quality, and always replace ball joints in pairs on the same axle when wear is equal
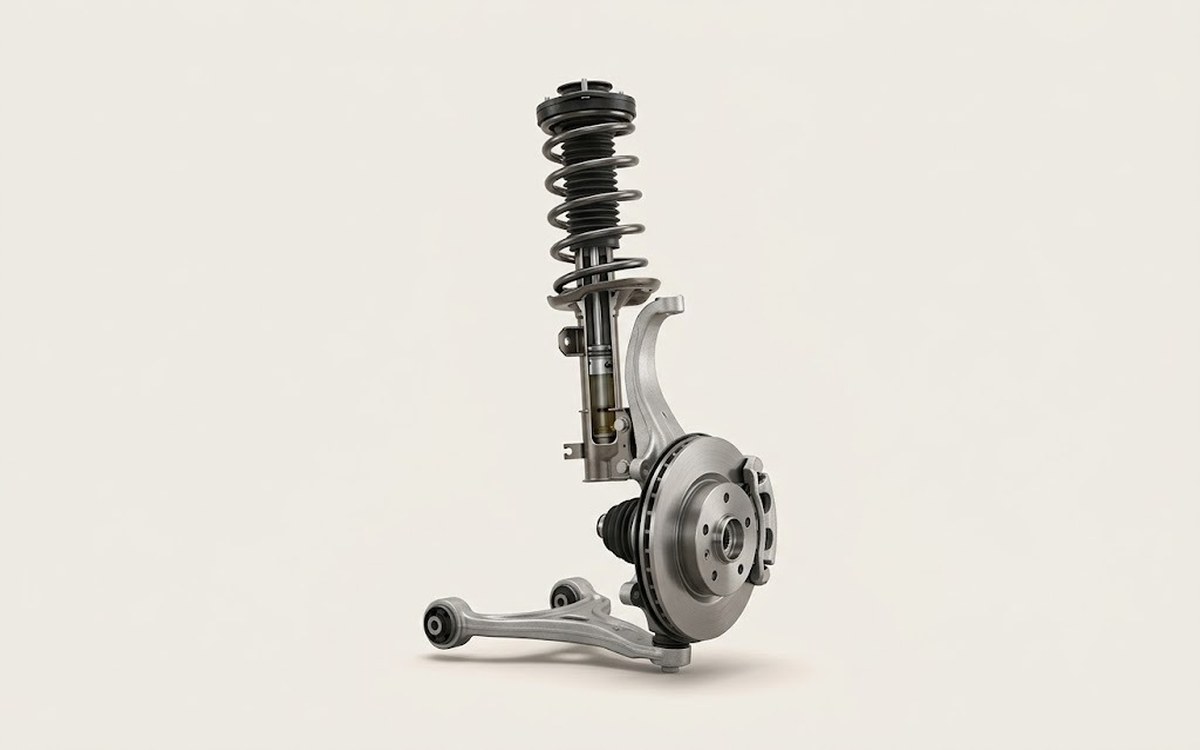 How it works · 3D
How Car Suspension Works
How the part you're working on actually works — in plain English, on a 3D model.
Open in 3D →