Autopapyrus · Honda CR-V (5th Generation, RW)
https://autopapyrus.com/guides/honda/cr-v/rear-trailing-arm-replacement/
https://autopapyrus.com/guides/honda/cr-v/rear-trailing-arm-replacement/
Compiled automatically from service literature and owner experience. Specs are for the typical configuration — check them against your exact car before you start.
Honda CR-V (5th Generation, RW): Rear Trailing Arm Replacement
The rear trailing arm on the 5th-generation Honda CR-V connects the hub assembly to the subframe and handles longitudinal loads. The main reasons for replacement are worn bushings (a knock over bumps), a bent arm after an impact, and corrosion damage to the welded joints. The procedure requires lifting the rear of the vehicle and supporting the arm with a jack during tightening to simulate the loaded suspension position.
Part
- 🔩 Honda rear trailing arm 52370-TLA-A03 (right) or 52365-TLA-A03 (left). The arm is supplied complete with bushings. OEM or less expensive aftermarket equivalents are available
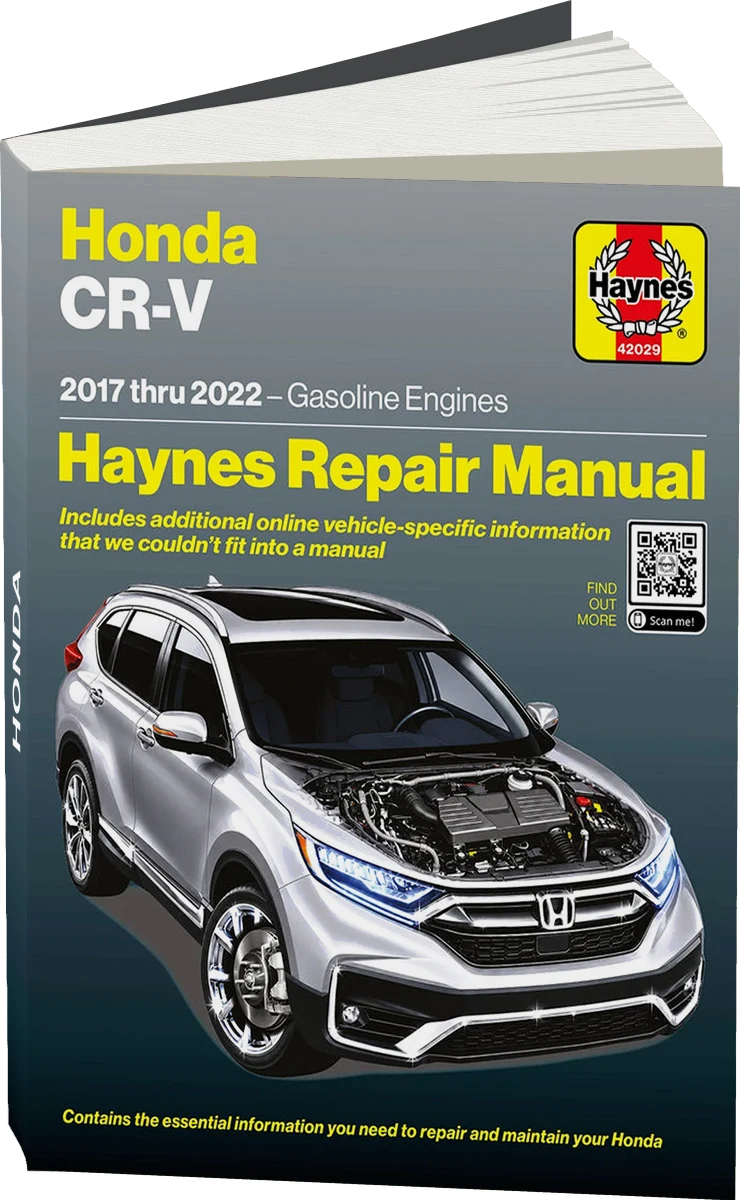 There's a full repair manual for this car
Every system, wiring diagrams and torque specs — not just this job. Haynes and 8 more.
See manuals →
Step by step
19 steps- Loosen the lug nuts on the rear wheel on the side you are working on, but do not remove the wheel yet.
- Raise the rear of the vehicle with a jack and set it on sturdy jack stands under the body (lift points are the rocker panels or reinforced areas of the subframe). Chock the front wheels.
- Remove the lug nuts completely and take off the rear wheel.
- Detach the ABS sensor bracket from the upper control arm (if the wiring runs close to the trailing arm, secure it so it stays out of the way).
- Disconnect the sway bar link from the trailing arm: hold the stud with a hex key (usually 6 mm) and remove the nut that secures the link to the arm.
- Remove the lower shock absorber mounting bolt at the trailing arm (17-19 mm socket). Carefully swing the shock upward to clear the mounting area.
- Place a floor jack under the trailing arm near the hub assembly and raise it slightly to take the load off the arm mounting bolts.
- Remove the bolt that secures the arm to the steering knuckle (hub assembly), 19-22 mm socket. The bolt may be tight, so use a breaker bar or an extension.
- Remove the front and rear bolts that secure the trailing arm to the subframe (usually one bolt at the front and one at the rear, 19-22 mm socket). According to Honda specifications these bolts are single-use, so use new ones during assembly.
- Lower the jack and remove the trailing arm from its mounting locations. If the arm is stuck in the bushing sleeves, carefully tap it with a rubber mallet or use a pry bar.
- Install the new trailing arm in reverse order: first insert the front and rear ends of the arm into the subframe mounting points and start the new bolts by hand (do not tighten them yet).
- Raise the jack under the hub assembly so the suspension sits at the normal loaded ride height (wheel center level with the fender arch or slightly above). This is critical: tightening the bushings with the suspension unloaded will cause them to wear out prematurely.
- Start the bolt that secures the arm to the steering knuckle.
- Tighten all trailing arm mounting bolts with a torque wrench in the following order: first the subframe bolts (torque 70-90 N·m (52-66 lb-ft), check the manual for your specific model version), then the bolt to the hub assembly (70-90 N·m (52-66 lb-ft)).
- Reconnect the lower shock absorber bolt to the arm (torque 60-80 N·m (44-59 lb-ft)).
- Reconnect the sway bar link to the arm, holding the stud with a hex key (nut torque 30-40 N·m (22-30 lb-ft)).
- Reattach the ABS sensor bracket in its original position.
- Install the wheel and start the lug nuts. Lower the vehicle from the jack stands to the ground and tighten the lug nuts in a crisscross pattern (torque 108 N·m (80 lb-ft)).
- After replacing the arm, be sure to have the rear wheel alignment checked and adjusted on an alignment machine, because replacing the trailing arm can change the toe setting.
Common mistakes and warnings
- The bolts that secure the trailing arm to the subframe are single-use (they stretch when tightened), so always use new ones during installation. The bushings must be tightened only with the suspension in the loaded position. Otherwise the rubber will be twisted in service and will fail quickly. If a knock or a pull to one side persists after replacing the arm, check the condition of the other rear suspension components (upper and lower control arms, shock absorbers, wheel bearing).