Autopapyrus · Honda CR-V 5th Generation (RW)
https://autopapyrus.com/guides/honda/cr-v/upper-rear-trailing-arm-bushing-replacement/
https://autopapyrus.com/guides/honda/cr-v/upper-rear-trailing-arm-bushing-replacement/
Compiled automatically from service literature and owner experience. Specs are for the typical configuration — check them against your exact car before you start.
Honda CR-V 5th Generation (RW): Upper Rear Trailing Arm Bushing Replacement
The rear suspension on the 5th-generation Honda CR-V is an independent multi-link design. The upper trailing arm is attached to the body through bushings, which wear out after 80-120 thousand km (cracked rubber, play, knocking over bumps). The bushing can be replaced without removing the arm by using a special puller, or with the arm removed and the bushing pressed out and in on a press.
Part
- 🔩 Upper rear trailing arm bushing (the OE part is included in the complete arm, 52510-TLA-A01; a separate bushing may be sold under a different part number, so check availability with your supplier). Aftermarket alternatives: MOOG, CTR, A-Premium for CR-V 2017-2021
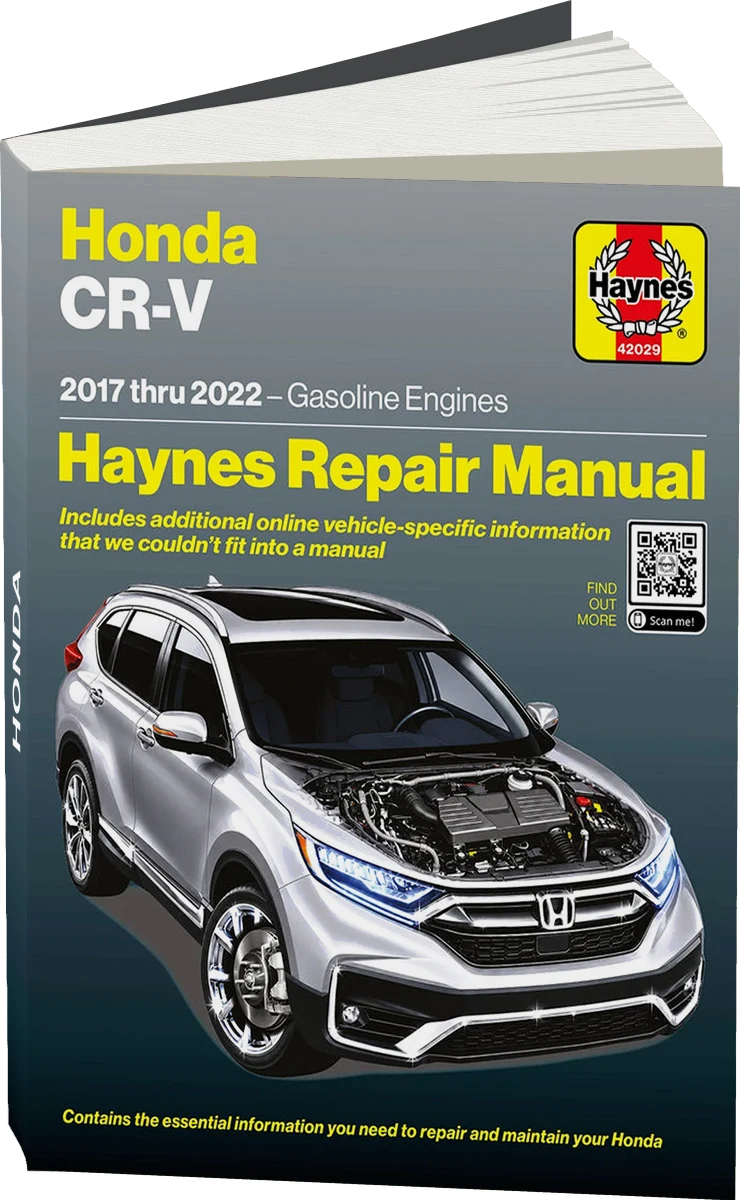 There's a full repair manual for this car
Every system, wiring diagrams and torque specs — not just this job. Haynes and 8 more.
See manuals →
Step by step
8 steps- Raise the vehicle on a lift or support it on jack stands, and remove the rear wheel on the side you are working on.
- Unload the suspension: place a jack under the lower arm or the hub assembly and raise it slightly to the mid-travel position of the suspension (not all the way).
- Remove the two bolts that secure the upper arm to the body (17 or 19 mm wrench; the breaking torque may be high, so use a breaker bar). The bolts may be single-use (flanged, serrated), so replace them with new ones during assembly.
- Option A (with a puller): Install the special Honda CR-V bushing puller on the arm without fully removing it. Press out the old bushing by turning the puller screw. Press in the new bushing with the same tool, monitoring the seating depth (the bushing should protrude 10-12 mm from the inner face of the arm; measure the old one before pressing it out). Option B (with a press): Remove the second bolt that secures the arm to the steering knuckle and remove the whole arm. Press out the old bushing on a hydraulic press and press in the new one to the same depth.
- If you removed the arm, reinstall it and thread in all the bolts (to the body and to the knuckle) finger-tight. DO NOT fully tighten them yet.
- Lower the vehicle onto its wheels (or raise the suspension with a jack under the lower arm to a position that matches the vehicle's loaded weight). Tighten the arm bolts with a torque wrench only while the suspension is loaded. Tightening torque for the upper arm bolts to the body: 80-90 N·m (59-66 lb-ft) (check the exact value for the 2018 model year in the service manual; this range is typical for Honda multi-link suspensions). The bolt to the steering knuckle: likewise 80-90 N·m (59-66 lb-ft).
- Check that the arm has no play, install the wheel, and tighten the wheel nuts to 108 N·m (80 lb-ft).
- Be sure to get a wheel alignment after the replacement, because the rear suspension angles will change.
Common mistakes and warnings
- Tightening the bushing bolts with the suspension unloaded twists the rubber and quickly destroys the new bushing (its service life drops by a factor of 2-3). Always tighten the arm fasteners with the suspension loaded (vehicle on its wheels, or the suspension raised with a jack to normal ride height). Use only new flanged bolts to secure the arm to the body, because old ones may not hold the required tightening torque.