Autopapyrus · Hyundai Terracan (1st generation)
https://autopapyrus.com/guides/hyundai/terracan/parking-brake-adjustment/
https://autopapyrus.com/guides/hyundai/terracan/parking-brake-adjustment/
Compiled automatically from service literature and owner experience. Specs are for the typical configuration — check them against your exact car before you start.
Hyundai Terracan (1st generation): Parking Brake Adjustment
The Terracan parking brake uses shoes located inside the rear brake disc (drum-in-hat type) and is operated by a lever through cables with an equalizer. Adjustment is done in two stages: first the shoe clearance through the access hole in the disc, then the lever travel with the equalizer nut. The order is mandatory: shoes first, then the cable. The values below are approximate; verify the exact figures against the manufacturer's specifications for your trim level.
Key figures
- Shoe adjuster wheel back-off5 notches back from the stop. This is how far to turn the wheel back after you have turned it down until it stops (steps 4-5)
- Parking brake lever travel6-7 clicks. This is how many clicks the lever should make when correctly adjusted with the equalizer nut (step 8)
- Lever test forceabout 196 N (20 kgf, 44 lbf) at about 40 mm from the end of the handle. This is used when measuring lever travel (step 8)
- Cable cycling before adjustmentat least 3 full lever strokes. This lets the cables seat properly (step 7)
Check these values against the manufacturer’s specification for your vehicle before you start.
Diagram: where the shoe adjuster and parking brake equalizer nut are
Tap to enlarge
- 1Rubber plug of the service hole in the rear disc: remove it to reach the adjuster.
- 2Shoe adjuster wheel: turn it down with a flat screwdriver until it stops, then back off 5 notches.
- 3Rear brake disc: the parking brake shoes sit inside it. After adjusting, it must turn freely by hand.
- 4Parking brake shoes behind the disc: their gap is set by the adjuster wheel. Worn or oily shoes must be replaced.
- 5Equalizer nut: first pull and release the lever at least 3 times, then set the lever travel to 6-7 clicks with the nut.
- 6Equalizer plate: the two cables to the wheels and the cable from the lever meet here. The cable is adjusted here.
Parts
2| № | Part | Genuine part no. |
|---|---|---|
| 01 | Parking brake shoe setif shoes are worn | |
| 02 | Parking brake cableif cable is stretched; left or right | 59760-H1000 |
| 59760-H1050 | ||
| 59770-H1000 |
Part numbers are from the manufacturer's original catalogue. Check them against your VIN before ordering.
Tools
7- Jack and two jack stands
- lug wrench
- flat-blade screwdriver
- equalizer nut wrench (usually 10-12 mm)
- wheel chocks
- shop rags
- brake cleaner
 There's a full repair manual for this car
Every system, wiring diagrams and torque specs — not just this job. Haynes AutoFix (online).
See manuals →
Step by step
11 steps- Park the vehicle on level ground, place wheel chocks under the front wheels, lower the parking brake lever completely, and leave the transmission in neutral.
- Loosen the rear wheel lug nuts, raise the rear of the vehicle with the jack, set it on jack stands, and remove the wheel. For lug nut torque, follow the manufacturer's specifications.
- Find the rubber plug covering the access hole on the rear brake disc and remove it.
- Using a flat-blade screwdriver through the hole, turn the adjuster wheel downward until it stops and will no longer turn. The shoes are now expanded and pressed against the drum.
- Then back the wheel off in the opposite direction by 5 notches. The disc should spin freely by hand, with no shoe drag.
- Reinstall the plug, mount the wheel, and tighten the lug nuts in a crisscross pattern, then final-tighten them with the vehicle on the ground to the specified torque. Repeat steps 2-6 on the other side.
- Cable adjustment: first pull the parking brake lever all the way up and release it several times (at least 3) so the cables seat properly.
- Locate the equalizer nut (the adjusting nut on the cable under the lever, under the center console, or on the cable under the vehicle floor). Turn the nut until the lever travel is 6-7 clicks at a force of about 196 N (20 kgf, 44 lbf) applied about 40 mm from the end of the handle.
- Check the parking brake warning light on the instrument panel: with the lever lowered, it should go out, and when the lever is raised by 1 click, it should come on.
- Check operation: with the lever pulled to 6-7 clicks, the rear wheels should be locked and impossible to turn by hand; with the lever lowered, the wheels should spin freely with no dragging. Then check that the vehicle holds on an incline.
- If the lever still travels 10 or more clicks even with correct adjustment, this means the parking brake shoes are worn, or the cable is stretched or seized. In that case, the shoes and cable need to be replaced.
Common mistakes and warnings
- This work involves the vehicle's braking system
- If you have no experience, leave it to a repair shop
- Do not work under a vehicle supported only by a jack; use jack stands
- After adjustment, always check that the vehicle holds on an incline before driving on the road
- Do not blow off or inhale brake dust; use brake cleaner
- If the parking brake shoes are contaminated with oil, adjustment will not help and they must be replaced
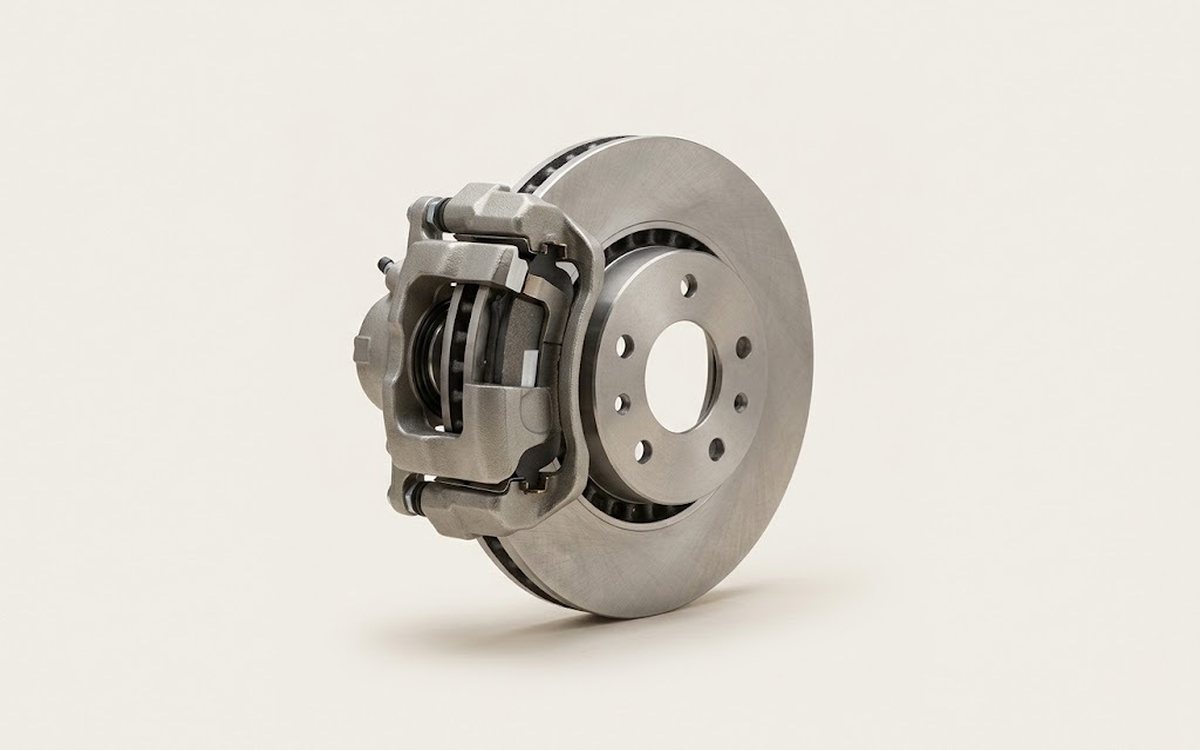 How it works · 3D
How Car Brakes Work
How the part you're working on actually works — in plain English, on a 3D model.
Open in 3D →