Autopapyrus · Kia Sorento 2.2 CRDi D4HB (2010)
https://autopapyrus.com/guides/kia/sorento/cylinder-head-gasket-replacement/
https://autopapyrus.com/guides/kia/sorento/cylinder-head-gasket-replacement/
Compiled automatically from service literature and owner experience. Specs are for the typical configuration — check them against your exact car before you start.
Kia Sorento 2.2 CRDi D4HB (2010): Cylinder Head Gasket Replacement
The D4HB is a turbodiesel with an aluminum cylinder head and a chain-driven timing system. The gasket fails due to overheating, a warped head surface, or residual distortion left by earlier repairs. The job is labor-intensive: once the head is removed, checking flatness and pressure testing are mandatory, and the head bolts must always be replaced with new ones. Exact torque values and the tightening sequence for this model are not documented in publicly available sources, so the steps below describe the general principle. Verify the details against the manufacturer's service manual.
Parts
13| № | Part | Alternatives |
|---|---|---|
| 01 | Cylinder head gasket set for D4HB | Victor Reinz, Elring |
| 02 | Cylinder head bolts, new (torque-to-yield, single-use)set | |
| 03 | Valve cover gasket | Victor Reinz, Elring |
| 04 | Exhaust manifold gaskets | Victor Reinz, Elring |
| 05 | Intake gaskets | Victor Reinz, Elring |
| 06 | Injector seals | |
| 07 | Injector heat shield washers | |
| 08 | Coolant (antifreeze) | |
| 09 | Engine oil | |
| 10 | Oil filter | |
| 11 | Timing chainif worn | |
| 12 | Timing chain tensionerif worn | |
| 13 | Timing chain guidesif worn |
Tools
11- Socket set and ratchet
- torque wrench
- angle gauge for torque-angle tightening
- Torx and E-Torx sockets
- tools for locking the camshafts and timing chain
- injector puller
- plastic scraper
- straightedge and feeler gauge
- compression tester
- coolant drain pan
- marker and bags for labeling parts
 There's a full repair manual for this car
Every system, wiring diagrams and torque specs — not just this job. Haynes and 5 more.
See manuals →
Step by step
13 steps- Confirm the fault: white smoke, coolant being forced out of the reservoir, oil in the coolant or coolant in the oil, bubbles in the expansion tank, loss of compression. Test the cooling system for exhaust gases in the coolant with a tester. Disconnect the negative battery terminal.
- Drain the coolant and the engine oil. Remove the skid plate, the engine cover, the air filter with its ducts, and the intercooler with its pipes.
- Disconnect the connectors and hoses on the head, the low-pressure fuel lines, and the fuel rail with the high-pressure lines (cap the lines so dirt does not get into the system). Do not let dirt get into the injectors or the high-pressure fuel pump.
- Remove the turbocharger together with the exhaust manifold (or disconnect the downpipe and the turbo oil lines). Remove the intake manifold, glow plugs, injectors and the washers under them. If the injectors are stuck, remove them with a puller, without hammering.
- Remove the valve cover. Set the crankshaft to TDC of cylinder 1 using the marks, and mark the chain position on the sprockets with a marker. Remove the tensioner, the chain and the camshaft sprockets as described in the service manual, without letting the chain slip off the lower sprocket.
- Loosen the head bolts in the reverse of the tightening order (from the edges toward the center, in several passes). Remove the head without prying on the mating surface with a screwdriver. If necessary, tap gently on the bosses with a rubber mallet.
- Clean the block surface of gasket residue with a soft scraper, without abrasives, and keep debris out of the cylinders, oil passages and coolant passages. Clean out the bolt holes and remove any fluid and oil from them.
- Inspect the head: check flatness with a straightedge and feeler gauge lengthwise and diagonally, and check for cracks between the seats and passages. If the manufacturer's tolerance is exceeded, send the head out for resurfacing, then select a gasket by thickness. Measure piston protrusion above the block surface, since it determines the thickness of the new gasket (identified by the number of notches/holes on the gasket).
- Install the new gasket with the marking facing up onto the locating dowels. Lower the head into place. Lightly oil the threads and the under-head surfaces of the new bolts if specified. Tightening is done in several stages from the center outward: an initial torque, then several angle turns by the specified angle. Use the specific torque and angle values from the manufacturer's service manual.
- Install the timing chain according to the marks, a new tensioner, and new guides if needed. Check that the marks align, turn the crankshaft by hand twice, and check the marks again. Tighten the sprockets and tensioner to the torque specified in the service manual.
- Install a new valve cover gasket and tighten it evenly with low torque (approximately 8-12 N·m (6-9 lb-ft), final value per the service manual). Install the injectors with new washers, the glow plugs, the manifolds with new gaskets, the turbocharger, the high-pressure lines, the intercooler and the ducts.
- Fill with new oil and a new filter, and refill the coolant. Prime the fuel system, then crank the engine with the starter without starting it (with the fuel supply disconnected or using the priming pump), then start it. Warm it up until the thermostat opens, bleed the air from the cooling system, and top off the coolant after it cools down.
- Check the control unit for fault codes, and check for oil leaks, coolant leaks and air leaks in the intake. After 500-1000 km, recheck the coolant and oil levels. Torque-to-yield head bolts are not retightened unless the service manual requires it.
Common mistakes and warnings
- The head bolts are torque-to-yield and must not be reused
- Check the head flatness before installing it, otherwise the new gasket will fail again
- Do not let dirt, coolant or oil get into the cylinders or the fuel system
- This job requires experience and careful control of valve timing
- If you lack experience, have a repair shop do it: a mistake with the chain marks can cause the pistons to hit the valves
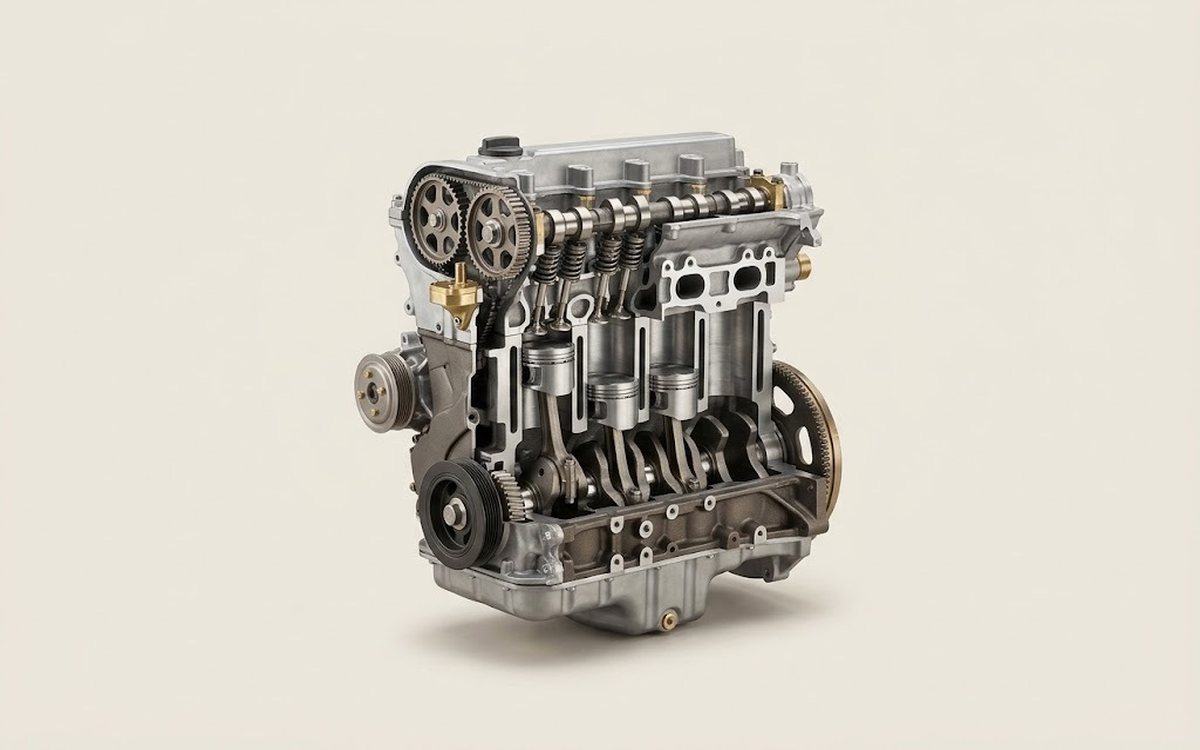 How it works · 3D
How a Car Engine Works
How the part you're working on actually works — in plain English, on a 3D model.
Open in 3D →