Autopapyrus · Kia Sorento (4th generation, MQ4)
https://autopapyrus.com/guides/kia/sorento/front-strut-top-mount-cover-removal-and-installation/
https://autopapyrus.com/guides/kia/sorento/front-strut-top-mount-cover-removal-and-installation/
Compiled automatically from service literature and owner experience. Specs are for the typical configuration — check them against your exact car before you start.
Kia Sorento (4th generation, MQ4): Front Strut Top Mount Cover Removal and Installation
The cover protects the front strut top mount in the engine compartment. It is usually held by plastic clips and a few screws or bolts. The exact procedure for this model is not documented in publicly available service materials. What follows is the general principle, so check the location and number of fasteners visually. The procedure does not depend on the engine.
Parts
2| № | Part | Genuine part no. |
|---|---|---|
| 01 | Front strut top mount cover, Kia Sorento MQ4left or right | 54625-C5000 |
| 02 | Plastic clips and push pinsif broken during removal |
Part numbers are from the manufacturer's original catalogue. Check them against your VIN before ordering.
Tools
4- Plastic trim clip removal tool set
- flat-head and Phillips screwdrivers
- 10 mm socket with ratchet (if the cover is held by screws or bolts)
- flashlight
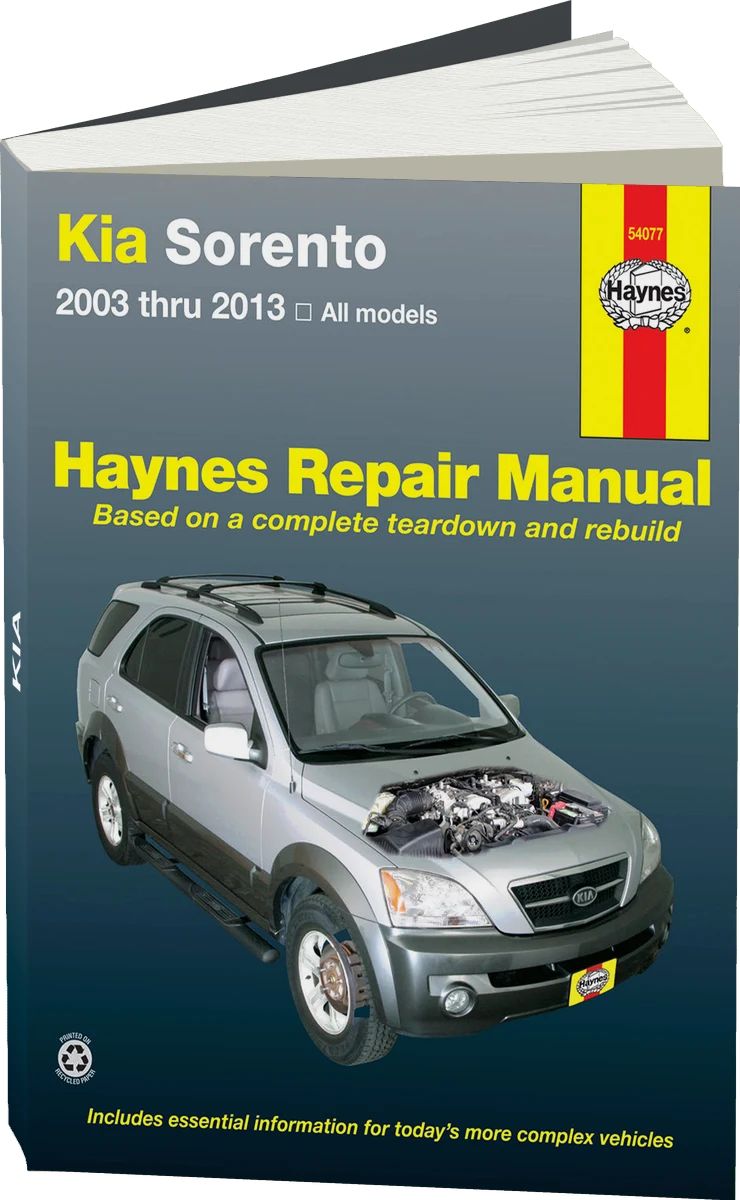 There's a full repair manual for this car
Every system, wiring diagrams and torque specs — not just this job. Haynes and 5 more.
See manuals →
Step by step
9 steps- Park the vehicle on a level surface, turn off the engine and let it cool down. Open the hood and secure it with the factory prop rod.
- Inspect the cover and identify the fastener type: center-pin push pins, clips along the edge, or screws. First remove anything that blocks access, such as the hood seal trim or the cowl panel at the base of the windshield. These parts differ between trim levels.
- If the cover is held by push pins with a center pin, pry the pin up with a flat-head screwdriver or trim tool and pull it out. Then remove the push pin itself.
- Remove screws or bolts with a wrench or screwdriver. Keep them separate and in their original positions, since they may differ in length.
- Release the clips around the perimeter. Slide the trim tool under the edge of the cover next to a clip and pull upward, without applying force to the middle of the cover. Plastic is brittle in cold weather, so work smoothly.
- Remove the cover. Check whether any wiring harnesses or hoses with retainers are attached under it. If so, carefully pop the retainers out of the cover.
- Inspect the top mount and the shock absorber rod. Remove leaves and dirt from the recess. Check the clip seats and replace any broken clips with new ones.
- Install the cover in reverse order. First seat it on the guides and tabs, then snap the clips around the perimeter by pressing lightly with your palm. Next, insert the push pins and tighten the screws. Do not overtighten screws that go into plastic; tighten them only until they stop.
- Reinstall the trim and seal you removed earlier. Close the hood and check that the cover does not rattle or touch the hood.
Common mistakes and warnings
- If you plan to remove the cover to work on the strut or top mount (rod nuts, mount), remember that the strut spring is compressed
- Do this work only with professional spring compressors, and if you lack experience, leave it to a repair shop
- The mount fastening nuts themselves must be tightened to the manufacturer's specification
- The suspension is a safety-critical system
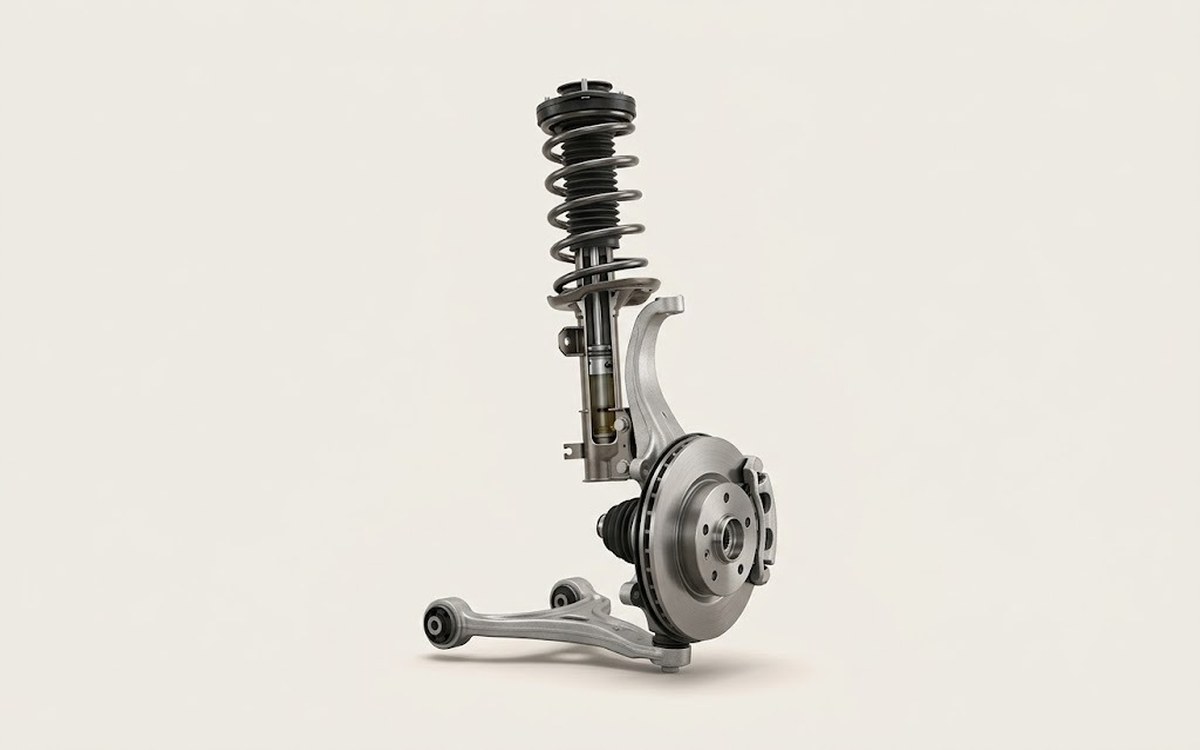 How it works · 3D
How Car Suspension Works
How the part you're working on actually works — in plain English, on a 3D model.
Open in 3D →