Autopapyrus · Lifan Solano (II generation) (Lifan 650 / Solano II)
https://autopapyrus.com/guides/lifan/solano/manual-transmission-diagnosis-and-repair/
https://autopapyrus.com/guides/lifan/solano/manual-transmission-diagnosis-and-repair/
Compiled automatically from service literature and owner experience. Specs are for the typical configuration — check them against your exact car before you start.
Lifan Solano (II generation) (Lifan 650 / Solano II): Manual Transmission Diagnosis and Repair
The Solano II with the 1.5 L engine (LFB479Q) has a five-speed manual transmission with cable-operated shift and select linkage. Typical problems: hard shifting, noise in gear, shift lever vibration, oil leaks at the seals, and gears jumping out of mesh. Some causes can be fixed without removing the transmission (fluid, cable adjustment and replacement, axle seal replacement). Disassembling the transmission is needed for bearing noise and worn synchronizers.
Parts
9| № | Part |
|---|---|
| 01 | Manual transmission fluid, API GL-4 |
| 02 | Transmission seal and gasket repair kit |
| 03 | Axle shaft sealsleft and right |
| 04 | Input shaft bearing |
| 05 | Output shaft bearing |
| 06 | Differential bearing |
| 07 | Synchronizers (rings and sleeves) |
| 08 | Clutch kit (disc, pressure plate, release bearing)if the transmission is removed |
| 09 | Oil-resistant case sealant |
Tools
9- lift or inspection pit
- transmission jack or a reliable support stand
- socket and wrench set
- torque wrench
- bearing pullers and a press (for disassembly)
- screwdrivers
- side cutters
- oil drain pan
- flashlight
Step by step
12 steps- Identify the symptom. Grinding when engaging a gear points to a worn synchronizer or an incompletely released clutch. A whine that changes with vehicle speed rather than engine speed points to the bearings. A gear popping out under load means worn shift forks or detents. An oil leak means the seals or the case joint.
- Rule out the clutch first. Check the pedal free play and make sure there is no air in the hydraulic system: fluid level in the reservoir, and leaks at the master and slave cylinders. If the gears grind only when cold or during quick shifts, the cause is often the clutch linkage.
- Check the fluid level and condition. Park the vehicle on a level surface and remove the fill/check plug: the fluid should be at the lower edge of the hole. Metal shavings on the plug magnet, or dark fluid with a burnt smell, mean internal wear in the transmission.
- Inspect and adjust the shift linkage. Check the cable mounts and boots, the end fittings on the lever and on the transmission, and play in the joints. Shifting into the wrong gear and vague engagement can often be fixed by replacing worn end fittings or cables and adjusting them.
- To replace the axle seals: raise the vehicle, remove the wheel and the underbody shield, drain the fluid, and remove the CV axle or pull it out of the transmission. Drive out the old seal, lubricate the new one, and press it in evenly with a driver until it seats fully. Insert the axle until the retaining ring locks, then refill with fluid to the level of the check hole.
- If the transmission must be removed: disconnect the negative battery terminal, remove the air filter with its ducts and, if necessary, the battery and its tray, then disconnect the shift cables, the connectors for the speed sensor and the reverse light switch, the clutch slave cylinder (leave the hose connected without opening the system, if possible), and the starter.
- Drain the fluid, remove both wheel axles, and install a support under the engine or hold the engine from above with a support bar. Place a transmission jack under the transmission.
- Remove the bolts securing the transmission to the engine and to the mount brackets, then carefully move the transmission straight back along the axis of the input shaft, without letting it hang on the shaft. Do not rely on memory for the tightening torques of the case bolts, mounts and wheels on this model; take them from the manufacturer's specifications. As a rough guide: wheel nuts 100-120 N·m (74-89 lb-ft), transmission-to-engine bolts usually 40-80 N·m (30-59 lb-ft) depending on size.
- Inspect the clutch: disc, pressure plate, release bearing and flywheel. With the transmission removed, replace the entire clutch kit; it is cheaper than taking everything apart again later. Lightly lubricate the input shaft splines with high-temperature grease.
- When disassembling the transmission: drain the fluid, separate the case halves, mark the position of the parts, and measure the axial clearances. Replace bearings as a set, and replace worn synchronizers and gears with damaged teeth. Assemble the case joints with new oil-resistant sealant and install new seals.
- Installation is the reverse of removal. Do not let the transmission hang on the input shaft when guiding it into the disc splines. Tighten the fasteners with a torque wrench to specification, and after installing the axles, fill with fluid to the lower edge of the check hole.
- Bleed the clutch hydraulic system if it was opened. Check clutch operation and engagement of all gears with the vehicle stationary and the engine running, then take a test drive. After 100-200 km (60-125 miles), check for leaks and the fluid level.
Common mistakes and warnings
- This is a demanding job that requires a lift and a transmission jack, and if you get into disassembling the transmission, a press and pullers as well
- Never leave the vehicle supported only by a jack without safety stands
- If you have no experience disassembling manual transmissions, it is better to leave repairs after removal to a specialist shop, because incorrect clearance adjustment quickly destroys new bearings
- The exact fluid capacities, clearances and tightening torques for this transmission are not confirmed in open service materials, so follow the manufacturer's specifications
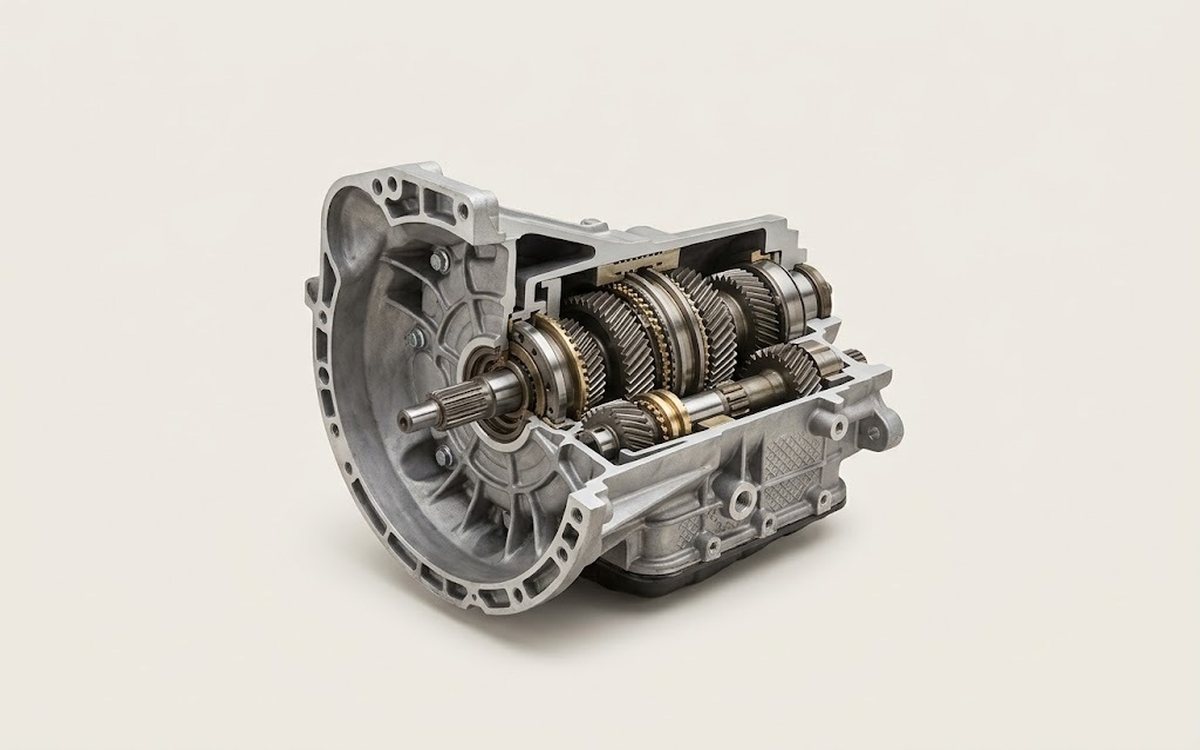 How it works · 3D
How a Manual Transmission Works
How the part you're working on actually works — in plain English, on a 3D model.
Open in 3D →