Autopapyrus · Mercedes-Benz Actros (MP4–MP5)
https://autopapyrus.com/guides/mercedes-benz/actros/adjusting-pinion-bearing-preload-on-the-rear-axle-through-drive-inter-axle/
https://autopapyrus.com/guides/mercedes-benz/actros/adjusting-pinion-bearing-preload-on-the-rear-axle-through-drive-inter-axle/
Compiled automatically from service literature and owner experience. Specs are for the typical configuration — check them against your exact car before you start.
Mercedes-Benz Actros (MP4–MP5): Adjusting Pinion Bearing Preload on the Rear Axle Through-Drive (Inter-Axle) Carrier
The pinion bearing preload of the through-drive (first) axle carrier is set by the flange nut torque and a calibrated spacer or shims. Too little preload causes axial play in the pinion, whine, and destruction of the gear mesh. Too much preload causes overheating and rapid bearing wear. The exact torque values and rotating torque limits for your axle type (the ratio and carrier type are shown on the axle data plate) are not documented in open sources. Below is the general principle. Verify all values against the axle manufacturer's service manual.
Part
- 🔩 Pinion bearing set (tapered roller bearings, pair), preload shims or preload spacer sleeve (depending on the design), pinion seal, flange if the seal contact surface is worn, gear oil per the axle manufacturer's specification. Part numbers depend heavily on the axle type and ratio, so instead of a code I list only the contents of the kit
Step by step
14 steps- Preparation: Park the tractor on a level surface and secure it with wheel chocks. Lift the axle and support it on jack stands. Release the parking brake (if needed, mechanically cage or release the spring brake chambers according to the procedure). Disconnect the battery ground.
- Drain the oil from the through-drive carrier and the axle. Inspect the drain plug for metal particles. A lot of metal means the problem is not only the preload and the bearings must be replaced.
- Disconnect the driveshaft from the pinion flange. Mark the relative position of the flanges with paint. Tie the shaft up so it does not hang on the joints.
- Before disassembly, measure the pinion axial play with a dial indicator (place the tip against the end of the pinion and pull the flange back and forth along the axis) and measure the pinion rotating torque with the driveshaft removed. Write down both values. They will show whether the preload was lost.
- Hold the flange and remove the pinion nut. Mark the position of the nut relative to the thread. Remove the flange with a puller. Do not hit it.
- Remove the old seal and inspect the flange seal contact surface. A groove worn by the seal means the flange must be replaced.
- If there is play but the bearings are in good condition (no pitting, heat discoloration, or stepped wear), the preload is restored by selecting the right shims or replacing the spacer. For this the pinion must be removed from the housing. Always replace the spacer sleeve, because it is crushed during tightening.
- When replacing the bearings, press in the new outer races and seat the inner races on the pinion evenly, without cocking them. Lubricate the bearings with clean gear oil.
- Assemble the pinion with the minimum shim thickness or with a new spacer, install the flange, fit a new nut (or the old one with new thread locker, if the manual allows it), and tighten in stages. After each stage, rotate the pinion several turns so the bearings seat.
- Monitor the pinion rotating torque (without the seal, if the manual requires measuring without it) and the axial play. The goal: no play, and rotating torque within the values for your axle. If the torque is too low, tighten more or reduce the shim thickness. If it is too high, never back off the nut. With a crush sleeve this means replacing the sleeve and reassembling. With shims, select a thicker shim.
- Finally, install a new seal with a light coat of grease on the lip, driving it in evenly with a driver. Tighten the nut to final torque, lock it with the locking feature or thread locker, and apply a paint mark across the nut and the flange.
- Connect the driveshaft using the marks and tighten the universal joint retaining bolts. Use the torque specified by the manufacturer.
- Fill with oil of the correct specification and quantity up to the level plug. Lower the axle.
- Test drive 15-20 km (9-12 miles) without load, then check the temperature of the carrier housing. Warm is acceptable. If it is too hot to keep your hand on, the preload is too high. Check that the seal is not leaking and measure the play again.
Common mistakes and warnings
- This is critical, safety-related work: if the pinion fails while driving, the axle can lock up. Shim selection requires precise measurements, and it must not be done without a calibrated torque wrench and a rotating torque measurement. If you lack experience, leave the adjustment to a shop that works on heavy-duty axles. Never tighten the nut by feel. Take all tolerance figures from the service manual for your axle type.
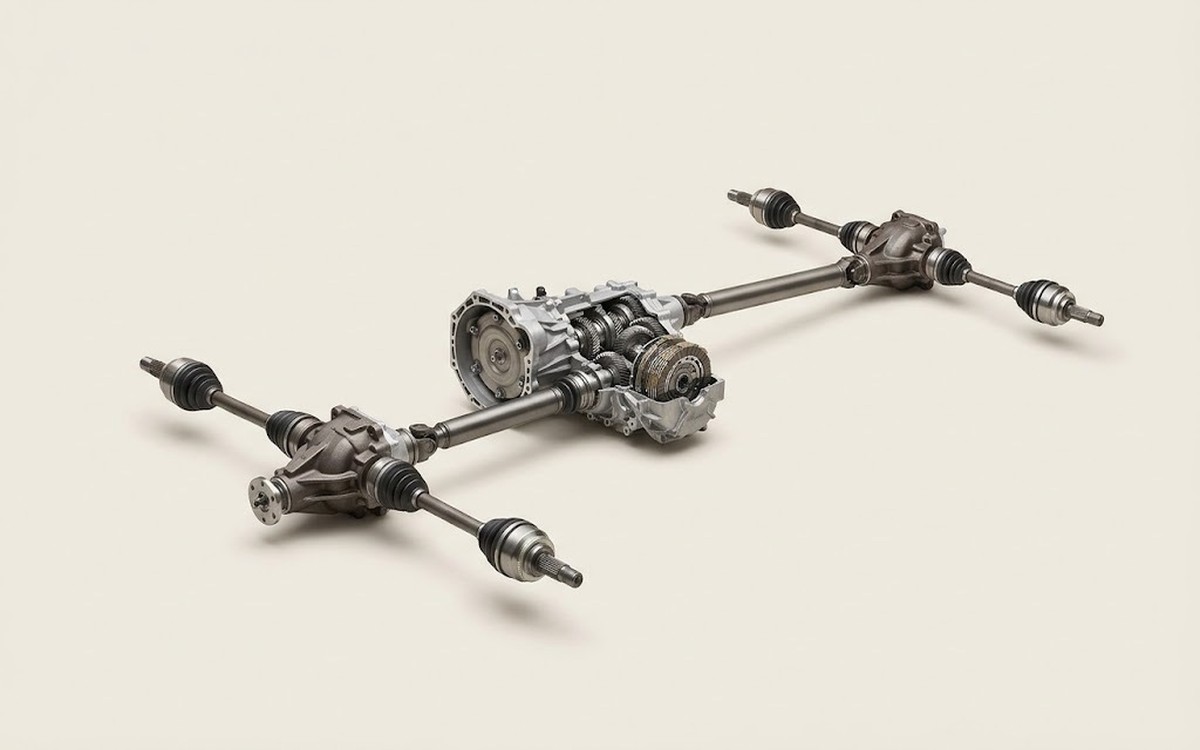 How it works · 3D
How All-Wheel Drive Works
How the part you're working on actually works — in plain English, on a 3D model.
Open in 3D →