Autopapyrus · Mercedes-Benz Actros (MP4–MP5)
https://autopapyrus.com/guides/mercedes-benz/actros/rear-axle-pinion-seal-replacement/
https://autopapyrus.com/guides/mercedes-benz/actros/rear-axle-pinion-seal-replacement/
Compiled automatically from service literature and owner experience. Specs are for the typical configuration — check them against your exact car before you start.
Mercedes-Benz Actros (MP4–MP5): Rear Axle Pinion Seal Replacement
An oil leak at the pinion shows up as oil residue on the flange, the guard and the lower part of the driveshaft. This job requires precisely restoring the pinion bearing preload: if the nut is tightened incorrectly, the bearings will fail quickly. The exact step-by-step procedure and all torque values for your axle type (single reduction or with hub reduction) are not documented in publicly available sources. Below is the general principle; verify all values against the manufacturer's service manual.
Part
- 🔩 Differential pinion (drive pinion) seal, radial lip seal with dust shield, matched to your axle type. Also: new pinion lock nut or self-locking nut, differential oil of the correct grade. The exact seal size is determined from the markings on the old seal and the axle data plate
Step by step
16 steps- Park the truck on a level surface or lift, apply the parking brake and place chocks under the wheels. Raise the rear axle, or leave the truck on its wheels if you are working from a pit. Install safety stands. Shift the transmission to neutral so the shaft can be rotated.
- Clean the area around the pinion flange and driveshaft of dirt and oil. Contamination getting inside speeds up wear of the new seal.
- Mark with paint or a marker: the driveshaft relative to the flange, and the nut relative to the pinion (to check its position during assembly). Marks on the flange and shaft let you preserve the balance.
- Disconnect the driveshaft from the differential flange, remove the fasteners and tie the shaft aside, avoiding bending the joints and damaging the splines.
- Before disassembly, measure the pinion rotating torque (with a torque wrench or torque gauge on the nut/flange) and write the value down. This is important: after the seal is replaced, the preload must match the original value and the manufacturer's tolerance.
- Drain the oil from the differential, or at least make sure the level is below the pinion. Drain it into a pan by removing the drain plug.
- Lock the flange against rotation and remove the pinion nut. The tightening torque is high, so you need a long lever and a solid brace. If the nut is single-use or self-locking, it must be replaced.
- Pull the flange off with a puller. Do not hit it with a hammer: this can shift the bearings and damage the pinion gear.
- Remove the old seal by carefully prying it out with a special hook or puller. Do not damage the seat in the housing or the pinion.
- Inspect the flange's working surface where the seal lip contacts it: a wear groove, corrosion or scoring means the flange must be replaced or fitted with a repair sleeve, otherwise the new seal will leak again. Also inspect the splines and the dust shield.
- Lubricate the lip of the new seal with clean oil, on the working side, and coat the outer part of the seal body with sealant if the design calls for it. Press it in with a driver, perfectly straight, to the stop at the specified depth. Cocking it or tapping it in with a hammer without a driver guarantees a leak.
- Install the flange on the splines, then the new nut. Tighten in stages, constantly rotating the pinion and monitoring the rotating torque. Target: the final rotating torque should return to the value recorded in step 5 and be within the manufacturer's tolerance. Do not overtighten the nut: once it is overtightened, the preload cannot be restored without replacing the collapsible spacer.
- After tightening to the specified value, lock the nut using the method specified for your version (staking, lock washer, self-locking nut).
- Install the driveshaft using the marks and tighten the fasteners with a torque wrench to specification.
- Fill the differential with oil to the level of the check hole, observing the viscosity grade and the Mercedes-Benz approval for gear oils (confirm the type from the axle data plate and the service manual).
- Start the engine and drive 10-15 km (6-9 miles), then check for leaks, axle temperature and oil level.
Common mistakes and warnings
- This job is safety-critical: you are working under a heavy truck and tightening a critical driveline component. Never work with only a jack; use safety stands. Incorrect pinion bearing preload causes howling, overheating and destruction of the differential. If you do not have a wide-range torque tool and experience setting preload, leave the job to a specialized truck repair shop.
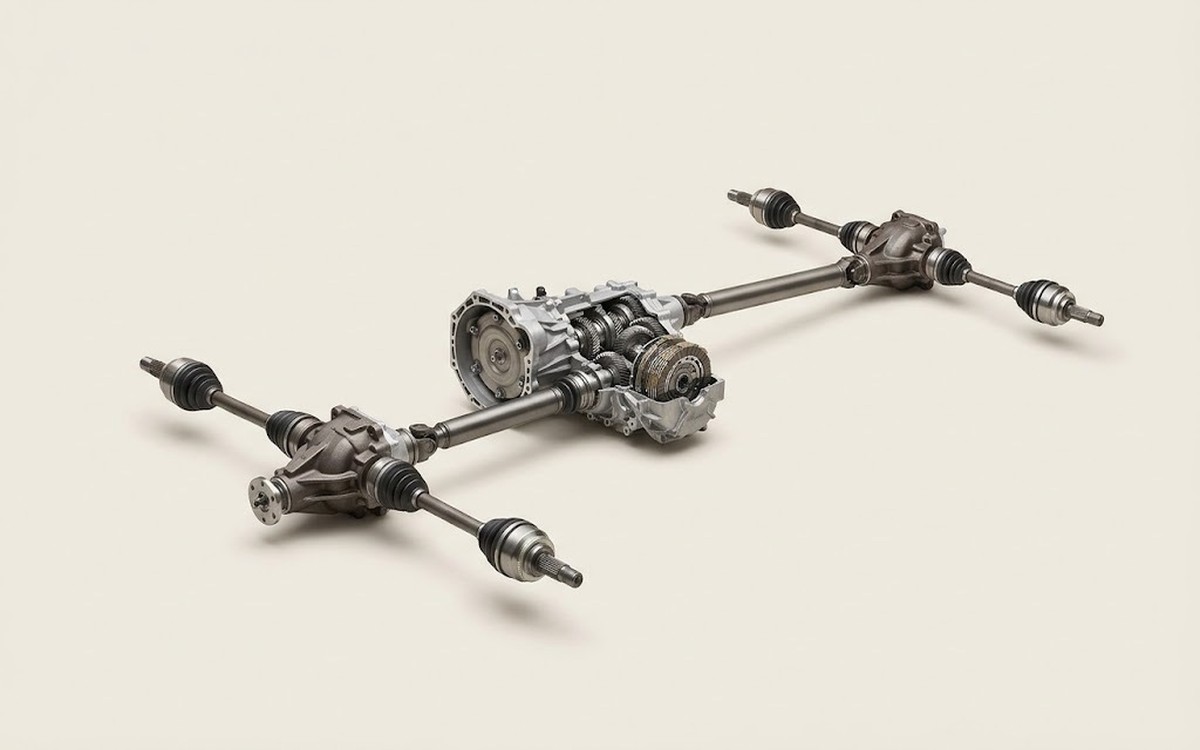 How it works · 3D
How All-Wheel Drive Works
How the part you're working on actually works — in plain English, on a 3D model.
Open in 3D →