Autopapyrus · Mitsubishi Lancer 1.6 4G18 (2003)
https://autopapyrus.com/guides/mitsubishi/lancer/egr-valve-cleaning/
https://autopapyrus.com/guides/mitsubishi/lancer/egr-valve-cleaning/
Compiled automatically from service literature and owner experience. Specs are for the typical configuration — check them against your exact car before you start.
Mitsubishi Lancer 1.6 4G18 (2003): EGR Valve Cleaning
On the 4G18, the EGR valve is mounted on the intake manifold and is opened by vacuum through a control solenoid valve. Over time, the valve and the passage in the manifold become clogged with carbon deposits, which causes a rough idle, hesitation at low rpm, knocking, and an EGR system fault code. Cleaning involves removing the valve, removing the carbon from the valve and its mounting passage, and reassembling with a new gasket.
Parts
2| № | Part | Genuine part no. |
|---|---|---|
| 01 | 4G18 EGR valve gasketsingle-use, replace every time the valve is removed | MD358490 |
| 02 | EGR system vacuum hosesif cracked |
Part numbers are from the manufacturer's original catalogue. Check them against your VIN before ordering.
Tools
8- Socket set and ratchet (mostly 10-14 mm)
- screwdrivers
- copper or brass brush
- small cleaning brushes
- carburetor/throttle body cleaner (aerosol)
- shop rags
- soft metal or plastic scraper
- marker or tape for labeling hoses
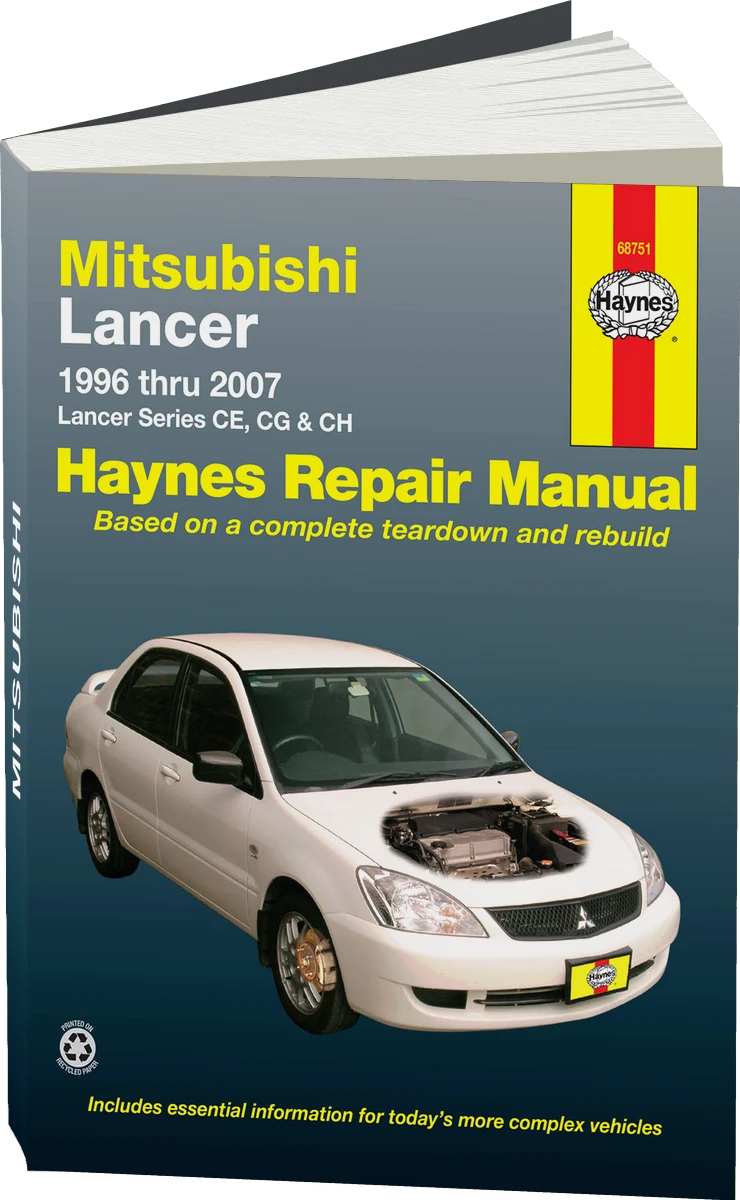 There's a full repair manual for this car
Every system, wiring diagrams and torque specs — not just this job. Haynes and 4 more.
See manuals →
Step by step
11 steps- Shut off the engine and let it cool down. Disconnect the negative battery terminal (note that the radio settings and the ECU adaptations may be reset).
- Locate the EGR valve on the intake manifold: it is a metal assembly with a vacuum diaphragm chamber on top, with a vacuum hose connected to it. If an air duct or hose is in the way, remove it by loosening the clamps.
- Label the vacuum hoses and the electrical connector (if there is one) with a marker or tape, then disconnect them. Inspect the hoses: cracks, hardened rubber, and vacuum leaks disrupt EGR operation, so replace any such hoses.
- Remove the valve mounting bolts or nuts and take off the valve together with the old gasket. Discard the gasket and clean any residue from the mounting surface.
- Inspect the valve. The disc and seat are usually covered with a thick layer of carbon. Clean the disc and stem with a wire brush and scraper, moistening them with cleaner if needed. Do not spray solvent on the diaphragm chamber, the vacuum fitting, or any electrical components: solvent destroys the diaphragm and causes the valve to fail.
- Check the valve travel. The stem should move freely without sticking. If you apply vacuum to the fitting by mouth or with a hand vacuum pump, the stem should lift and hold, then return when the vacuum is released. If the valve does not hold vacuum or sticks, it must be replaced.
- Clean the passage in the manifold where the valve seats. Remove carbon with a small brush, a scraper, and a rag moistened with cleaner. Make sure no chunks of carbon fall into the intake tract: plug the openings with a rag, or push the carbon outward and remove it immediately with a vacuum cleaner or rag. Remove all foreign particles before reassembly.
- If accessible, check and clean the EGR control solenoid valve and the vacuum line: blow through them and make sure the lines are not clogged.
- Install the valve with a new gasket. Tighten the fasteners evenly to a torque in the range of 15-25 N·m (11-18 lb-ft) (check the exact value in the service manual for your engine). Reconnect the hoses and the connector according to your labels, and reinstall any ducts you removed.
- Reconnect the battery, start the engine, and let it idle. Check for vacuum leaks (hissing and fluctuating rpm) and make sure the idle is smooth. If the Check Engine light is on, read the codes with a scan tool and clear them after the cause has been fixed.
- Take a 10-15 minute test drive, varying the engine speed. If the problem persists, check the EGR solenoid valve, the vacuum lines, and the sensors before replacing the valve itself.
Common mistakes and warnings
- Work only on a cold engine: the manifold and the valve get very hot
- Do not allow carbon to get into the cylinders
- If the valve does not hold vacuum after cleaning or the fault code returns, do not keep driving with a faulty EGR system: it can lead to engine knock and catalytic converter overheating
- If you have no experience working on the intake tract and the vacuum system, leave the diagnostics to a repair shop