Autopapyrus · Renault Premium 10.8 D (DXi 11, 450 hp) (2008)
https://autopapyrus.com/guides/renault/premium/cooling-system-hose-and-clamp-replacement/
https://autopapyrus.com/guides/renault/premium/cooling-system-hose-and-clamp-replacement/
Compiled automatically from service literature and owner experience. Specs are for the typical configuration — check them against your exact car before you start.
Renault Premium 10.8 D (DXi 11, 450 hp) (2008): Cooling System Hose and Clamp Replacement
On this 11-liter inline six-cylinder diesel, the hoses run from the radiator to the engine, thermostat, heater and expansion tank. Over time the rubber softens or cracks and the clamps corrode. The job includes draining the coolant, replacing the hoses and clamps, refilling, and bleeding air from the system.
Parts
7| № | Part | Alternatives |
|---|---|---|
| 01 | Upper radiator hose, Renault Premium DXi 11 | Thermotec, Sampa, Febi Bilstein, Gates |
| 02 | Lower radiator hose, Renault Premium DXi 11 | Thermotec, Sampa, Febi Bilstein, Gates |
| 03 | Heater hoses | Thermotec, Sampa, Febi Bilstein, Gates |
| 04 | Thermostat hoses | Thermotec, Sampa, Febi Bilstein, Gates |
| 05 | Expansion tank hose | Thermotec, Sampa, Febi Bilstein, Gates |
| 06 | Stainless steel worm-drive clamps or constant-tension band clamps | |
| 07 | Coolant (antifreeze) |
Tools
11- Set of open-end wrenches
- socket wrenches and sockets 8-19 mm
- screwdrivers
- pliers for spring clamps
- container for draining coolant (at least 40 L (10.6 gal))
- funnel
- gloves
- safety glasses
- cab lifting/tilting mechanism
- wheel chocks
- shop rags
Step by step
15 steps- Park the vehicle on level ground, apply the parking brake and place wheel chocks under the wheels. Shut off the engine and let it cool down completely. Never open the cap on a hot engine: the system is under pressure and you could be scalded.
- Disconnect the power with the battery disconnect switch or remove the negative terminal. If you need access to the hoses from above and behind the engine, tilt the cab using the factory tilt mechanism. Before doing so, remove all loose items from the cab and make sure the cab lock has engaged in its fully tilted position.
- Inspect the entire circuit and decide which hoses you are replacing. Signs of wear: cracks, bulges, soft spots or, conversely, hard "wooden" sections, leaks and white deposits at the joints. If in doubt, replace them as a set: old hoses with the same mileage wear out at about the same rate.
- Remove the skid plate under the radiator (if fitted). Place the container underneath, open the expansion tank cap and drain the coolant through the radiator drain valve or the lower hose. The engine also has a drain port on the cylinder block, so use it as well for a complete drain (check the location on the vehicle). Do not pour used coolant on the ground: it is toxic, so take it to a recycling facility.
- Loosen the clamps on the hose being replaced. Squeeze spring clamps with pliers and slide them along the hose; loosen worm-drive clamps with a screwdriver or socket. Do not use excessive force on the plastic radiator and tank connections: they are brittle, especially on older vehicles.
- If a hose is stuck to its fitting, carefully twist it by hand around its axis. Do not pry with a screwdriver along the fitting and do not cut along the fitting with a sharp knife. If necessary, cut the hose lengthwise so you do not damage the radiator, thermostat or water pump fitting.
- Clean the fittings of rubber residue, dirt and corrosion with fine sandpaper or a brush, then wipe them dry. Nicks and burrs on a fitting cause the new hose to leak.
- Hold the new hose next to the old one and compare diameters, length, bends, and the presence of branches for sensors and vent lines. Use new clamps to secure the new hose; always replace the old ones, because spring clamps lose their tension and worm-drive clamps corrode.
- Slide the clamps onto the hose in advance, then push the hose onto the fitting all the way to the bead or stop ring. Position the clamp about 3-8 mm from the end of the hose so that it sits on the fitting's raised rib rather than on the edge. Choose the worm screw position so that it is easy to tighten and does not touch other components.
- Tighten worm-drive clamps evenly, without overtightening: usually 3-6 N·m (2-4 lb-ft) is enough (the exact value depends on the clamp type, so aim for a snug fit without deforming the hose). Spring clamps simply need to be placed in position.
- Check that the hoses do not touch sharp edges, the exhaust manifold, the drive belt or rotating parts. Secure them with the factory brackets and holders. There must be a gap between the hose and body or engine components.
- Close the drain valves and plugs (install the block drain plug with a new seal if one is specified). Fill the expansion tank with coolant of the same type and specification as was in the system. The type is marked on the tank cap or in the owner's manual; do not mix different types.
- Bleed the air from the system: fill slowly to the normal level, start the engine and let it idle with the cap open or closed (as the manufacturer recommends), turn the heater to maximum and warm the engine up until the thermostat opens. Top off the coolant periodically. On large heavy-duty diesels air takes longer to purge than on passenger cars, so take your time.
- Once the engine is warm, check all connections for leaks. Shut off the engine, let it cool and check the coolant level again. After 1-2 days of use, recheck the level and the clamp tightness.
- Lower the cab and make sure the latches are locked. Reinstall the skid plate and reconnect the battery.
Common mistakes and warnings
- Never open the expansion tank cap on a hot engine
- Work under a tilted cab only when the cab is securely locked in position and with an additional support if one is provided
- An air pocket in the system causes overheating and can damage the cylinder head gasket, so do not skip the bleeding step
- Check the manufacturer's specifications for your configuration for the exact tightening torques of component mounts and the cooling system capacity of the DXi 11, since they depend on the radiator and heater variant
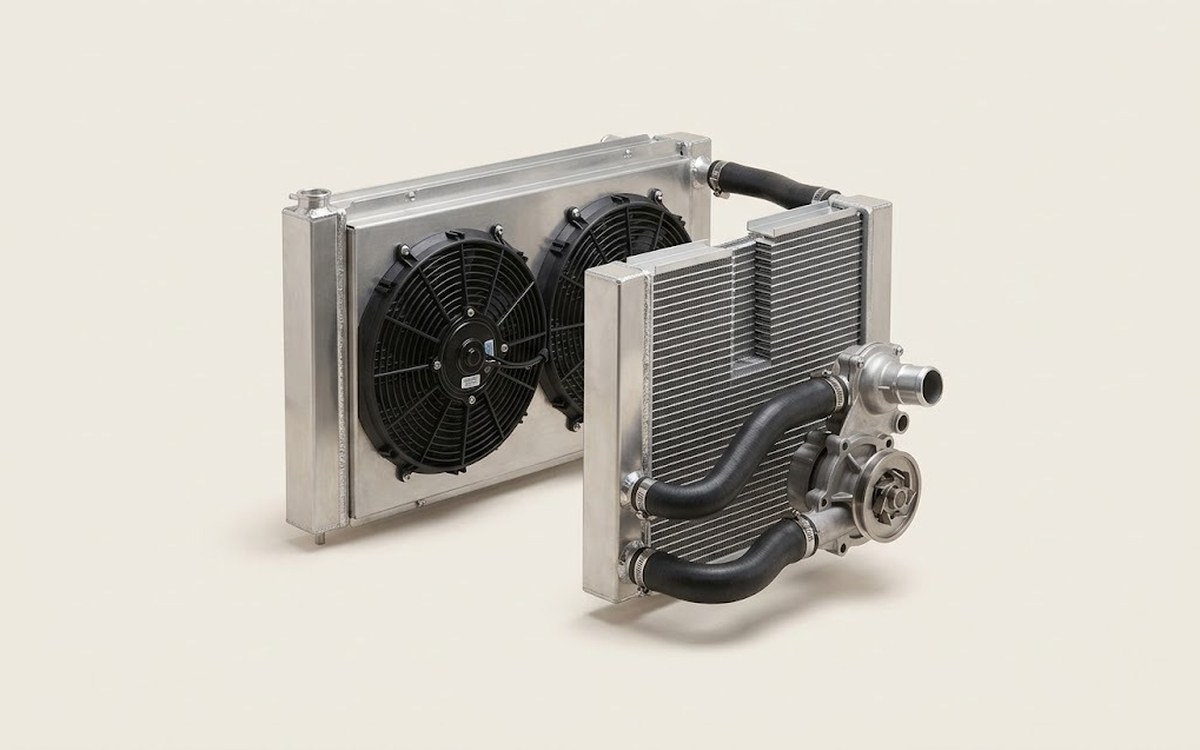 How it works · 3D
How the Engine Cooling System Works
How the part you're working on actually works — in plain English, on a 3D model.
Open in 3D →