Autopapyrus · SsangYong Actyon 2.0 D20DT (2008)
https://autopapyrus.com/guides/ssangyong/actyon/rear-crankshaft-seal-replacement/
https://autopapyrus.com/guides/ssangyong/actyon/rear-crankshaft-seal-replacement/
Compiled automatically from service literature and owner experience. Specs are for the typical configuration — check them against your exact car before you start.
SsangYong Actyon 2.0 D20DT (2008): Rear Crankshaft Seal Replacement
An oil leak around the joint between the engine and transmission, or an oil trail on the bellhousing or the lower part of the block, points to a leaking rear crankshaft seal. Replacement requires removing the transmission, and on a manual transmission also the clutch and flywheel. The exact procedure and torque specs for this model are not fully documented in open service materials, so below is the general principle with a proven sequence. Check torque values against the manufacturer's specifications.
Parts
5| № | Part | Genuine part no. | Alternatives |
|---|---|---|---|
| 01 | Rear crankshaft seal, D20DT enginewith installation ring if available | Elring, Corteco, Victor Reinz | |
| 02 | Flywheel bolt set (single-use) | 1119900312 | |
| 03 | Clutch kit (disc, pressure plate, release bearing)for manual transmission | 30A0009412 | |
| 30A0009411 | |||
| 04 | Transmission and transfer case oiltransfer case on 4WD | ||
| 05 | Engine oildo not replace if it was not drained |
Part numbers are from the manufacturer's original catalogue. Check them against your VIN before ordering.
Tools
9- Lift or inspection pit
- transmission jack
- socket and wrench set
- torque wrench
- flywheel locking tool
- seal puller or thin screwdriver
- seal installation driver
- containers for fluids
- marker
 There's a full repair manual for this car
Every system, wiring diagrams and torque specs — not just this job. Haynes AutoFix (online).
See manuals →
Step by step
16 steps- Make sure the rear seal is really the one leaking: clean the joint area, drive the car, and inspect it. Oil can also come from the valve cover, oil cooler, sensors, or the rear end of the cylinder head. Do not replace the seal until you have ruled out these sources.
- Put the vehicle on a lift and disconnect the negative battery terminal. Remove the lower engine skid plate.
- Remove the components that obstruct the transmission: the air intake pipe and other parts as needed, the starter, the driveshafts (on 4WD, both; mark the flange positions with a marker before removal), the exhaust system near the downpipe, and the crossmember if necessary.
- Disconnect the shift linkage or cables, the sensor connectors (speed, reverse), and the clutch hydraulic line (do not open the hydraulic system unless necessary; it is best to unbolt the slave cylinder together with the line). Drain the oil from the transmission and transfer case if it makes the work easier.
- Position the transmission jack and a support under the engine. Remove the bolts securing the transmission to the engine and the transmission mount. Remove the transmission, without putting load on the input shaft as it comes out of the clutch splines.
- Manual transmission: mark the position of the pressure plate on the flywheel, loosen the pressure plate bolts evenly in a crisscross pattern, and remove the pressure plate and disc. Automatic transmission: remove the torque converter, marking its position relative to the flywheel (drive plate). The scope of work on an automatic is considerably greater; if you lack experience, it is better to go to a repair shop.
- Lock the flywheel, remove the flywheel bolts (they are single-use and must be replaced with new ones), and remove the flywheel. It is heavy, so support it to keep from dropping it.
- Inspect the seal contact surface on the crankshaft: there should be no groove from the old seal. If there is wear, the new seal must be seated at a slightly different depth, or a repair sleeve should be used.
- Remove the old seal by prying it out with a thin screwdriver or a puller. Do not damage the crankshaft journal or the seat in the block (or in the seal housing). If the seal is mounted in a separate housing, remove it and replace the gasket or sealant per the specifications.
- Wipe the journal and the seat dry with degreaser. Lightly lubricate the lip of the new seal with clean engine oil; do not lubricate the outer part unless the seal instructions require it.
- Install the new seal straight, without tilting, pressing it in evenly with the driver until it stops or to the depth specified by the manufacturer. PTFE seals with dry lips are usually installed without any lubrication at all, so follow the instructions in the packaging.
- Install the flywheel and tighten the new bolts in a crisscross pattern in 2-3 stages. For the flywheel torque on the D20DT, follow the manufacturer's specifications (for a diesel of this class the values are usually substantial, around 80-120 N·m (59-89 lb-ft) plus an angle turn; confirm the exact value).
- Install the clutch disc and pressure plate using a centering tool, and tighten the pressure plate bolts in a crisscross pattern (usually 20-30 N·m (15-22 lb-ft); confirm with the specifications). Apply a thin layer of high-temperature grease to the input shaft splines. Replace the release bearing.
- Reinstall the transmission and tighten the bellhousing bolts per the specifications (a guideline is 40-60 N·m (30-44 lb-ft) for the large bolts; confirm exact values in the specifications). Reinstall all removed parts, and the driveshafts according to the marks.
- Fill the transmission and transfer case with oil to the correct level, and bleed the clutch hydraulics if the system was opened. Reconnect the battery.
- Start the engine and check for oil leaks and for clutch and gear operation in all gears. Take a test drive, then inspect the joint area for leaks again.
Common mistakes and warnings
- You will be working under heavy components: the transmission and flywheel weigh tens of kilograms
- Use a transmission jack and supports, and never work under the vehicle supported only by a jack
- Always inspect the clutch and flywheel and replace them if worn, so you do not have to remove the transmission again
- If you have no experience removing a transmission, especially on a 4WD version or an automatic, it is better to leave the work to a repair shop
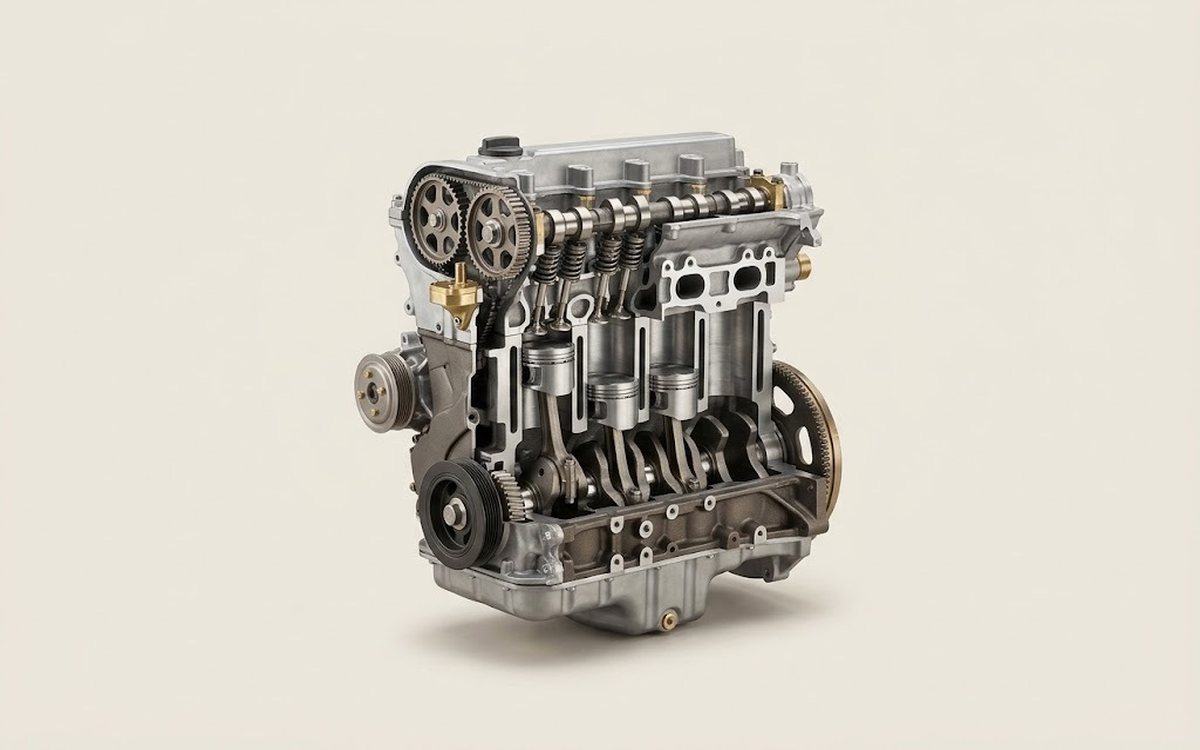 How it works · 3D
How a Car Engine Works
How the part you're working on actually works — in plain English, on a 3D model.
Open in 3D →