Autopapyrus · Toyota Tacoma XK10 3.4 V6 5VZ-FE (2002)
https://autopapyrus.com/guides/toyota/tacoma/rear-driveshaft-replacement/
https://autopapyrus.com/guides/toyota/tacoma/rear-driveshaft-replacement/
Compiled automatically from service literature and owner experience. Specs are for the typical configuration — check them against your exact car before you start.
Toyota Tacoma XK10 3.4 V6 5VZ-FE (2002): Rear Driveshaft Replacement
The rear driveshaft on the first-generation Tacoma connects the transfer case (4WD) or the transmission output shaft (PreRunner) to the rear axle. Replace it when the U-joints are worn, the shaft is bent, or the spline connection is damaged. On 4WD models the driveshaft has two sections with a center support bearing.
Part
- 🔩 Rear driveshaft assembly. OE numbers for 4WD: 37100-3D230 (automatic), 37100-3D240 (manual, W59). For PreRunner (2WD): 37100-35740. If you are replacing only the U-joints, a U-joint kit is available
 There's a full repair manual for this car
Every system, wiring diagrams and torque specs — not just this job. Chilton and 5 more.
See manuals →
Step by step
9 steps- Raise the rear of the vehicle with a jack and support it on jack stands. Chock the front wheels. With the driveshaft removed, the parking brake will not hold the vehicle, and it can roll away.
- Use a marker or paint to mark the relative position of the driveshaft flange and the rear differential flange. This mark is critical for preserving the factory balance. Being off by even one bolt position will cause vibration at 80-100 km/h.
- Shift the transmission into neutral and release the parking brake (so you can rotate the shaft and bring the bolts to a convenient position). Remove the 4 nuts or bolts that secure the flange to the rear differential. Tightening torque at reassembly is 73 N·m (54 lb-ft).
- On a 4WD vehicle with a two-piece driveshaft, remove the 2 bolts that secure the center support bearing bracket to the frame crossmember (tightening torque 36 N·m (27 lb-ft)). Remove the support plates.
- Lower the rear end of the driveshaft, then pull the whole shaft rearward. The front end will slide out of the spline connection at the transfer case or transmission. If necessary, tap the flange lightly with a plastic hammer to free the shaft from its seat on the differential.
- Inspect the spline connection on the front end of the shaft. If there is wear (play of more than 1 mm), replace the shaft or repair the splines. Check the U-joints for play by rocking each one in two planes. Play of more than 0.5 mm means replacement.
- Install the new or remanufactured driveshaft in reverse order. Apply a thin layer of molybdenum grease to the spline connection (not lithium grease, which washes out). Align the marks on the flanges when installing the rear end.
- Tighten the differential flange bolts to 73 N·m (54 lb-ft) in a crisscross (star) pattern to avoid cocking the flange. Tighten the center support bolts to 36 N·m (27 lb-ft).
- Return the transmission to Park (automatic) or 1st gear (manual) and set the parking brake. Lower the vehicle, drive 10-15 km, and check that there is no vibration at 60-100 km/h.
Common mistakes and warnings
- Balance is critical on two-piece 4WD driveshafts. If you replace only one section or the U-joints, the shaft needs dynamic balancing on a balancing machine. Otherwise, vibration will destroy the differential and transfer case bearings within 5-10 thousand km. If you do not have access to a balancing machine, replace the whole shaft with a factory-assembled unit.
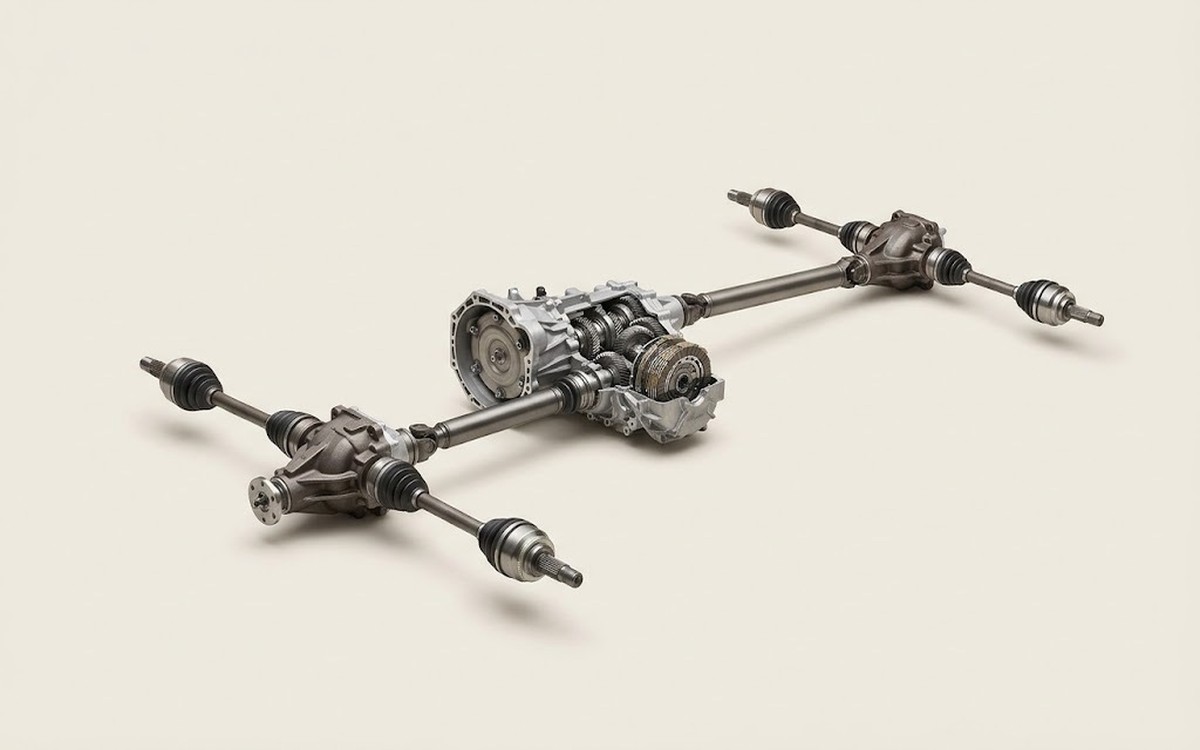 How it works · 3D
How All-Wheel Drive Works
How the part you're working on actually works — in plain English, on a 3D model.
Open in 3D →