Autopapyrus · Volkswagen Passat B5 (2002)
https://autopapyrus.com/guides/volkswagen/passat/5-speed-manual-transmission-overhaul-012-series/
https://autopapyrus.com/guides/volkswagen/passat/5-speed-manual-transmission-overhaul-012-series/
Compiled automatically from service literature and owner experience. Specs are for the typical configuration — check them against your exact car before you start.
Volkswagen Passat B5 (2002): 5-Speed Manual Transmission Overhaul (012 Series)
The Passat B5 with the 2.0 ALT engine uses a 5-speed manual transmission from the 012 family. An overhaul is done based on diagnosis: noise in gear, whining, grinding when shifting, or jumping out of gear. The job requires a press and careful selection of adjustment shims, so if you have no experience disassembling transmissions, it is best left to a specialist.
Parts
12| № | Part | Genuine part no. | Alternatives |
|---|---|---|---|
| 01 | 012-series manual transmission bearing kit (input shaft, output shaft, differential bearings) | SKF, FAG, INA | |
| 02 | Synchronizer rings (blocking rings) | 012311247F | |
| 012311295F | |||
| 03 | Synchronizer sleeves, 1st-2nd, 3rd-4th, 5th gearif worn | 012311255A | |
| 012311315B | |||
| 04 | Axle shaft sealsleft and right | 016409399B | |
| 05 | Input shaft seal | ||
| 06 | Snap rings | N90294706 | |
| N90294501 | |||
| N90860001 | |||
| 07 | Self-locking nuts and bolts | ||
| 08 | Transmission case gasket set | ||
| 09 | Case sealant | ||
| 10 | Manual transmission fluid 75W-90 synthetic, GL-4, VW G 052 911 | ||
| 11 | Complete clutch kitif needed | 06B198141X | LuK, Sachs |
| 06B141031LX | |||
| 078141032AX | |||
| 12 | Clutch release bearingif needed | 012141165E | LuK, Sachs, SKF, FAG, INA |
Part numbers are from the manufacturer's original catalogue. Check them against your VIN before ordering.
Tools
13- Lift or inspection pit
- transmission jack
- socket and wrench set
- XZN (triple-square) sockets for fasteners
- bearing pullers
- hydraulic press
- snap ring pliers set
- soft drift and mallet
- dial indicator
- feeler gauges
- torque wrench
- oil drain pan
- parts tray with compartments
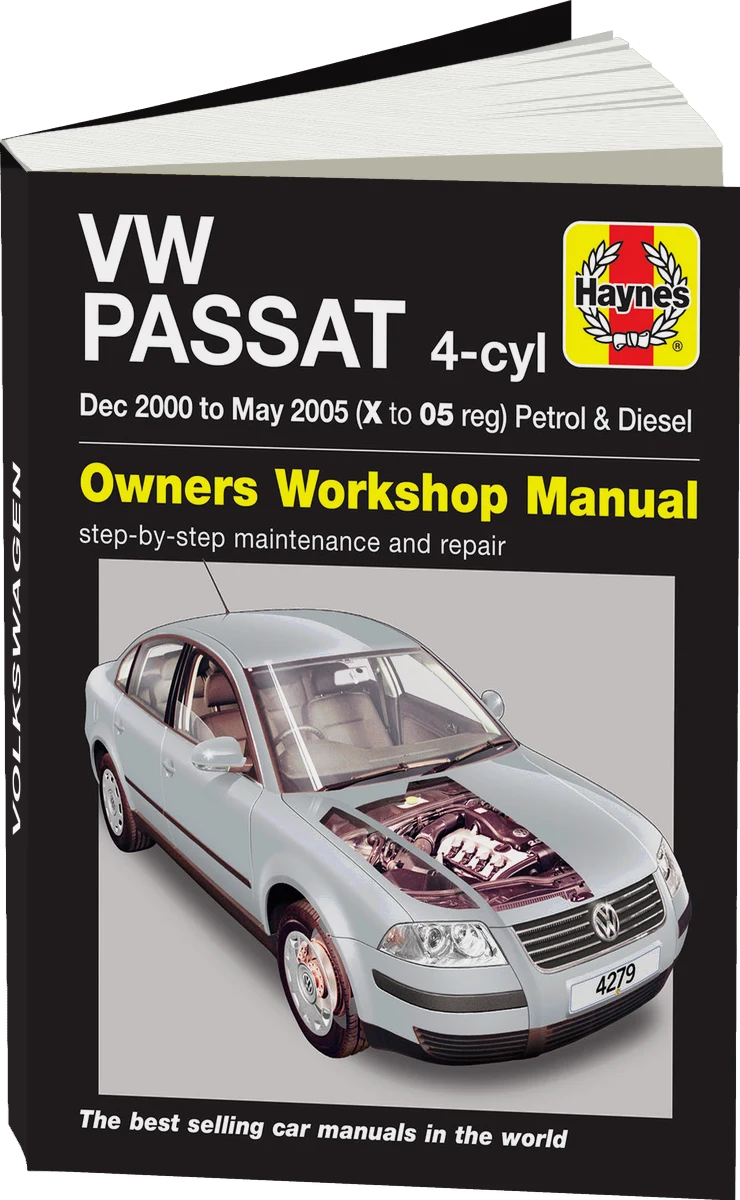 There's a full repair manual for this car
Every system, wiring diagrams and torque specs — not just this job. Haynes and 11 more.
See manuals →
Step by step
17 steps- Identify the transmission code on the plate on the case and check the fluid: metal shavings and fine steel dust on the drain plug magnet indicate worn bearings and synchronizers. Before removal, write down which gears are faulty and what the noise sounds like. This will tell you which components to open up first.
- Disconnect the negative battery terminal. Raise the vehicle, remove the underbody shield, drain the transmission fluid and save the magnetic plug. When reassembling, tighten the plugs to about 25 N·m (18 lb-ft).
- Disconnect the shift and selector cables or rods, the reverse light switch connector, the speedometer drive or speed sensor, and the clutch cable or hydraulic line (depending on equipment). Remove the starter.
- Remove the front bumper/brackets that interfere with access, disconnect the driveshafts from the transmission flanges (the joint mounting bolts require XZN sockets), and carefully move them aside. Support the driveshafts so the joints are not bent excessively.
- Support the engine from below or with a support bar, bring up the transmission jack, remove the transmission mount and bracket, then remove the bolts securing the bell housing to the engine. Pull the transmission back until the input shaft clears the clutch disc hub, then lower it.
- Clean and degrease the case on the outside. Place the transmission on a stand or workbench. Remove the release fork and release bearing and inspect them.
- Disassemble the transmission: remove the rear case cover or end cover, the shift mechanism, the fork shafts and the snap rings, then pull out the shaft assembly. Lay out the parts strictly in the order of removal, and photograph the positions of shims, rings and retainers.
- Disassemble the shaft assemblies on the press. Use pullers and support plates to remove the gears and sleeves. Do not strike the gear teeth. Do not reuse snap rings or self-locking nuts after removal.
- Inspection: replace all shaft and differential bearings; inspect the gear teeth (chips, pitting, stepped wear); measure the clearance between the blocking ring and the gear with a feeler gauge (if the clearance is too small, the ring must be replaced). Inspect the synchronizer sleeves, gear rims, keys and springs. Replace any worn or chipped parts.
- If you replace the differential bearings or the differential housing, you will need to check and select adjustment shims after assembly (bearing preload and gear position). Do not attempt this operation without a dial indicator and special tooling, since the shims are selected based on measurements and the manufacturer's specifications.
- Assemble the output shaft and input shaft in reverse order, lubricating the parts with transmission fluid. Install each blocking ring only on its own gear. Press bearings on only by the seating ring, using a drift of the appropriate diameter.
- Replace the input shaft seal and the axle shaft seals. Be sure to lubricate the lips and press them in with a drift until fully seated, without tilting.
- Assemble the case using sealant (a thin, even layer, with no excess, so the oil passages do not get clogged). Tighten the case bolts evenly in a crisscross pattern, to the manufacturer's specification (for M8 bolts, typically around 20-25 N·m (15-18 lb-ft)). Turn the shafts by hand and check that all gears engage while rotating the input shaft.
- If the clutch is worn, replace the disc, pressure plate and release bearing. The transmission is already out, so this is the most convenient time. Apply a thin layer of special grease to the input shaft splines and center the disc.
- Install the transmission: align the input shaft with the disc splines, and do not let the transmission hang on the shaft. Tighten the bolts securing it to the engine; for M12 the torque is typically 55 N·m (41 lb-ft), and for smaller-diameter bolts 40-45 N·m (30-33 lb-ft) (confirm the exact values against the manufacturer's specifications). Install the mounts, starter, driveshafts, cables and sensors.
- Fill with transmission fluid to the lower edge of the fill hole (capacity is about 2 L (2.1 qt); check the exact level at the hole). Tighten the plugs to about 25 N·m (18 lb-ft).
- Do a test start: check clutch operation and engage all gears with the vehicle stationary. Then take a 20-30 minute test drive without hard loads, and check again for leaks and the fluid level.
Common mistakes and warnings
- This is a complex and critical job: incorrect adjustment of bearing preload and gear position leads to rapid transmission failure
- Always secure the vehicle on a lift and never work under it supported only by a jack
- If you have no experience and no press, leave disassembly to a specialized transmission shop
- If the case, gears and shafts are heavily worn, it is more economical to replace the transmission with a used or remanufactured unit
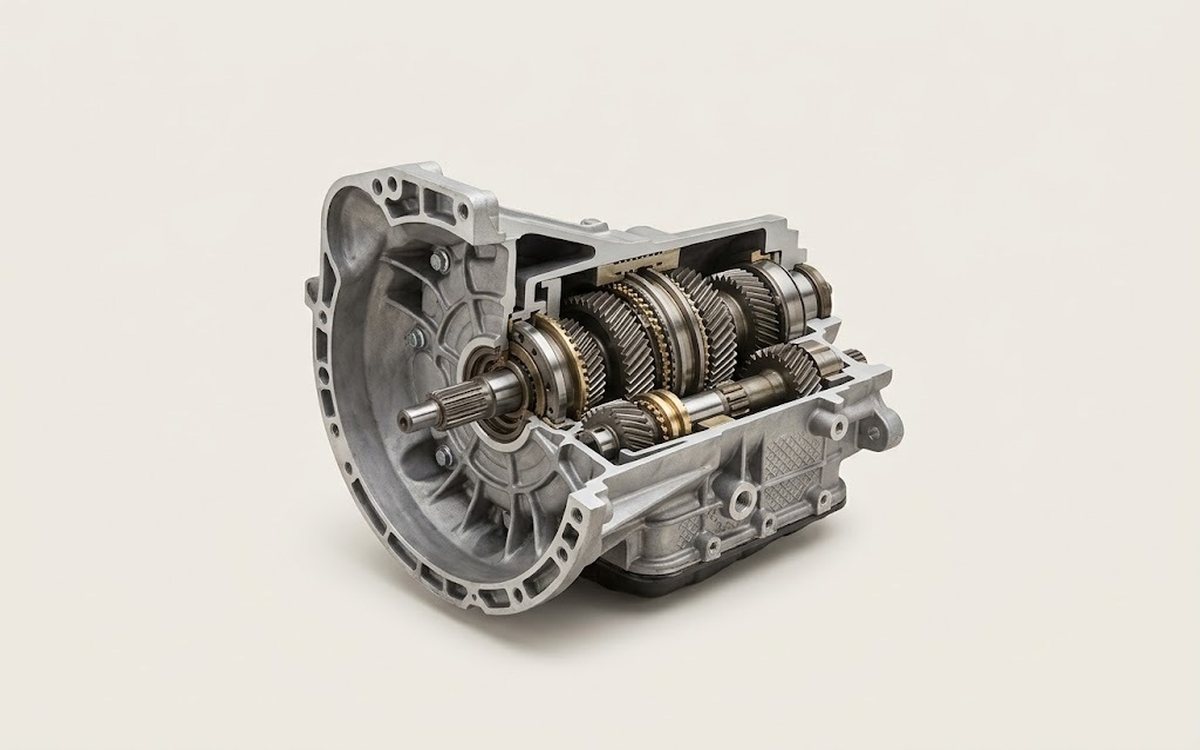 How it works · 3D
How a Manual Transmission Works
How the part you're working on actually works — in plain English, on a 3D model.
Open in 3D →