https://autopapyrus.com/catalog/chery/tiggo-4/guides/diagnosing-a-front-suspension-knock/
Chery Tiggo 4 (2nd generation): Diagnosing a Front Suspension Knock
The Tiggo 4 front suspension is a MacPherson strut design. A knock over bumps and when turning the steering wheel is most often caused by the upper strut mount with its bearing, followed by the sway bar links, tie rod ends, control arms and wheel bearings. First locate the source of the knock by inspection and play checks, and only then replace the worn part.
Key figures
- Mileage at which a knock from the upper mounts and strut bearings may appearif the knock appeared earlier, start the check with step 9up to 50,000 km
- Suspension inspection intervalto catch wear before knocks appear (steps 2-9)once a year or every 10,000-15,000 km
Check these values against the manufacturer’s specification for your vehicle before you start.
Diagram: where the control arm bushing and stabilizer link are and how to check them
- 1Front suspension control arm bushing: the rubber joint in the arm eye. Check it by placing a pry bar between the arm and the subframe and rocking it slightly. Visible play or torn rubber means the arm or its joint must be replaced.
- 2Stabilizer link: a thin metal rod with joints at both ends. Rock each link by hand: there must be no play.
- 3Link joint with boot: inspect the boot. A torn boot or play in the joint means the link is worn.
- 4Gap and cracks in the bushing rubber: a sign of wear that causes knocking when pulling away and braking.
Parts
7| № | Part |
|---|---|
| 01 | Strut bearingFind on Amazon → |
| 02 | Upper strut mountFind on Amazon → |
| 03 | Sway bar linkFind on Amazon → |
| 04 | Tie rod endFind on Amazon → |
| 05 | Control arm ball jointFind on Amazon → |
| 06 | Control arm bushingsFind on Amazon → |
| 07 | Front wheel bearingFind on Amazon → |
Amazon links search by the part name; use Amazon's fit check for your car before ordering. We may earn a commission from qualifying purchases.
Tools
6Read the codes yourself
A scanner plugged into the OBD2 port under the dashboard shows which fault codes the car has stored, before you buy any parts. Cars sold in the US from 1996, and petrol cars in Europe from 2001 (diesels from 2004), have this port.
- Basic code reader, about $20–40: reads and clears engine codes Amazon →
- Bluetooth scanner with a phone app, about $30–100: live sensor data, and on many cars ABS and airbag codes too Amazon →
Check that the scanner lists your make and model year before you buy. We may earn a commission from qualifying purchases.
Step by step
12 steps- Identify the type of noise. A knock over bumps points to the sway bar links, the shock absorber or the upper mount. A knock or creak when turning the steering wheel while stationary points to the strut bearing and upper strut mount. A hum that rises with speed points to the wheel bearing. A knock when pulling away and braking points to the control arm bushings and ball joint.
- With the hood open, inspect the wheel wells and the engine bay. Check the upper strut mounts for cracked rubber, displacement and signs of impact.
- Raise the car on a lift, secure it, and lift the front wheels off the ground. Remove the wheel if you need access to the control arm and strut.
- Inspect the shock absorber: oil traces on the body, a skewed or torn dust boot, a displaced bump stop.
- Check the sway bar links. Shake each one by hand: there should be no play in the joints. Inspect the joint boots.
- Check the ball joint and the control arm bushings. Place a pry bar between the control arm and the subframe, or between the arm and the steering knuckle, and apply light leverage. Noticeable movement in the joint or torn rubber means the control arm or its joint must be replaced.
- Check the tie rod ends and tie rods. Rock the wheel at the 3 and 9 o'clock positions: play here points to a tie rod end or tie rod. Inspect the steering rack boot.
- Check the wheel bearing. Rock the wheel at the 12 and 6 o'clock positions. Then spin the wheel by hand with the car lifted and listen for a hum or crunching.
- Check the upper strut mount. Have a helper sharply rock the steering wheel back and forth while stationary with the engine running, and press your hand against the strut tower in the wheel well: a click or knock means the mount or bearing is worn.
- Check the tightness of the bolts that secure the struts, control arms and wheels. A loose bolt can also cause a knock. Tighten with a torque wrench. Follow the manufacturer's torque specifications for the Tiggo 4, and look up the exact value for each fastener separately.
- Replace the worn part you found. If you replace a strut or a mount, replace them in pairs on both sides of the axle. After replacing control arms, struts or tie rod ends, have a wheel alignment done.
- Take a test drive over bumps and with the steering wheel turned while stationary. If the knock remains, go back to steps 5-9: there can be more than one source.
Common mistakes and warnings
- The suspension and steering are safety-critical systems
- If you have no experience working under a car, especially removing springs and struts, have the replacement done at a repair shop
- Do not drive at high speed with noticeable play in a ball joint or tie rod end
- Do not disassemble a spring without spring compressors: it is under heavy compression and is dangerous
- The upper mounts and strut bearings on the Tiggo 4 are considered a weak point, and a knock from them can appear even before 50,000 km of mileage
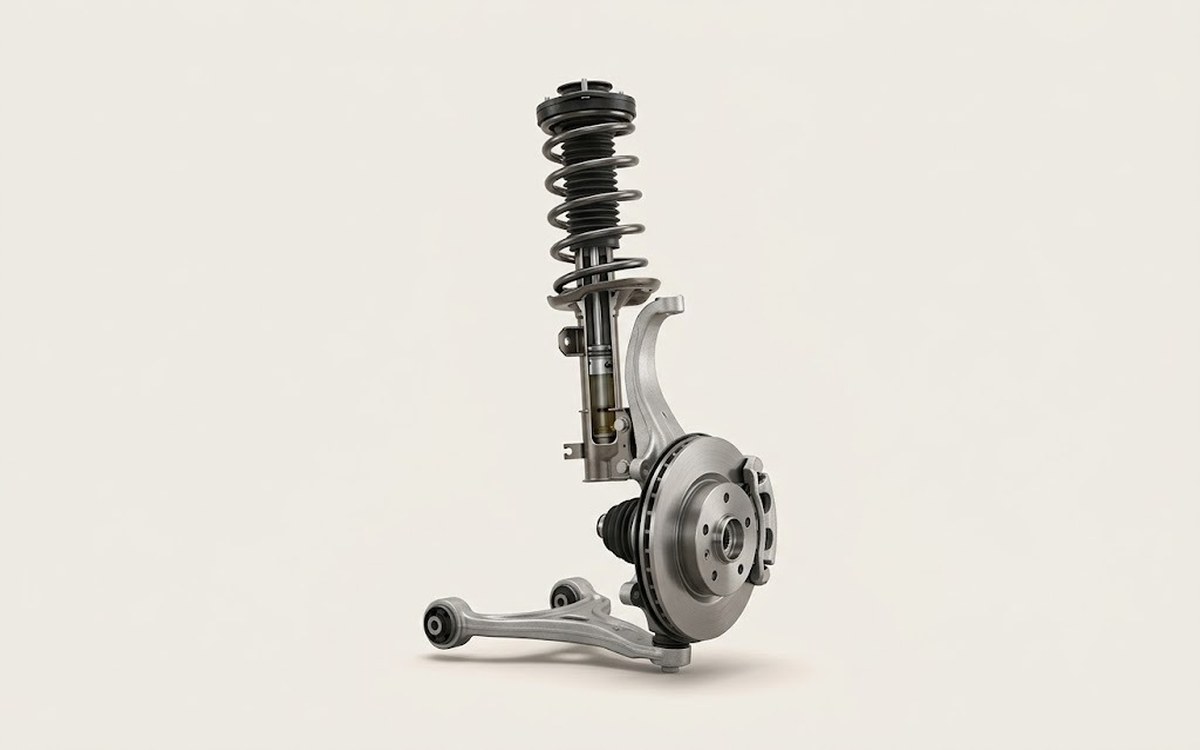 How it works · 3D
How Car Suspension Works
How the part you're working on actually works — in plain English, on a 3D model.
Open in 3D →
Spotted a mistake? Tell us →
Our articles
 Before you buy
German Turbo Engines vs. Chinese Ones: Which Lasts Longer? An Honest Look at Engine Life
Volkswagen 1.4 and 2.0 TSI, BMW N20 and Mercedes M274 versus Haval, Chery and Geely engines: lifespan benchmarks…
Read →
 Garage
Fuel Quality Indicators: What Octane and Cetane Numbers Mean
What is an octane number? What about a cetane number? Which fuel should you choose for a high-compression engine?…
Read →
 Before you buy
How to Pick Up Your Car from the Dealership the Right Way
If you've decided to buy a car from a dealership, it isn't enough to simply choose a model you like, pay for it, and…
Read →